Configure your bot form with the Wizard Editor
Accessing Wizard configuration
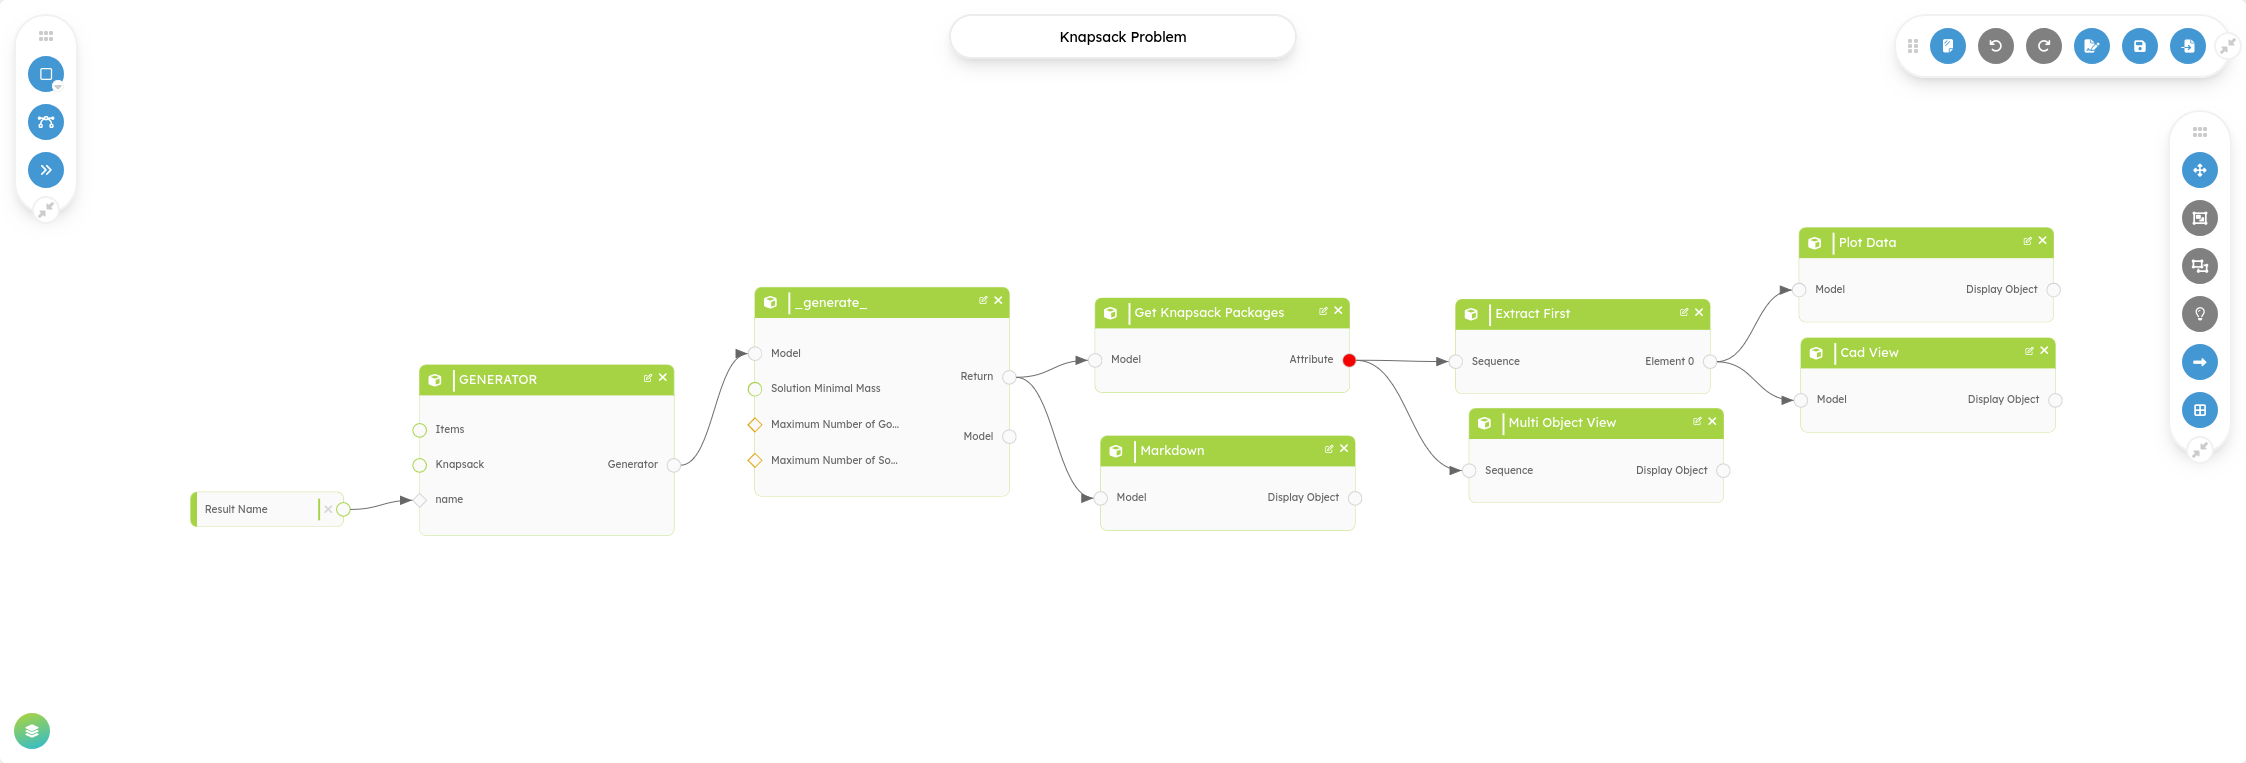
Here is the workflow using the Knapsack that will be used for this tutorial.
For now, the following actions still need to be done from here :
- Variable (input/output) naming,
- Variable default values,
- Lock/Unlock variable,
In the future, these will be available from the wizard feature.
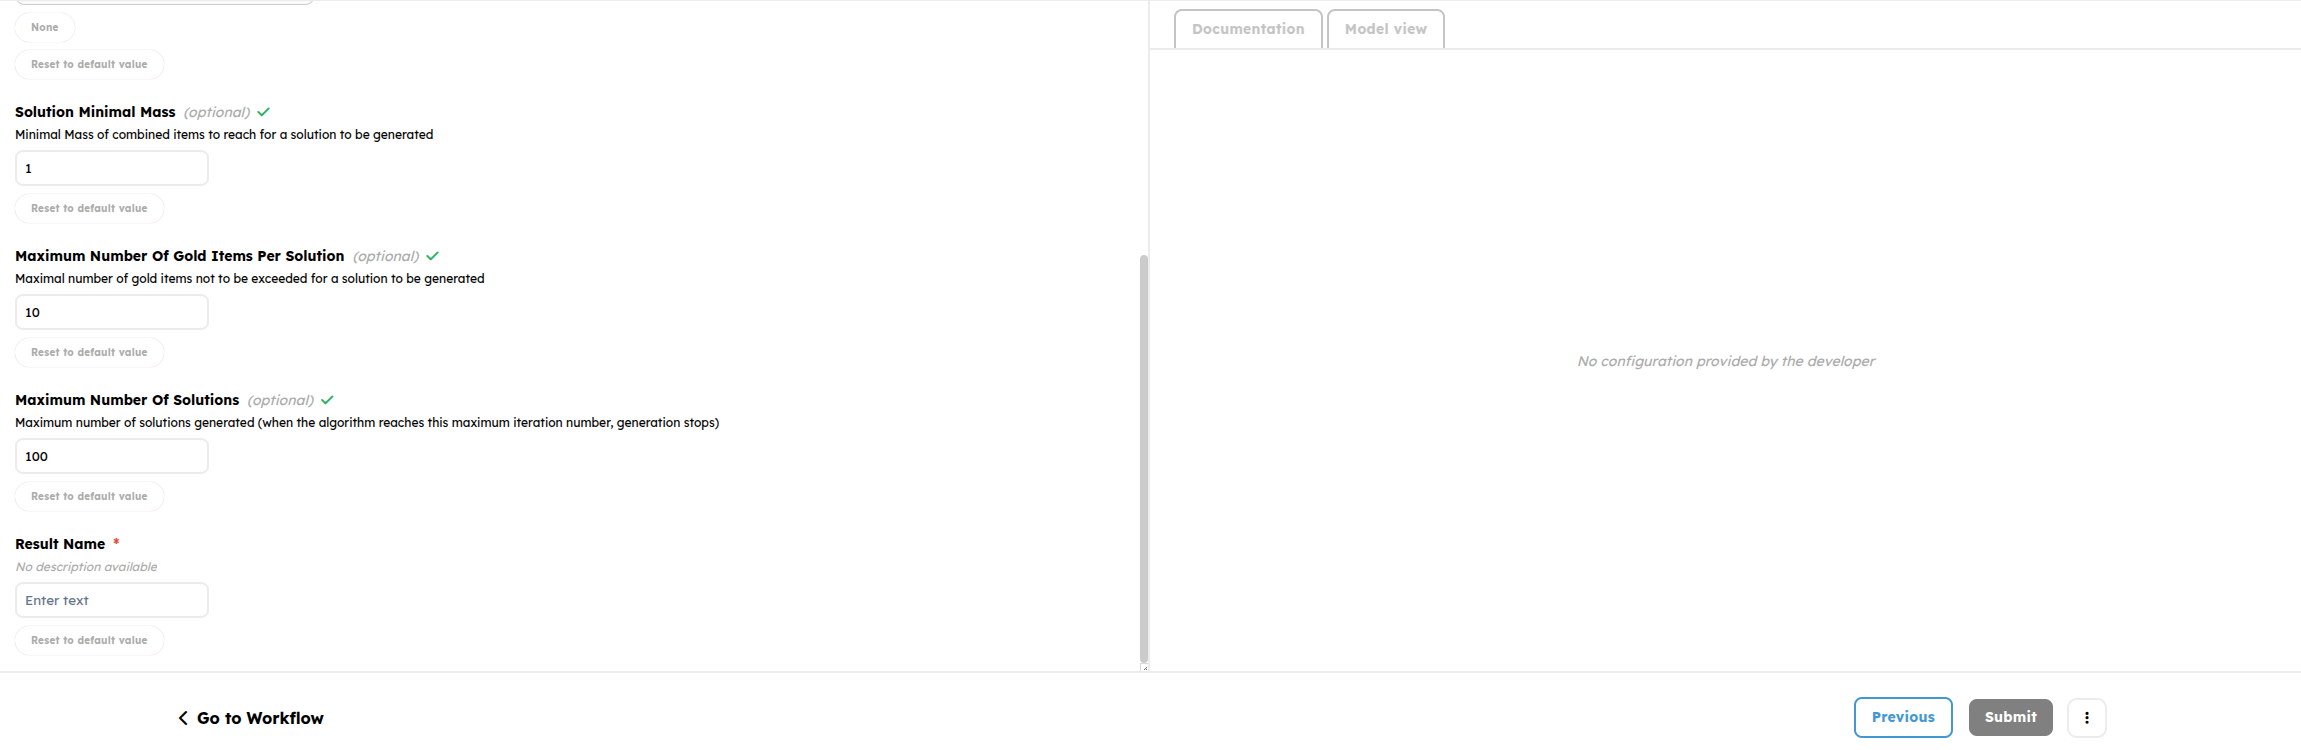
You can still run your workflow without editing any part of the wizard. This will result in the following, a one-step wizard, with all the inputs set in it, just like before, but within the wizard interface :
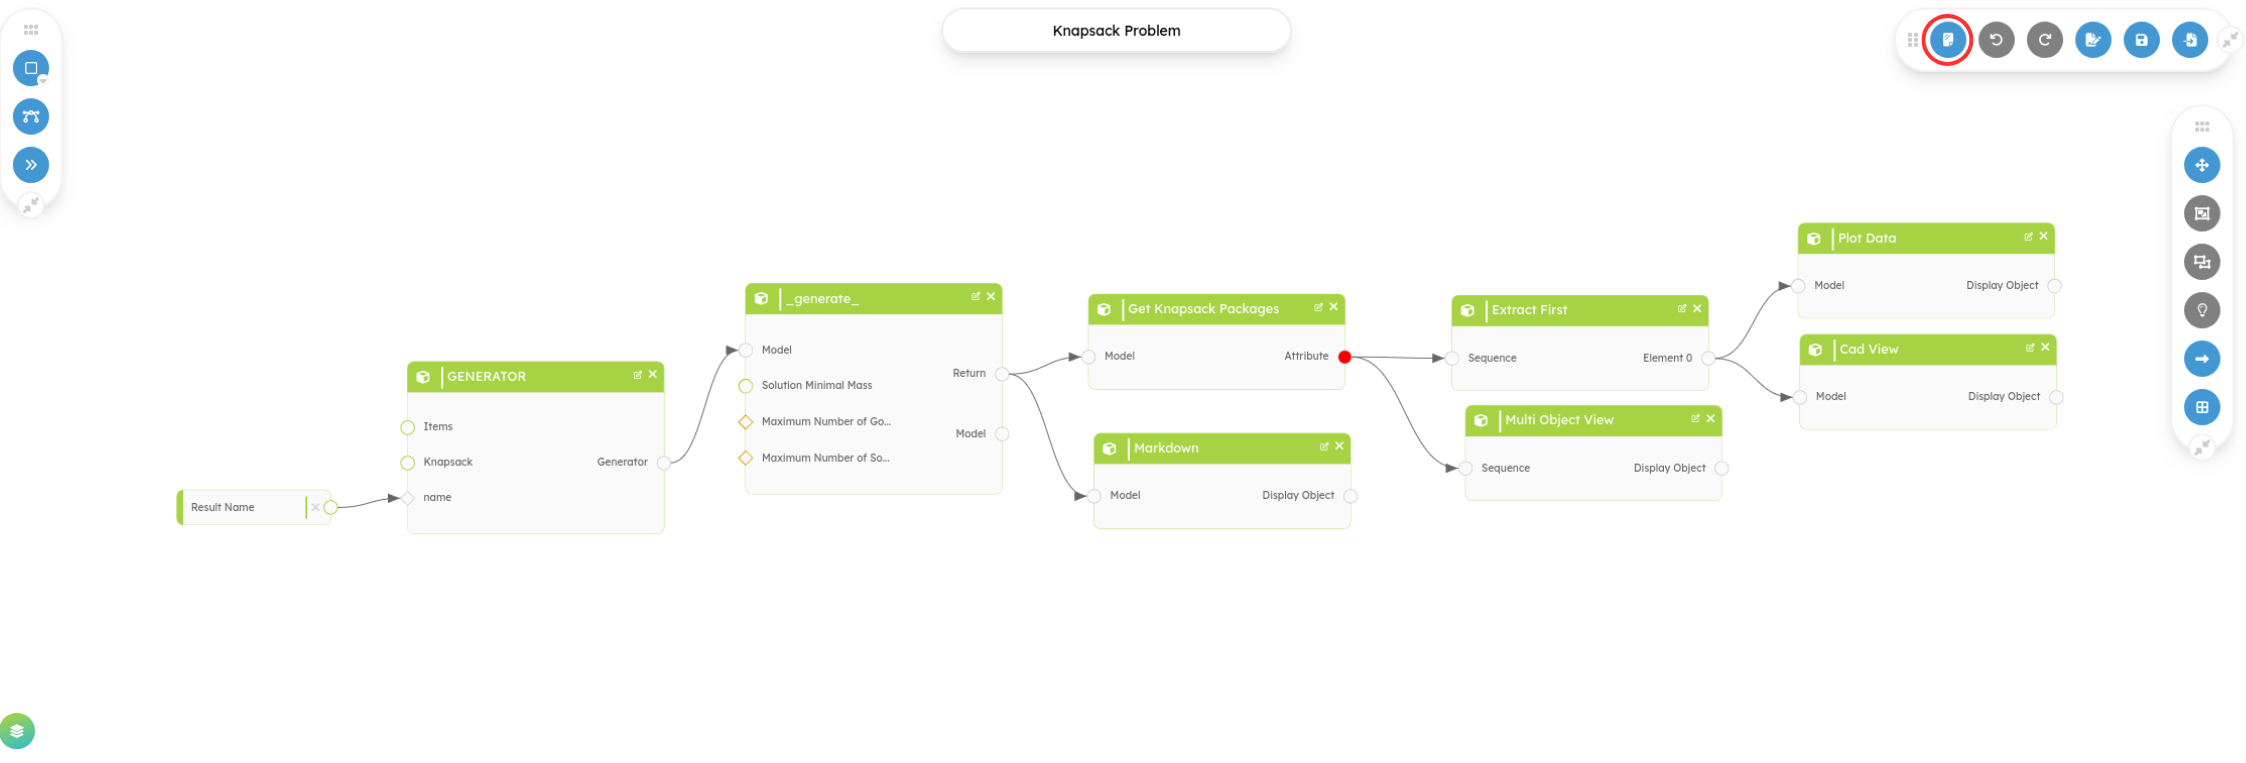
You can enter the wizard configuration tool by hitting the following button
Automatic startup
As soon as you enter the Wizard Configuration tool, a new empty step is automatically inserted. If you do nothing here, your wizard will then consist of an empty step and a default step with all your inputs in it.
Automatic save
Unlike any other platform feature, every change done in the Wizard Configuration tool is automatically saved. This is quite a new feature that changes the feel of the platform at first hand. Be advised that there is no need to “save” your work as it is automatically done.
By default, here is the view you will encounter
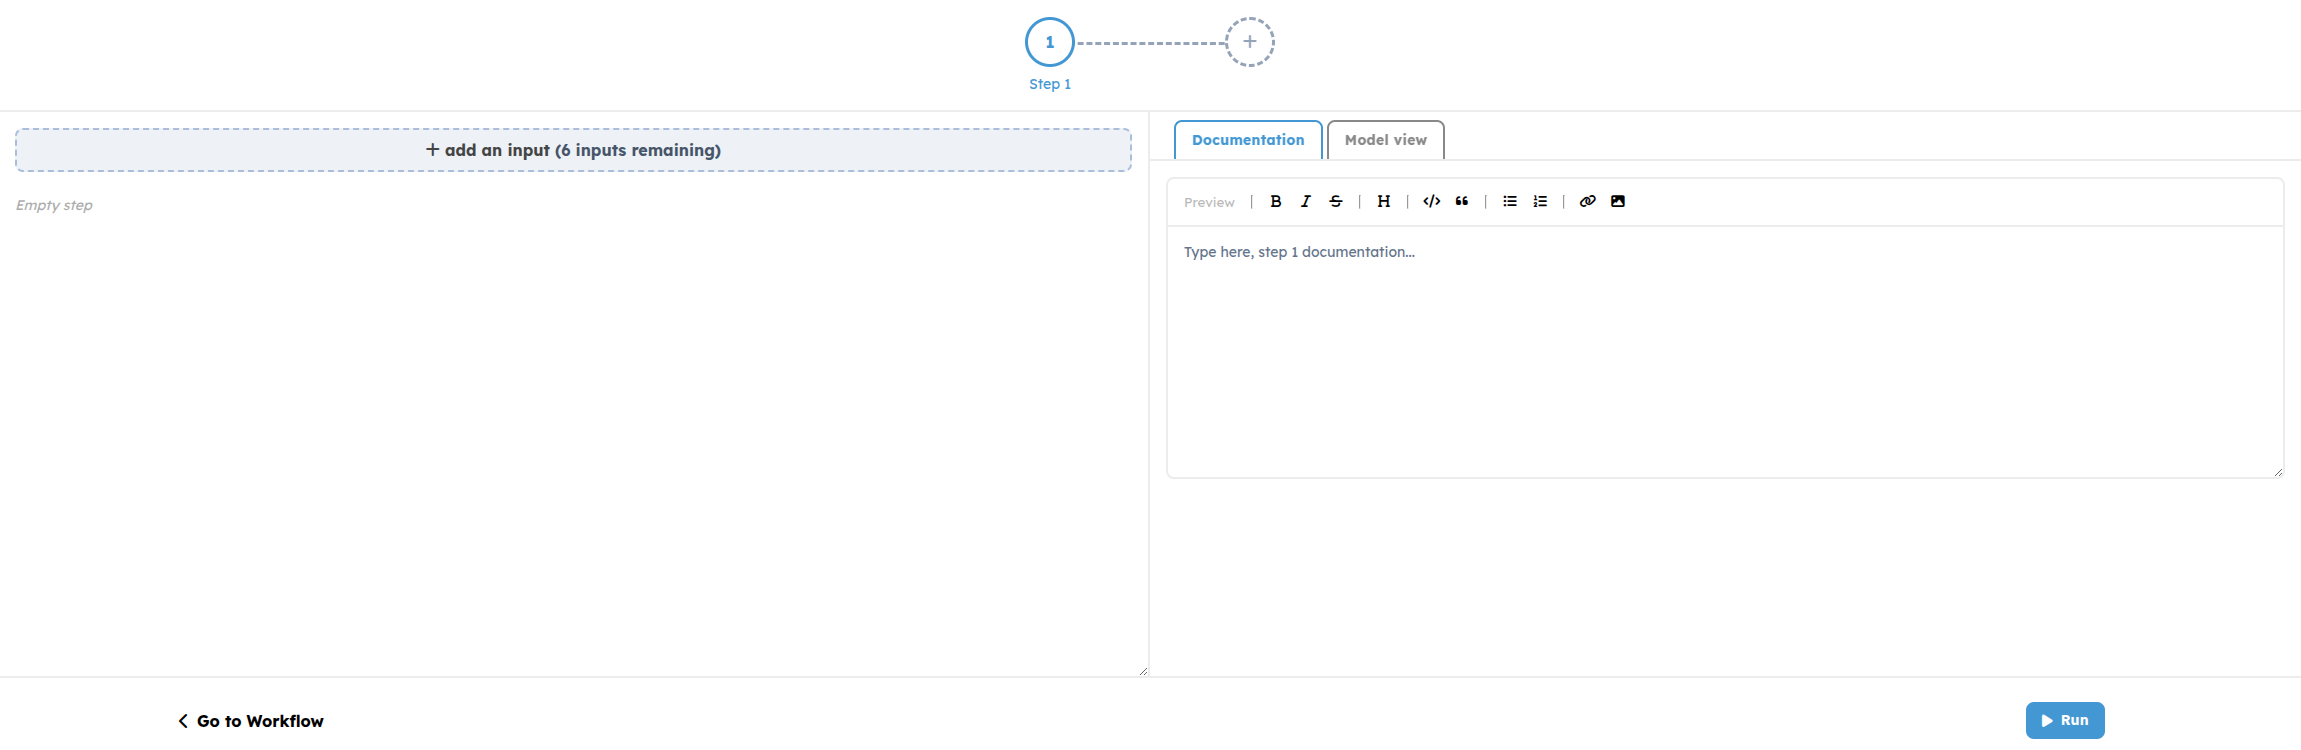
From here you can :
- Add step
- Order steps
- Rename steps
- Document your steps
- Add inputs to steps
- Add Displays to your steps
- Remove inputs from steps
- Order inputs within steps
Configure your custom Wizard
Manage steps
Use the top section of the tool to manage your steps
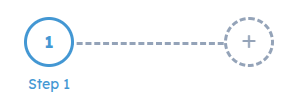
Add Step
Simply click the “+” button to add a Step to your Wizard
By dragging your mouse over an existing Step marker, you will be able to access further Step management tools.
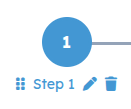
Order steps
Use the leftmost grip icon, and dragging your step to the desired position.
Rename steps
Use the pen icon. Rename the first step to Items. Rename the second step you previously created to Knapsack
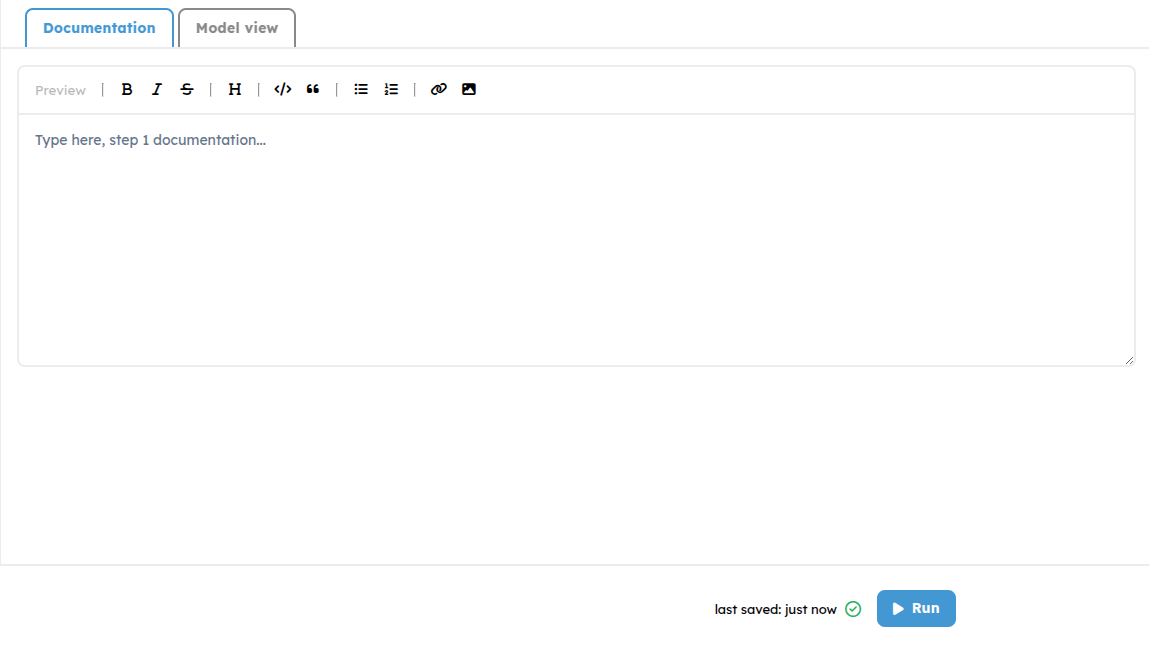
Document your steps
On the right part of your step, you have different sections. The one selected by default is the documentation, that is empty without user input. You can write step documentation to help other user using your form wizard if they are in need. For example, in this step, that you previously named Items, the user that will run the workflow, will provide all the items that will be used for calculations. You can start to build documentation by using the markdown editor. The editor saves every 1 second, but only if no new changes are made during that time
Copy/paste the following text in the editor
# Knapsack Problem
## Introduction
In order to run the workflow, several input values are required for calculation and are requested from you on this form page.
For this specific Knapsack Problem application, input values are separated into four main categories, that we will fill in successive steps.
As a reminder, the Knapsack problem consists of a knapsack that can contain up to a certain mass of items.
Several items are available in a store, and each one has both a mass and a price.
The challenge is to find the best solution that consists of the highest summed price of items that can fit into the knapsack for the maximum mass.
## Fill in Items
In this step you will be required to provide a list of items with a mass and a price defined for each one of them.
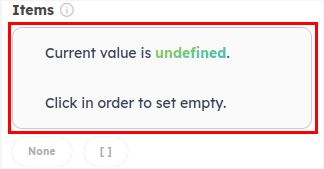
By default, the value of these Items is undefined. Click the following button in order to start editing :
### a. Create a new item
A new item can be created by clicking on **+ Create** in the _Items_ category.

Specific values can then be provided by the user for the mass and price.
A name may also be added to identify this item in the database more easily.
When both attributes are provided by the user, data can be saved using the **Save as New** icon on the field's right-hand side.
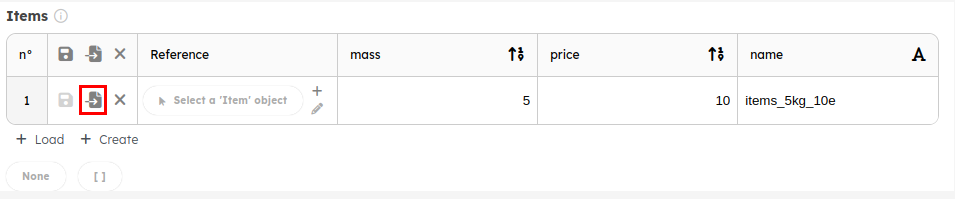
The new item is created, added to the problem items, and will be used in the calculations.

### b. Load pre-created items

If several items have already been created by the user or shared through a workspace by other team members, they are also available for form filling.
A created or provided item can be added to the problem items by clicking on **+ Load** in the _Items_ input.
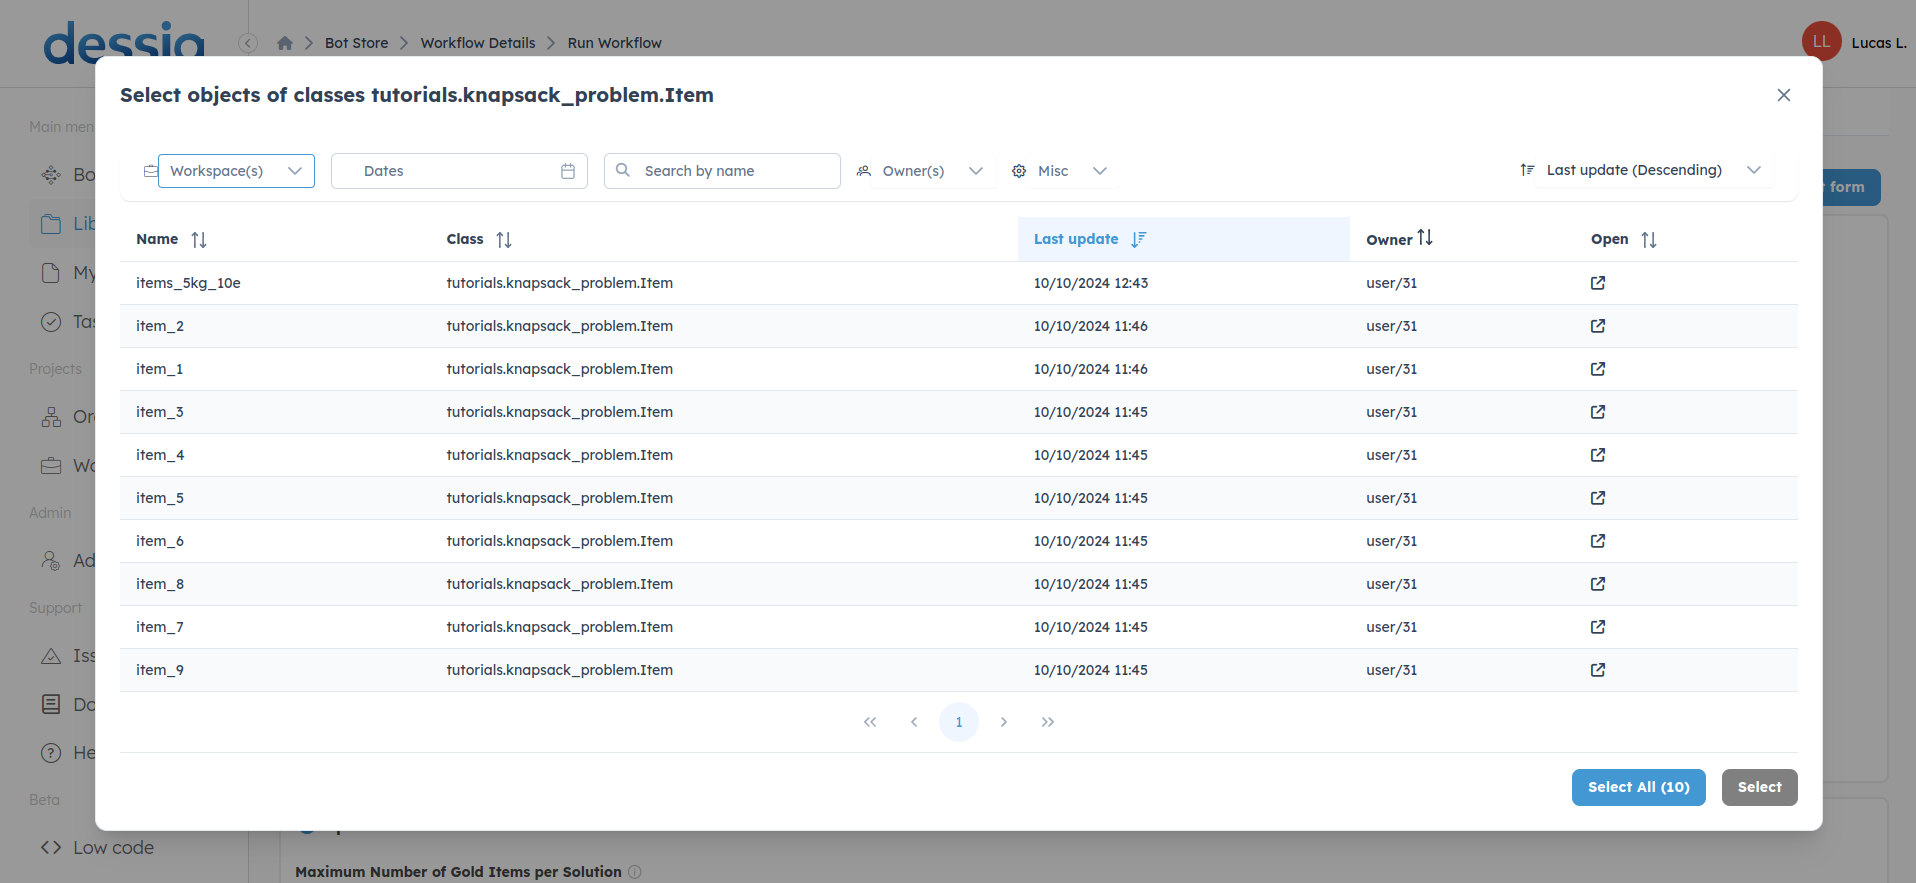
A new page opens for the user to select the desired items.
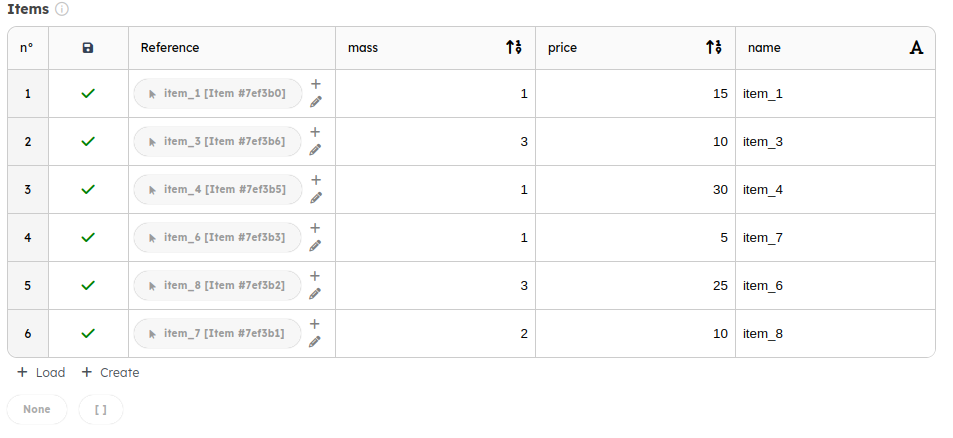
By clicking on several items and validating on the **Select** button, items are directly added to the problem items with their own mass, price, and name attributes.
One is also able to select all the items by clicking on the **Select All** button.

Wait one second for your documentation to be saved. Your step is now fully documented.
8
You can use a lot of markdown features such as :
- Text formatting
- Titles
- Code
- Quote
- Listing
- Links
- Images
Alternatively, you can inspect the preview before saving.
Check the result of your Step documentation directly into the Wizard Editor.
9
Manage step inputs
An input is simply an available input for your workflow. By default, no input is actually assigned to any step. inputs can be picked from a pool of available inputs. Every time an input is set to a Step, it gets removed from this pool.
Add inputs to a step
You may realize that we still haven't added any output to our Step. To do so, go to the first step you named Items. Click the “+ Add an input” button.

You will enter the available inputs pool.
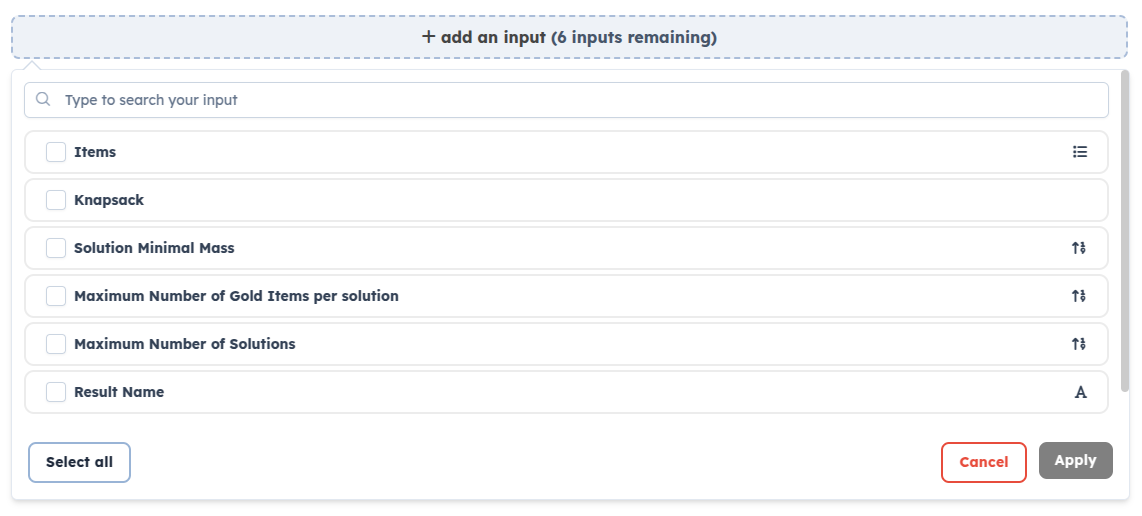
Select the Items input and Apply.
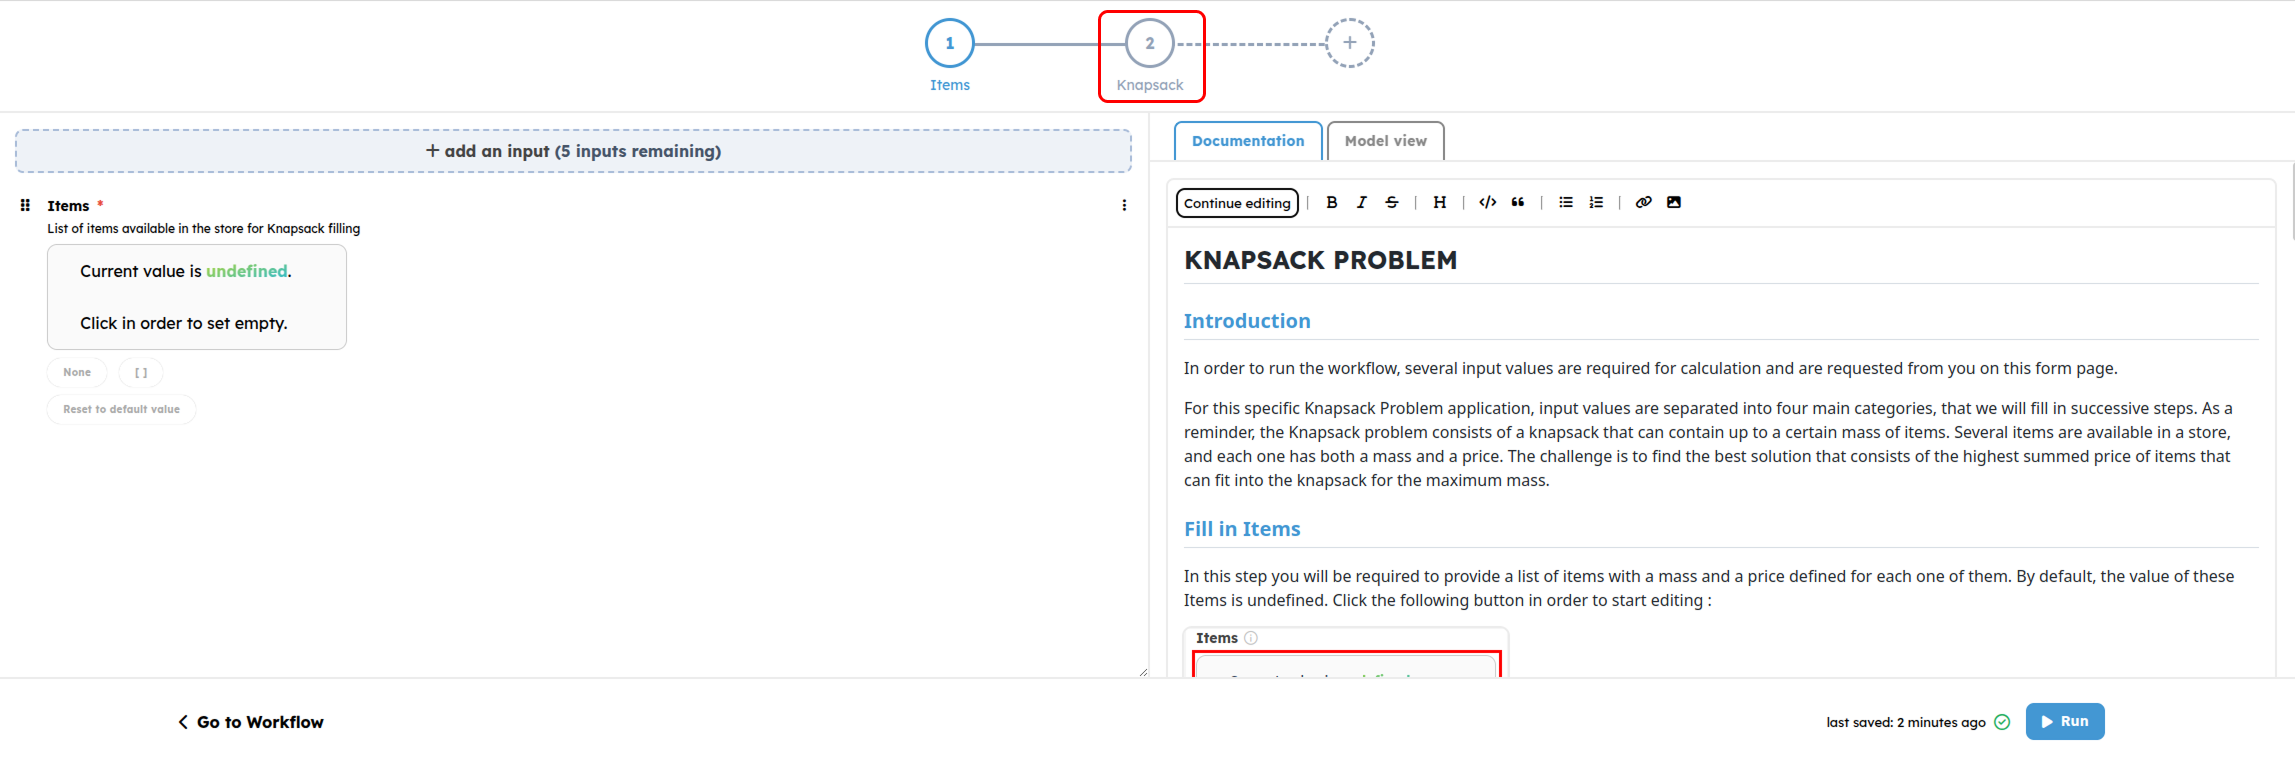
Navigate through your steps
You can access other steps, by clicking in the stepper component at the top of the page. You should now be editing the second step, named Knapsack, you added previously.
You can set your own step documentation if you wish to do so and explore the markdown features.
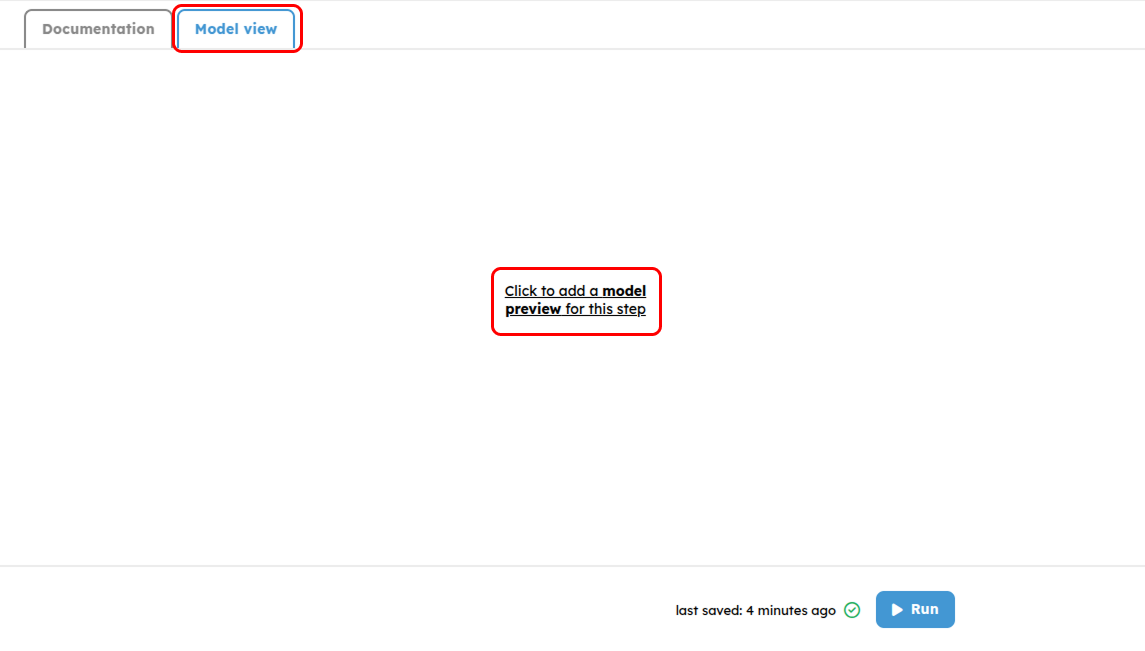
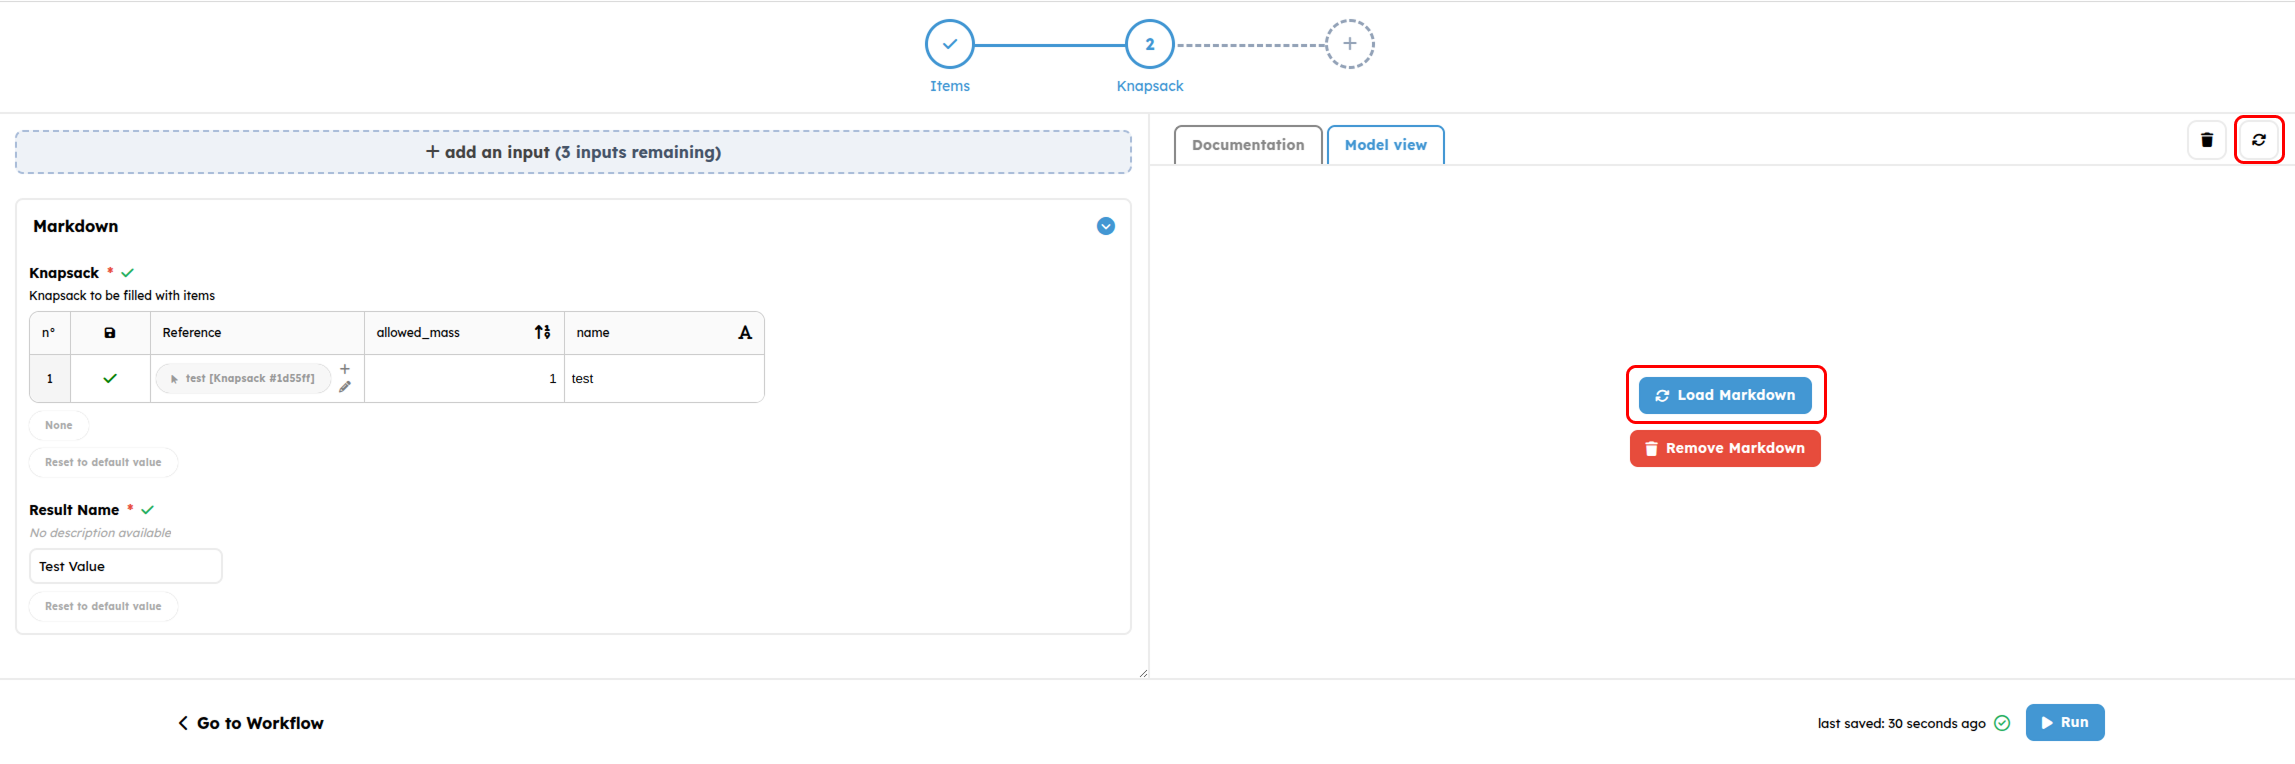
Add Displays to your steps
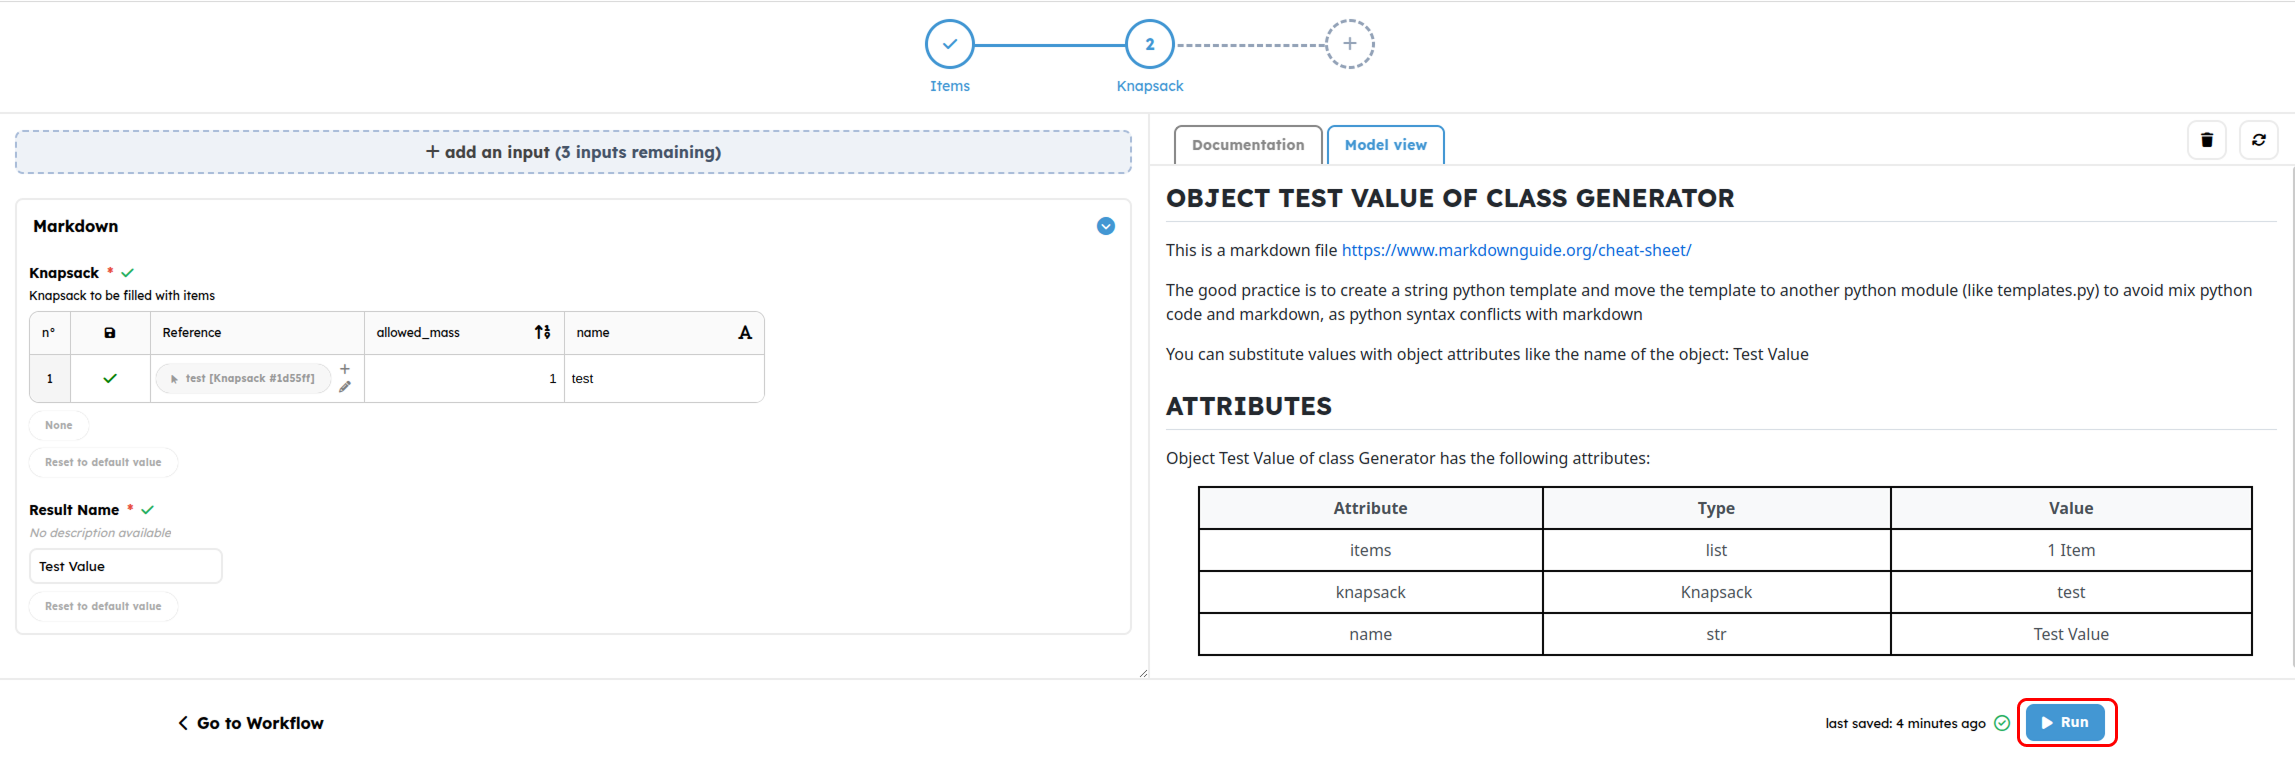
Once you are done with it, hit the Model view button next to the documentation one and hit the Click to add a model preview for this step button.
This should open a list of available display settings.
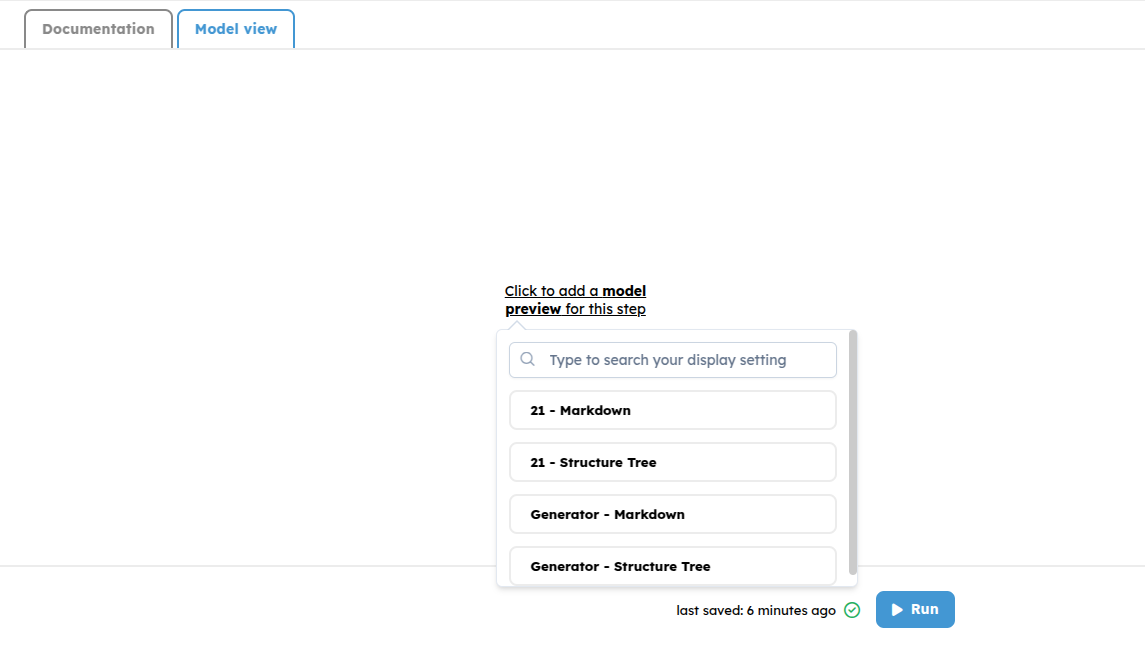
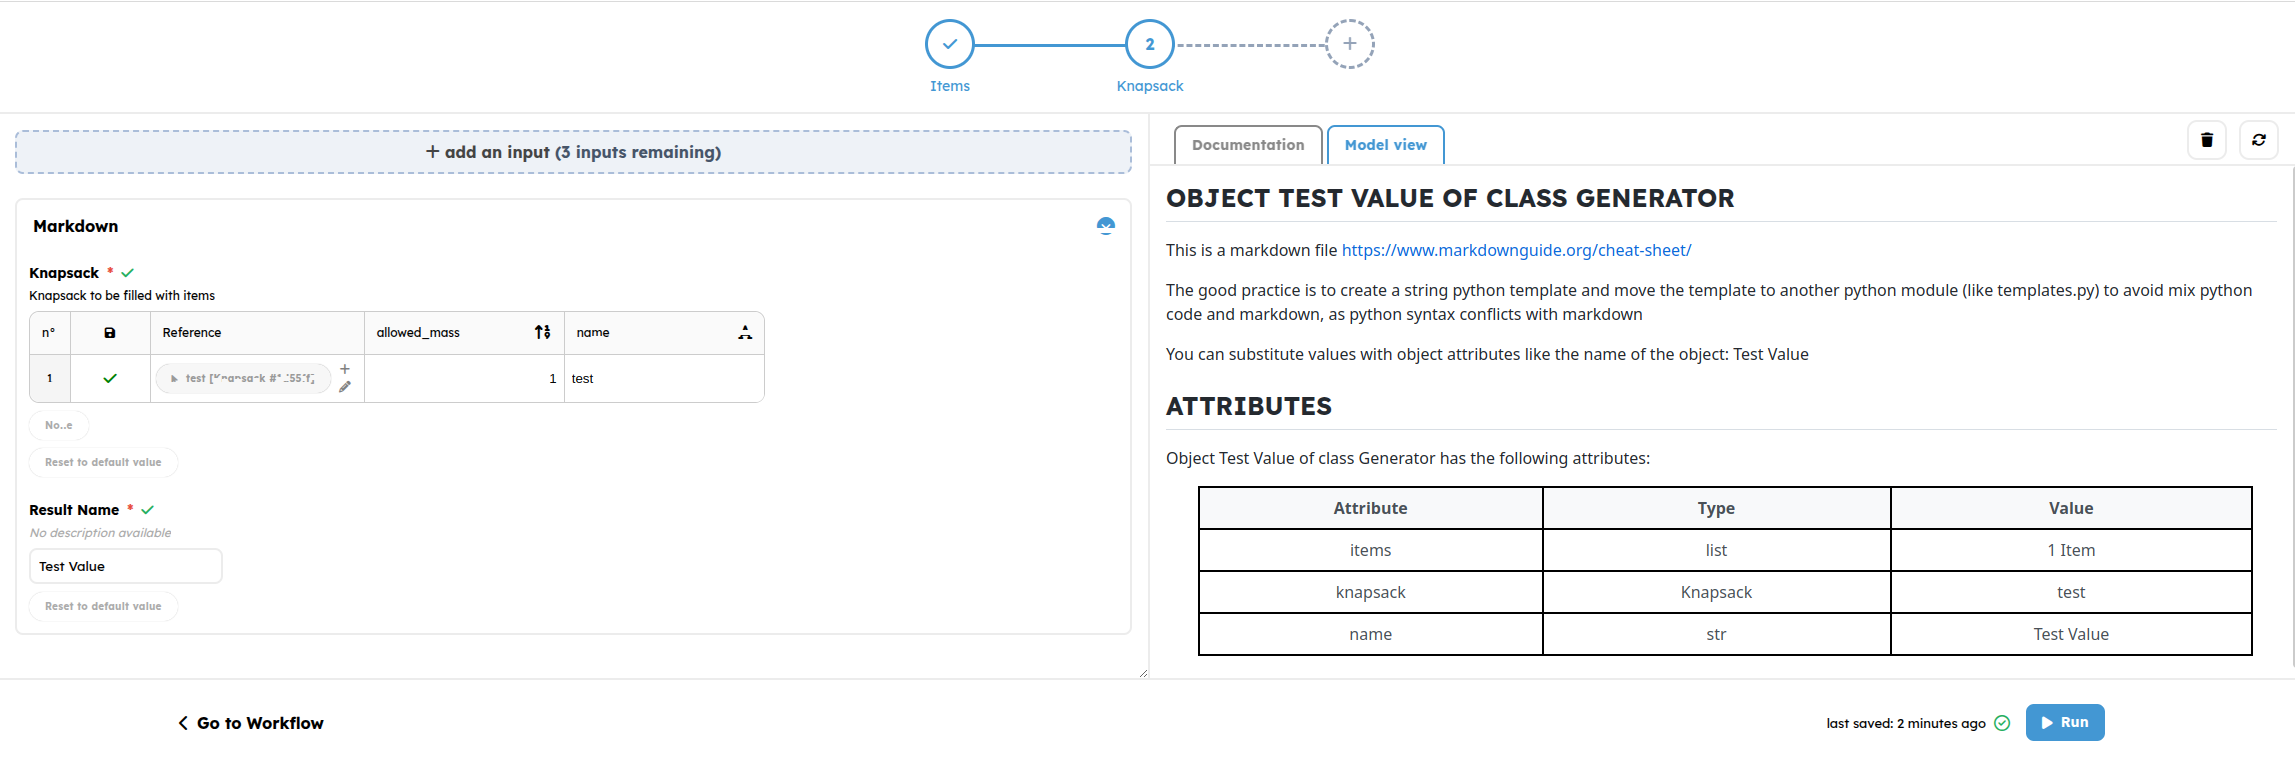
Select the Generator - Markdown input. This means that your are selecting the display which selector is Markdown for the output named Generator. Note that this can be any type of supported display :
- Markdown
- 2D Drawings
- 2D Graphs
- 3D
This automatically adds inputs that are necessary in order to compute the selected display. These inputs are set in groups. At the moment, a group of inputs will always be at the bottom of a step. You won’t be able to order other inputs after your. You won’t be able to order inputs within a group. You might not find your desired output to display in the list. Here is a list of rules to be respected in order to be able to select your display : here are several rules that make display appears here :
- Only Outputs can be displayed
- Output type MUST be defined
- Output MUST be displayable, that is to say, at the moment, its type needs to be a class inheriting from DessiaObject
- Output MUST be reachable from inputs set in previous or current steps. For example, if output O needs inputs A, B & C, these inputs MUST :
- Be available in inputs pool,
- OR Be set in a previous step You won’t be able to pick your output display from the current step display settings list if any necessary input is set in a step after the current one (even the ones that are not required)
Display Settings list names have the following pattern :
f"{output.label or output_index} - {display_setting.selector}"
Easily find your display from the list
Without user input, the platform cannot generically provide detailed information on the displays apart from the variable index and the display selector.
Consider applying labels to the outputs you want to display from the Workflow Builder beforehand so that you can find them easily in the display settings list.
Filters on display types could be added in the future.
Even in the edit mode, you can set your inputs so that you can have a preview of the display
Other features of the Wizard Editor
At any moment, you can perform the following actions
Remove inputs from a step
Click the kebab icon on the right side of your input, then click delete to remove it.

Order inputs within steps
Grab the grip icon situated left from your input name and drag it to the desired position.

Moving inputs between Steps
There is currently no way to pick an input from Step A and directly move it to Step B.
To do so, you can delete it from its current step and set it in its new one.
Moving a Group of inputs
If you set a display setting in your Step, you might have a Group of inputs.
Moving a group within a step or moving inputs within a Group is not yet available. For more information, see the Group documentation.
Access your custom wizard to run your bot
Click Run to directly access your created forms that will allow you to run your workflow. Note how there are three steps instead of the two you set up. This is because remaining required inputs were not set in any step. In this case, the platform automatically sets them unordered in a Default Step.