Develop using low code
1. Navigation
You can go to the Low-Code tool from wherever you want within the platform, by the link in the left side menu at the bottom.
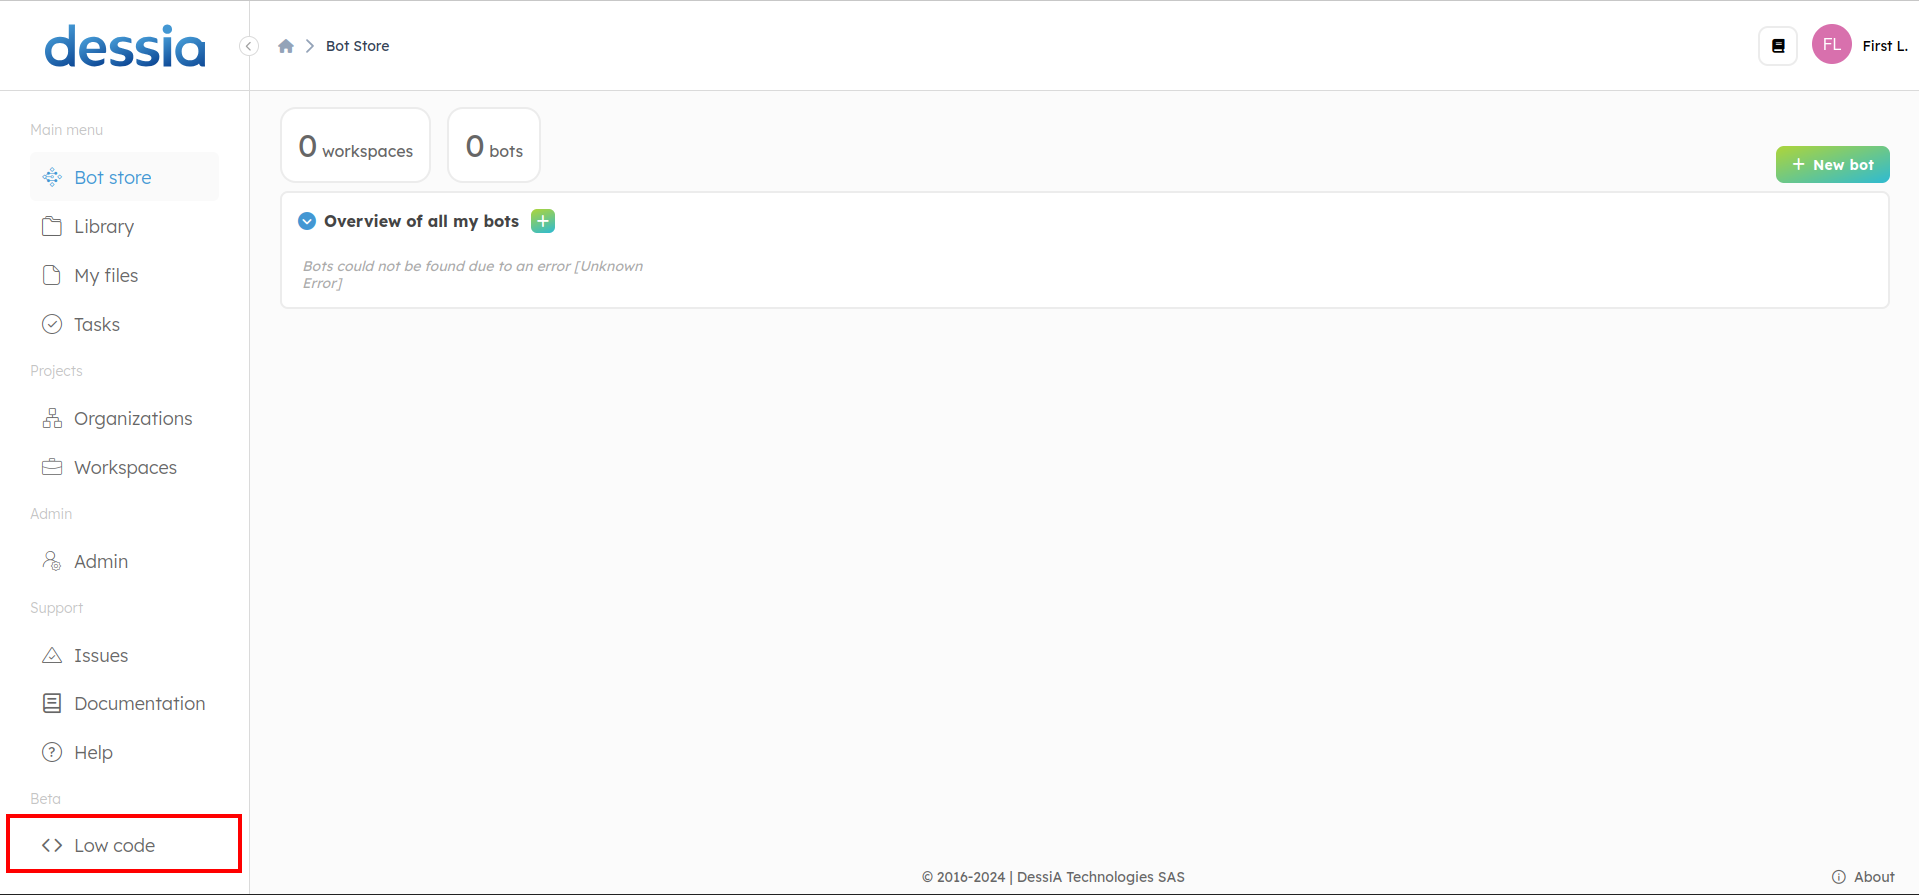
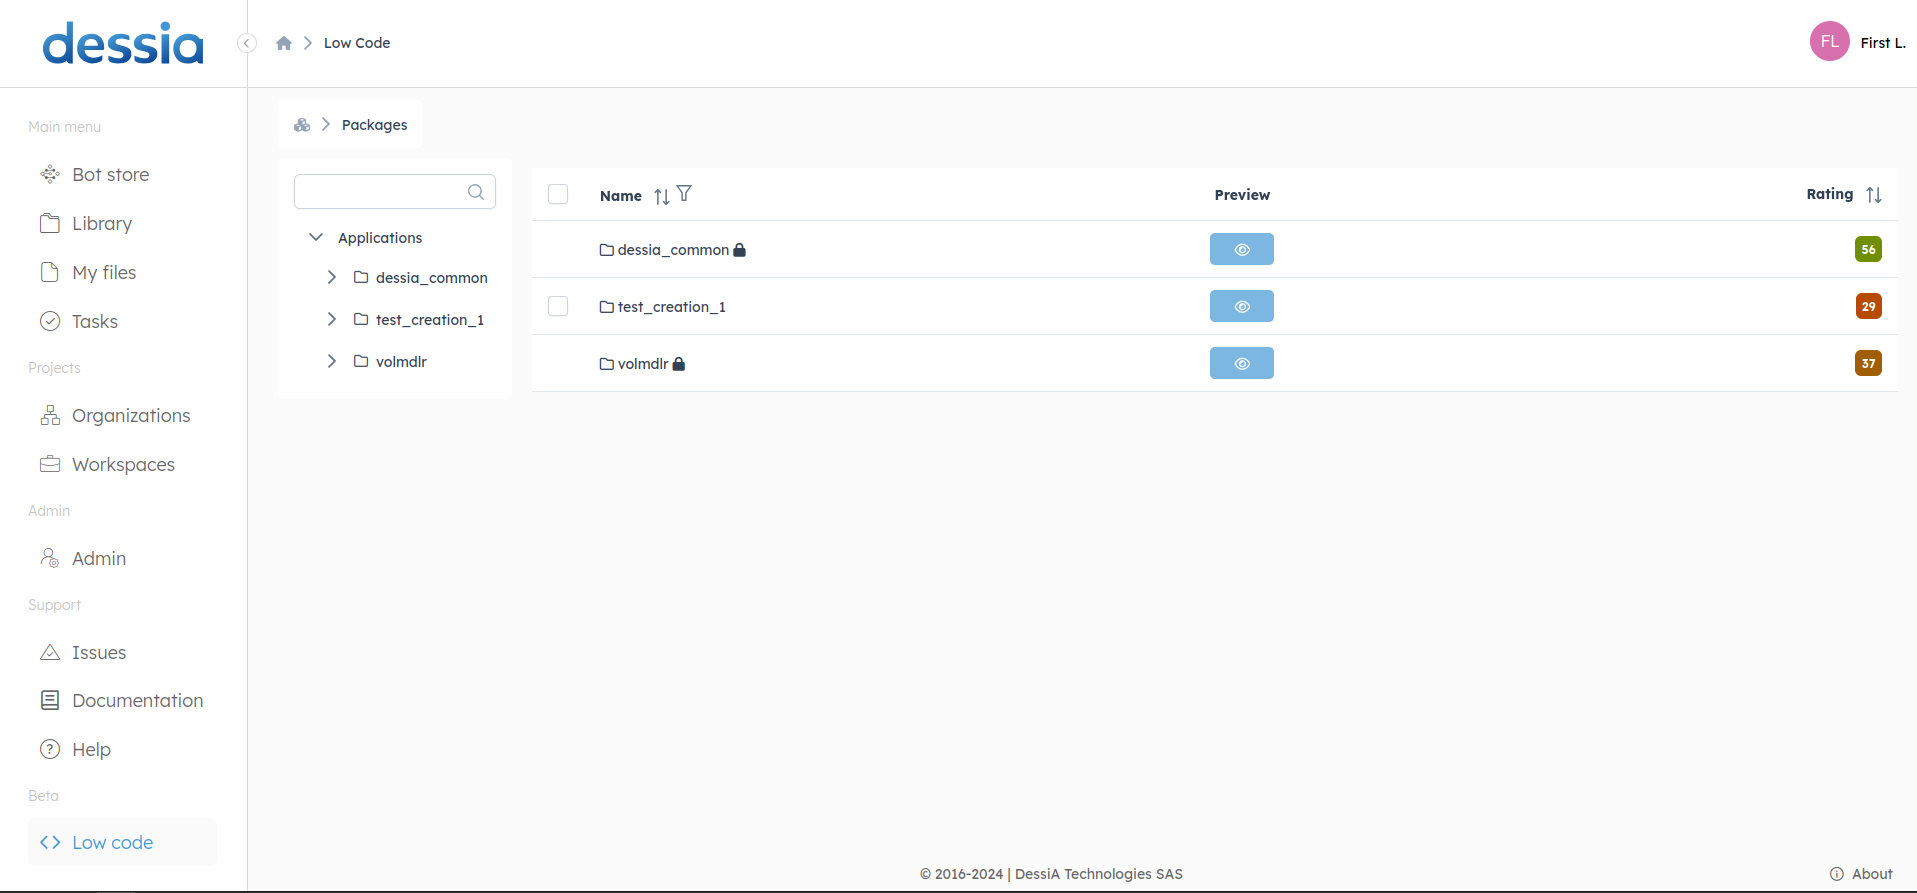
You will find a view of installed packages.
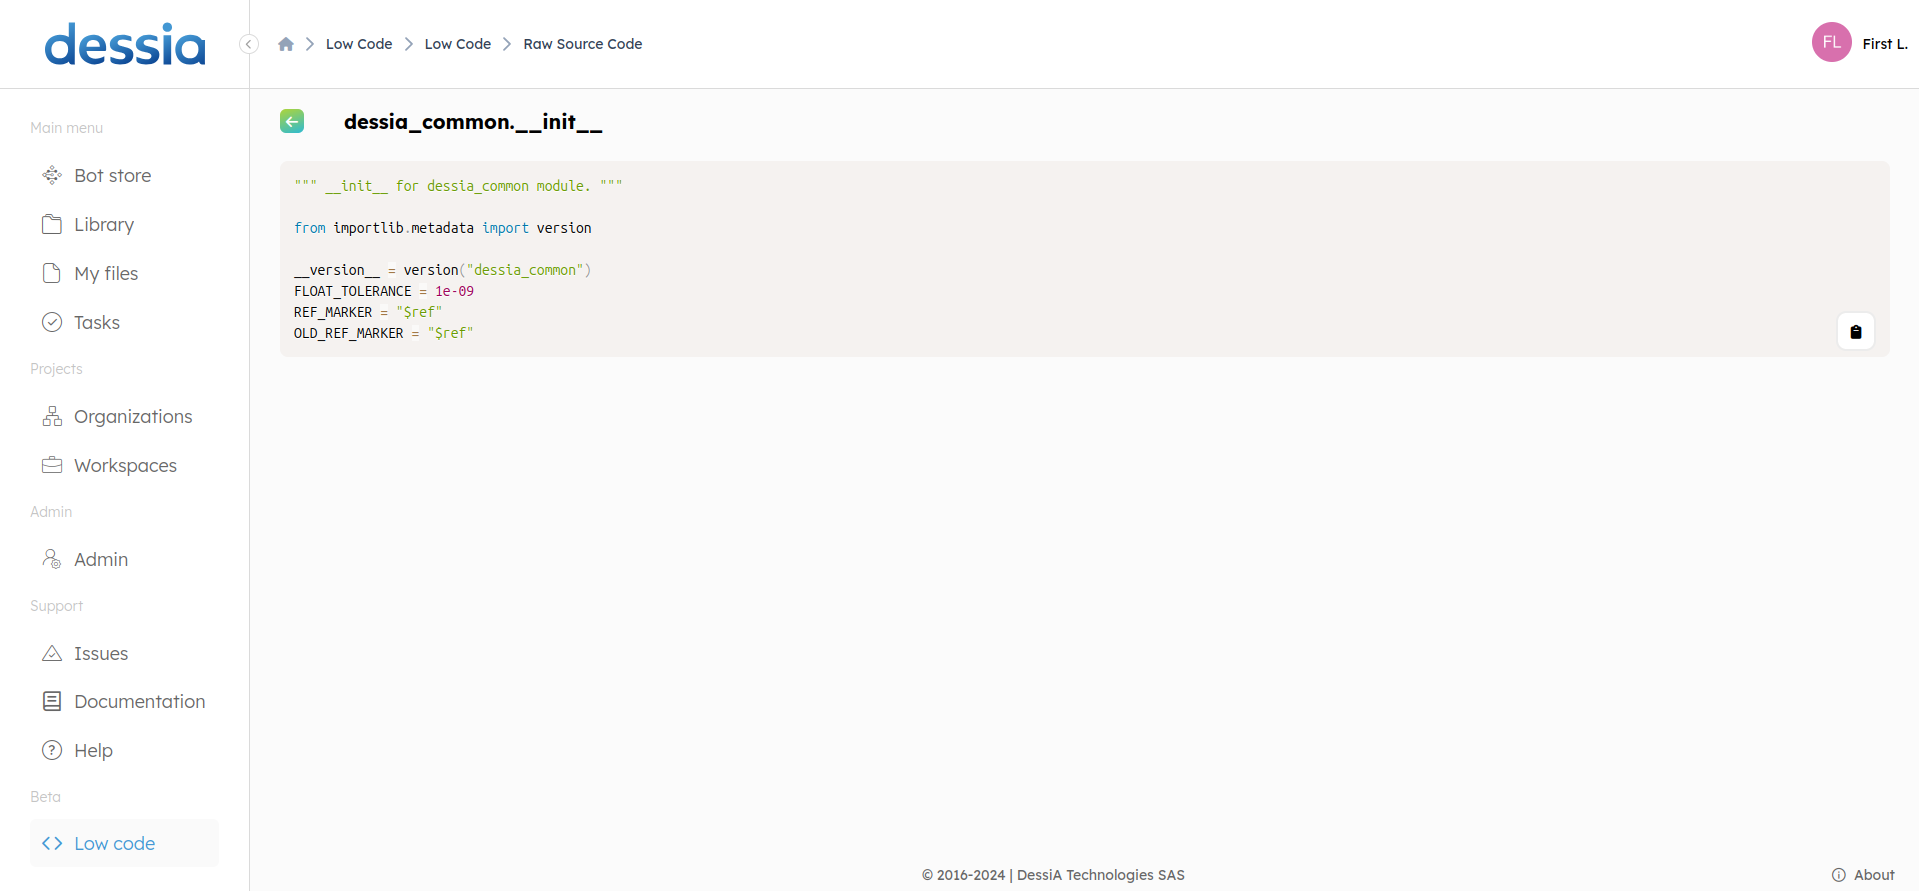
The "Preview" button for a package displays the source code of its module (e.g. dessia_common)

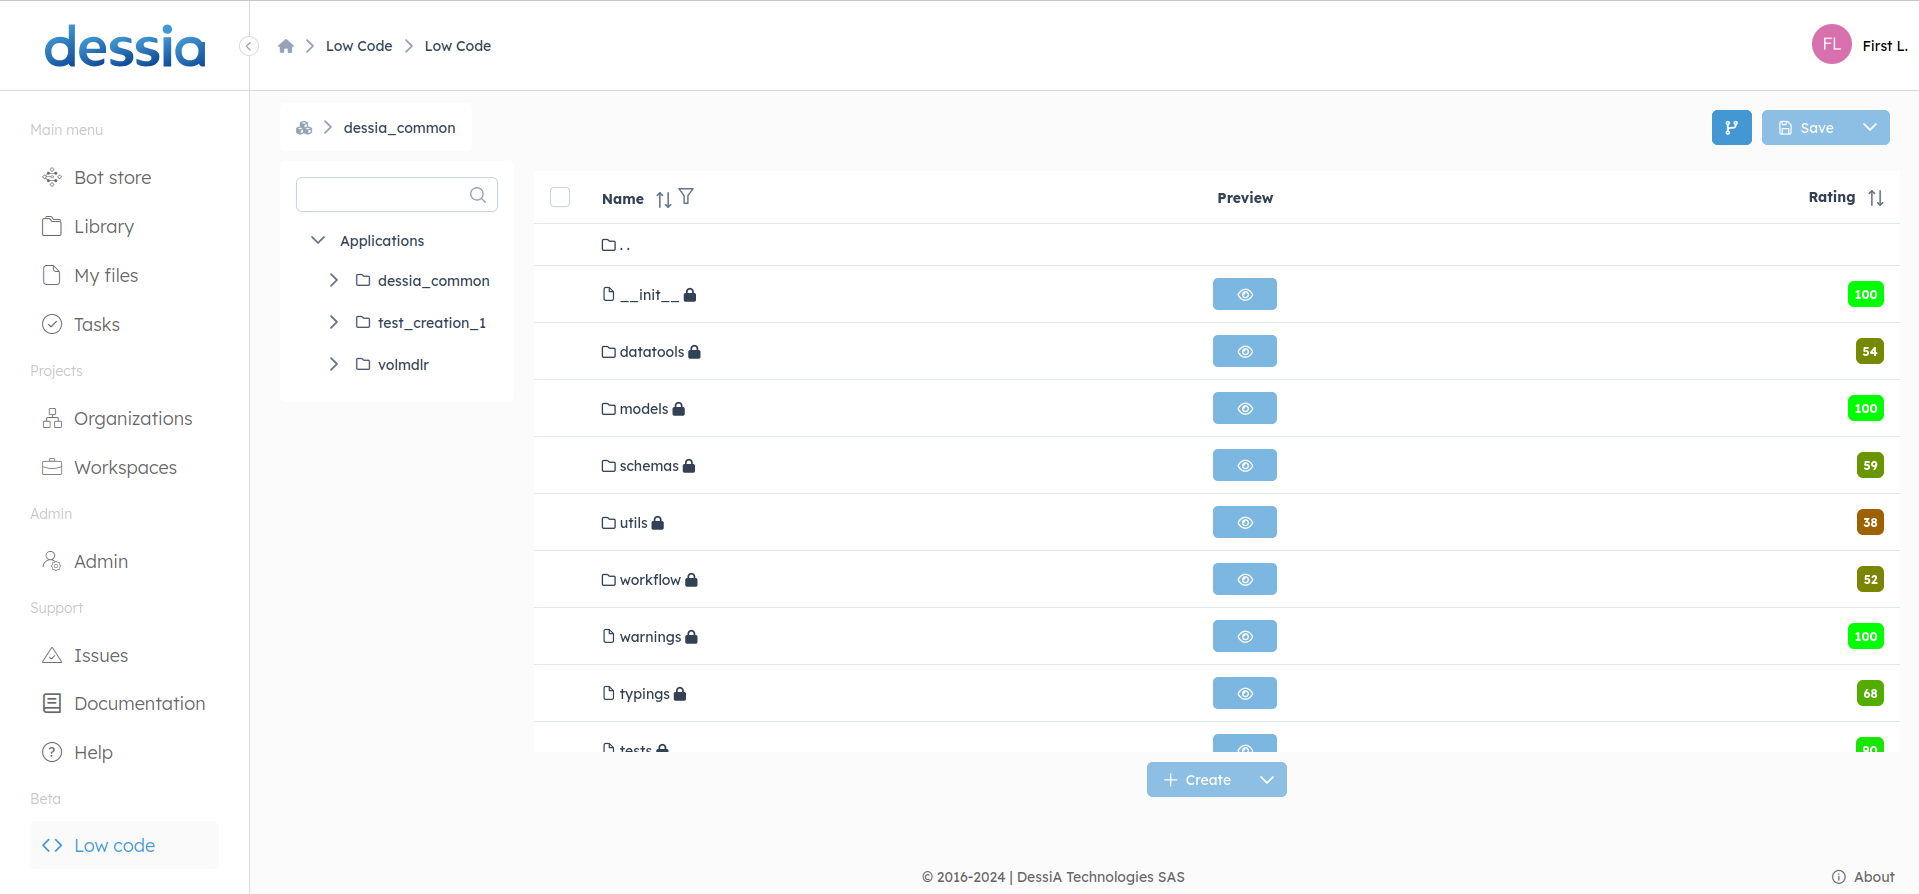
When you click on a row in the table, it shows all the modules and sub-packages within the package (e.g. dessia-common)
Locks icon show that the package is on read only mode.
You can differentiate packages from modules by their icons on the left side of the table.
![]()
When you click on the "Preview" button for a module, it displays the source code of the module. If you click on a row for the module, it takes you to the module view
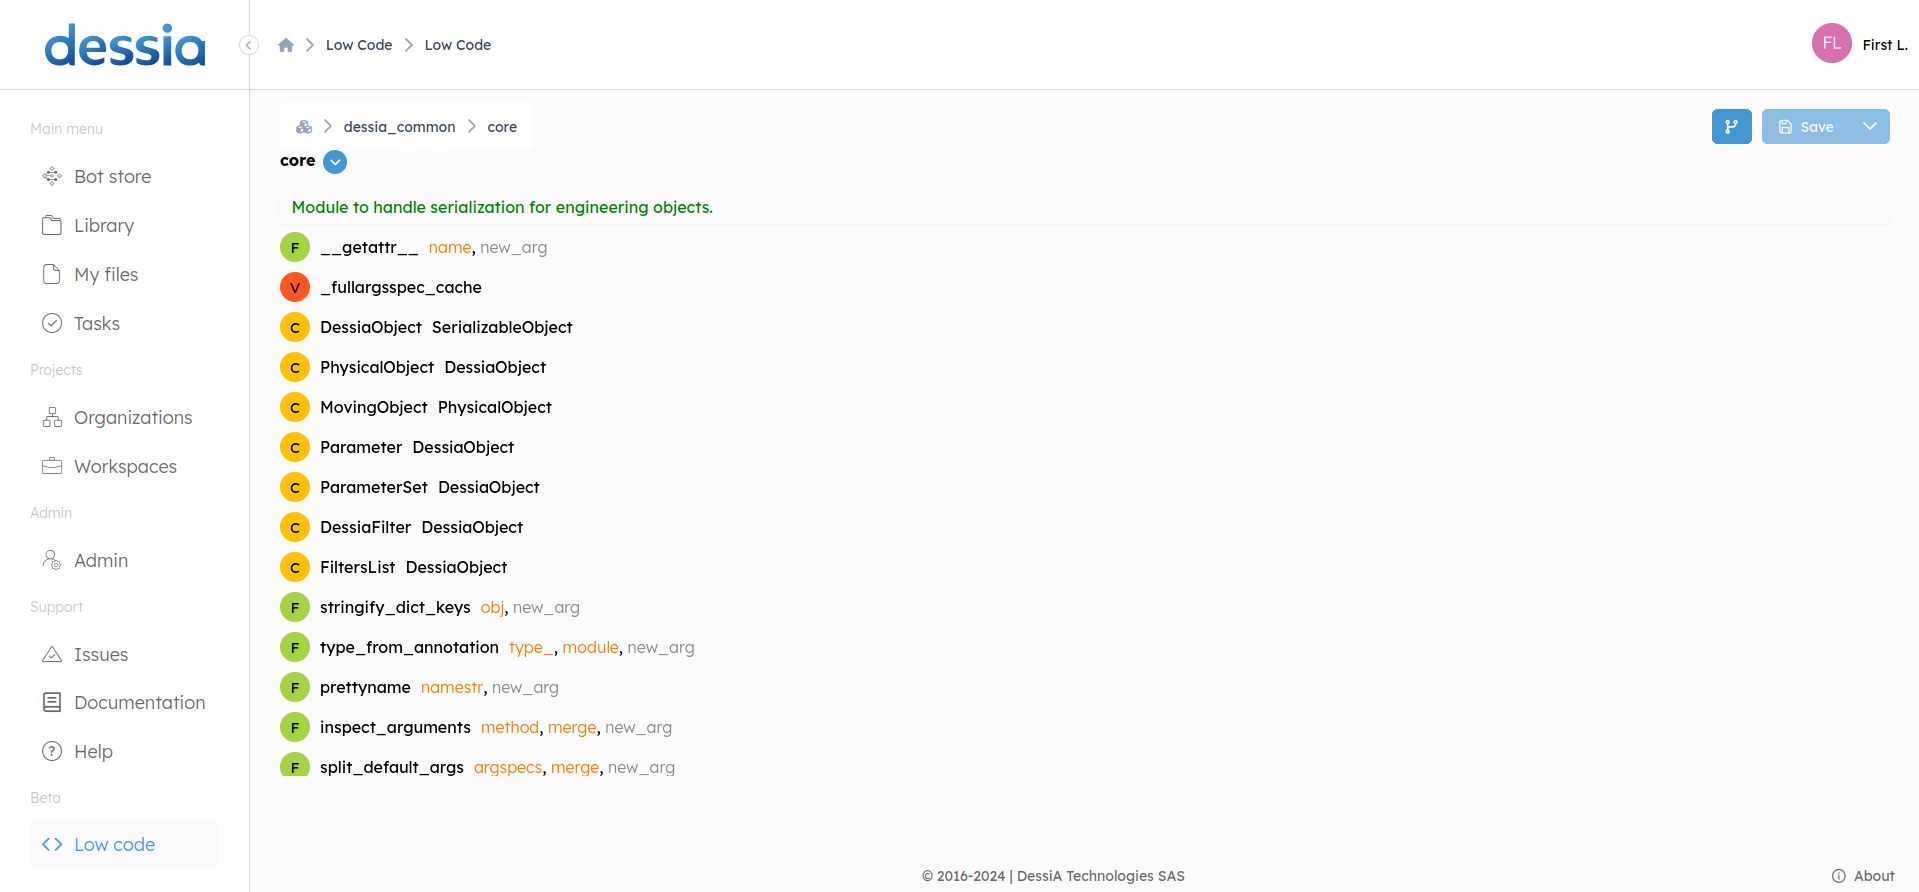
Here we can see the module described by its doc at the top, an ordered table of the module's elements. Imports are by default hidden. To look into them, click the little arrow at the right of the module name. In the table, you can find 3 types:
![]()
You can see these objects by clicking on their name (unless variables) or right click on them and click preview.
Classes and functions also have their own views
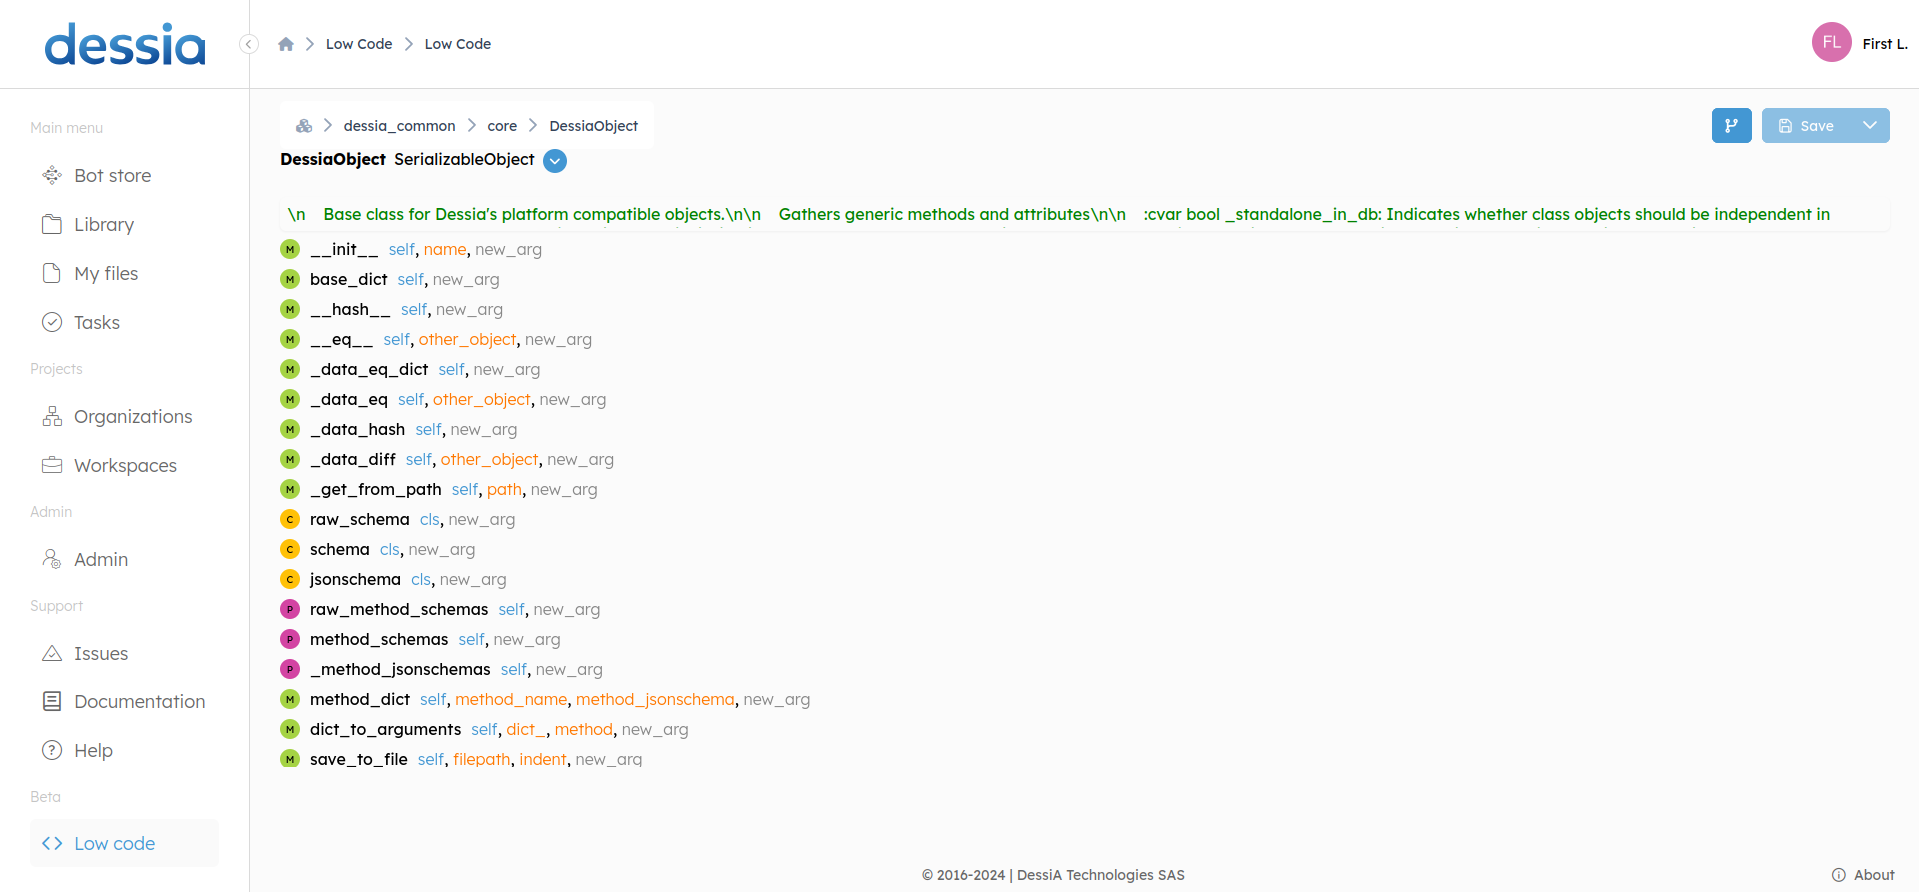
Here we can see the class is described by its doc at the top, an ordered table of the methods
In the table, you can find multiple types of methods:
![]()
You can see these method by clicking on their name or right click on them and click preview.
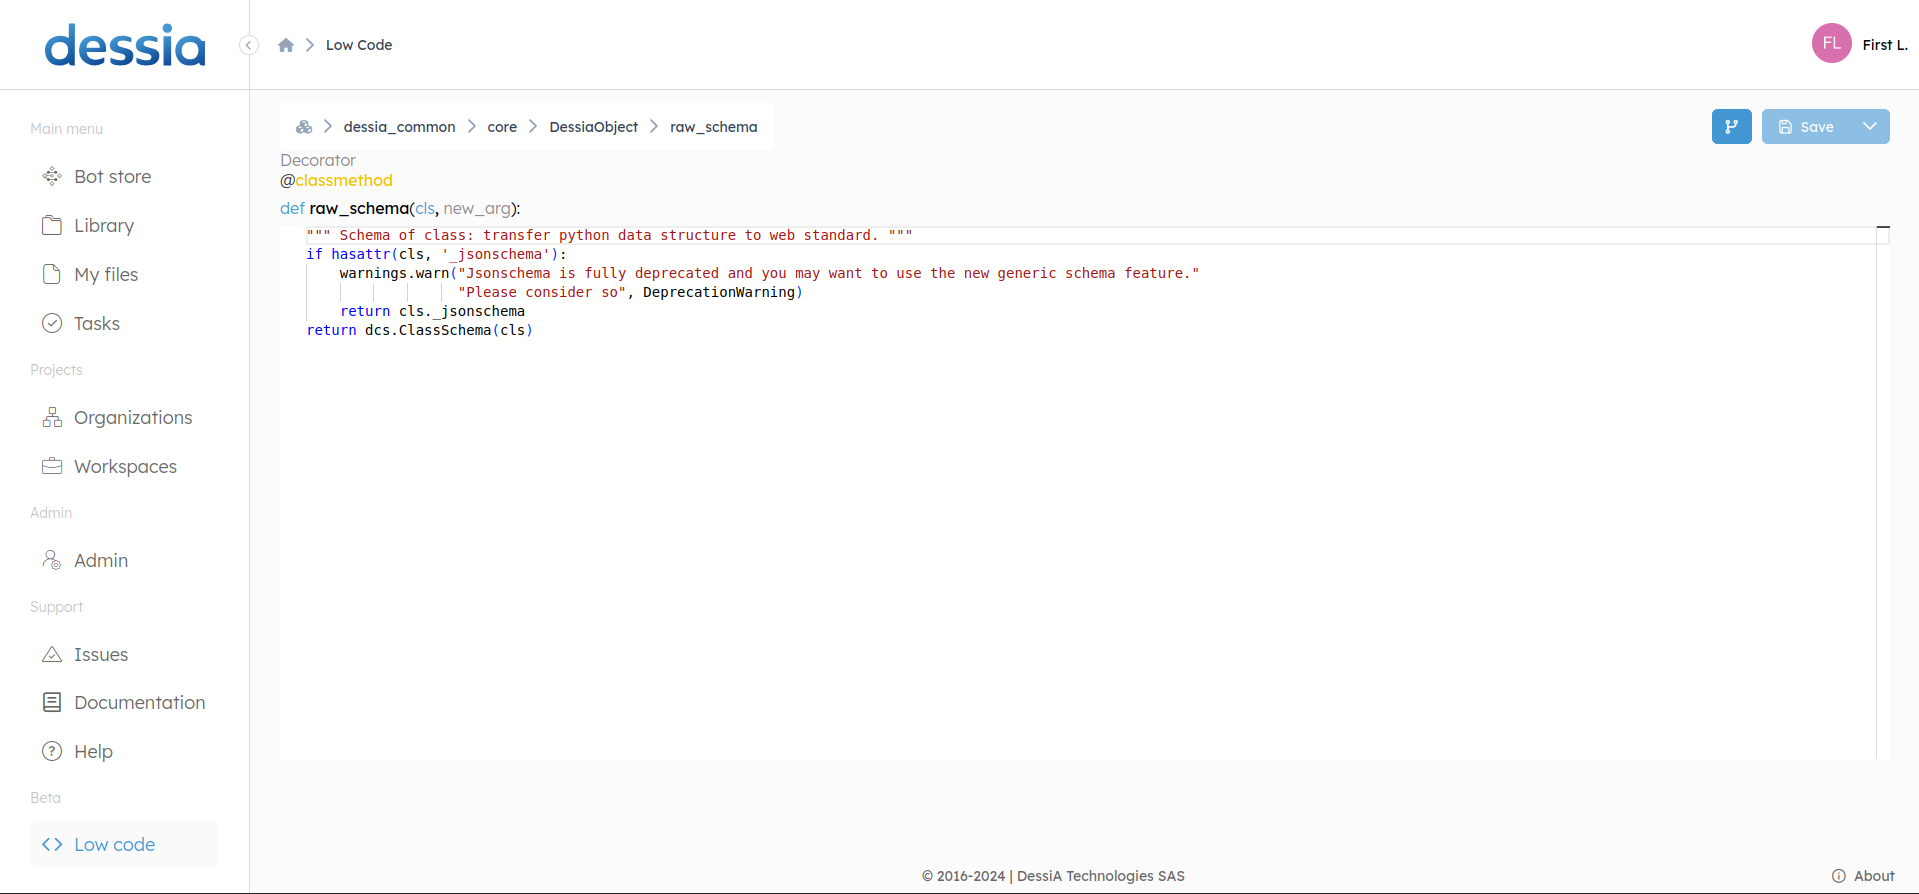
Finally, the "function view" (which is similar to what you can find in any code editor)...
2. Edition
Introduction
In this section we will see how to navigate, create, delete and modify a full package within the platform. That includes following object:
- Package
- Subpackage / Module
- Class
- Function / Method
- Variables
Package
Firstly to create your own package from scratch you need a valid [[Git-Token]] on one of our supported git client.
Creation
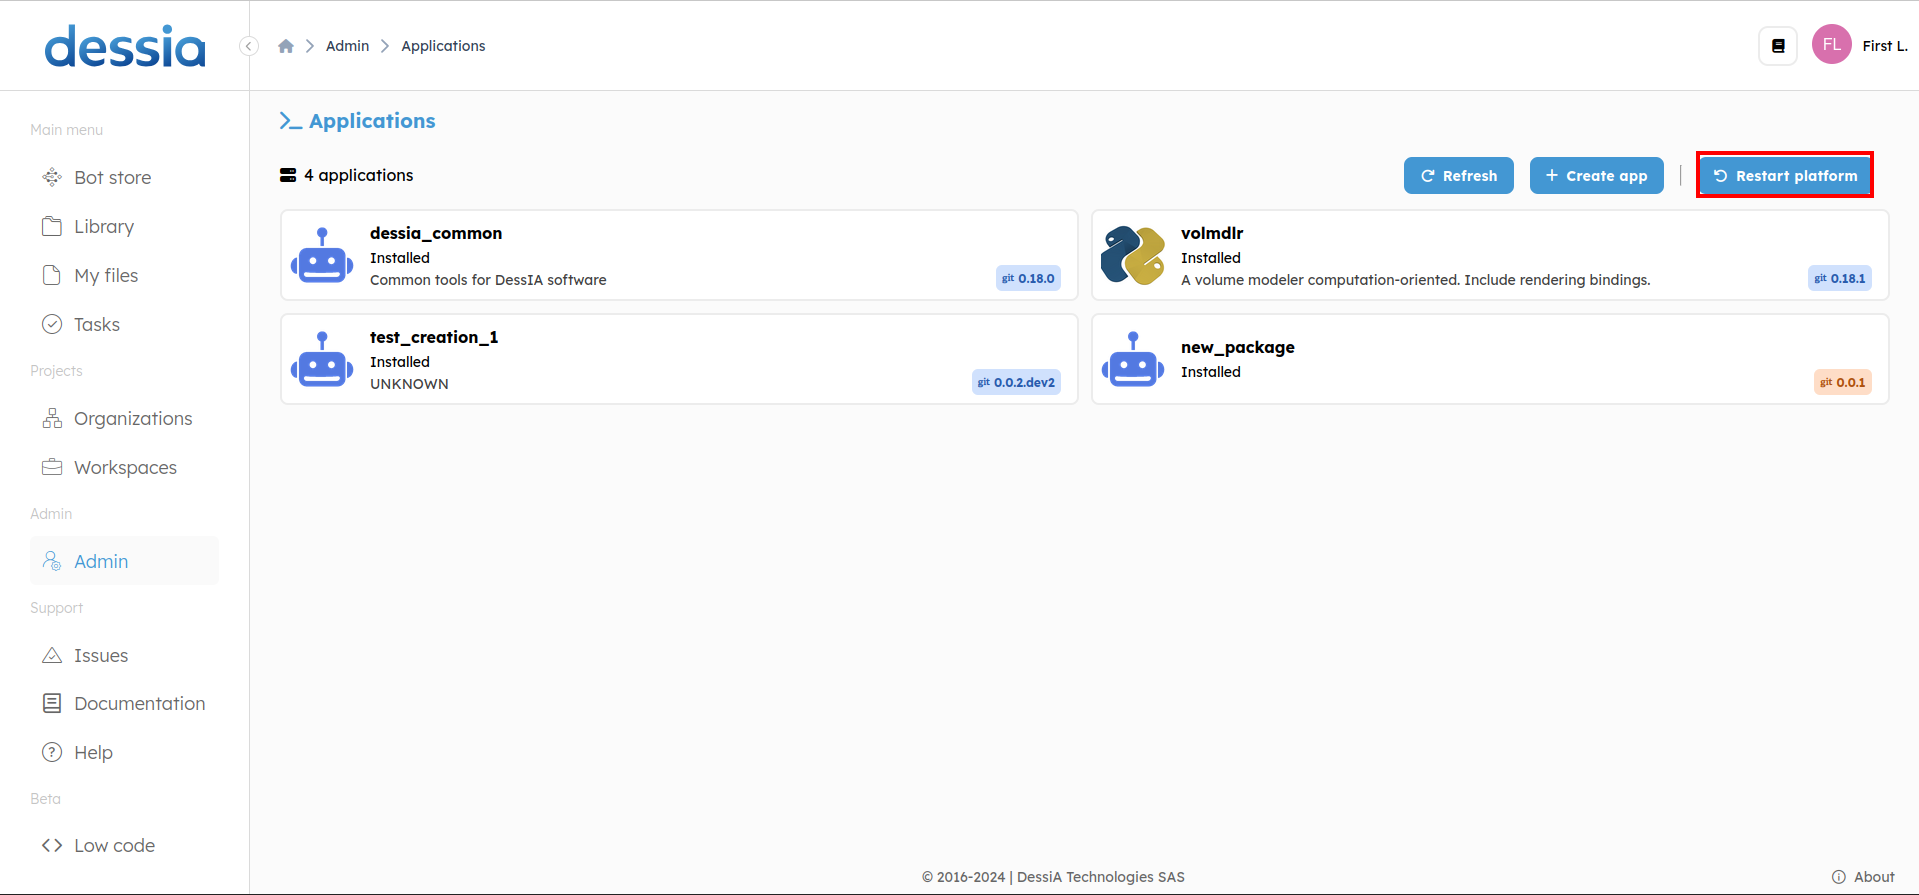
Navigate to Admin > Applications.
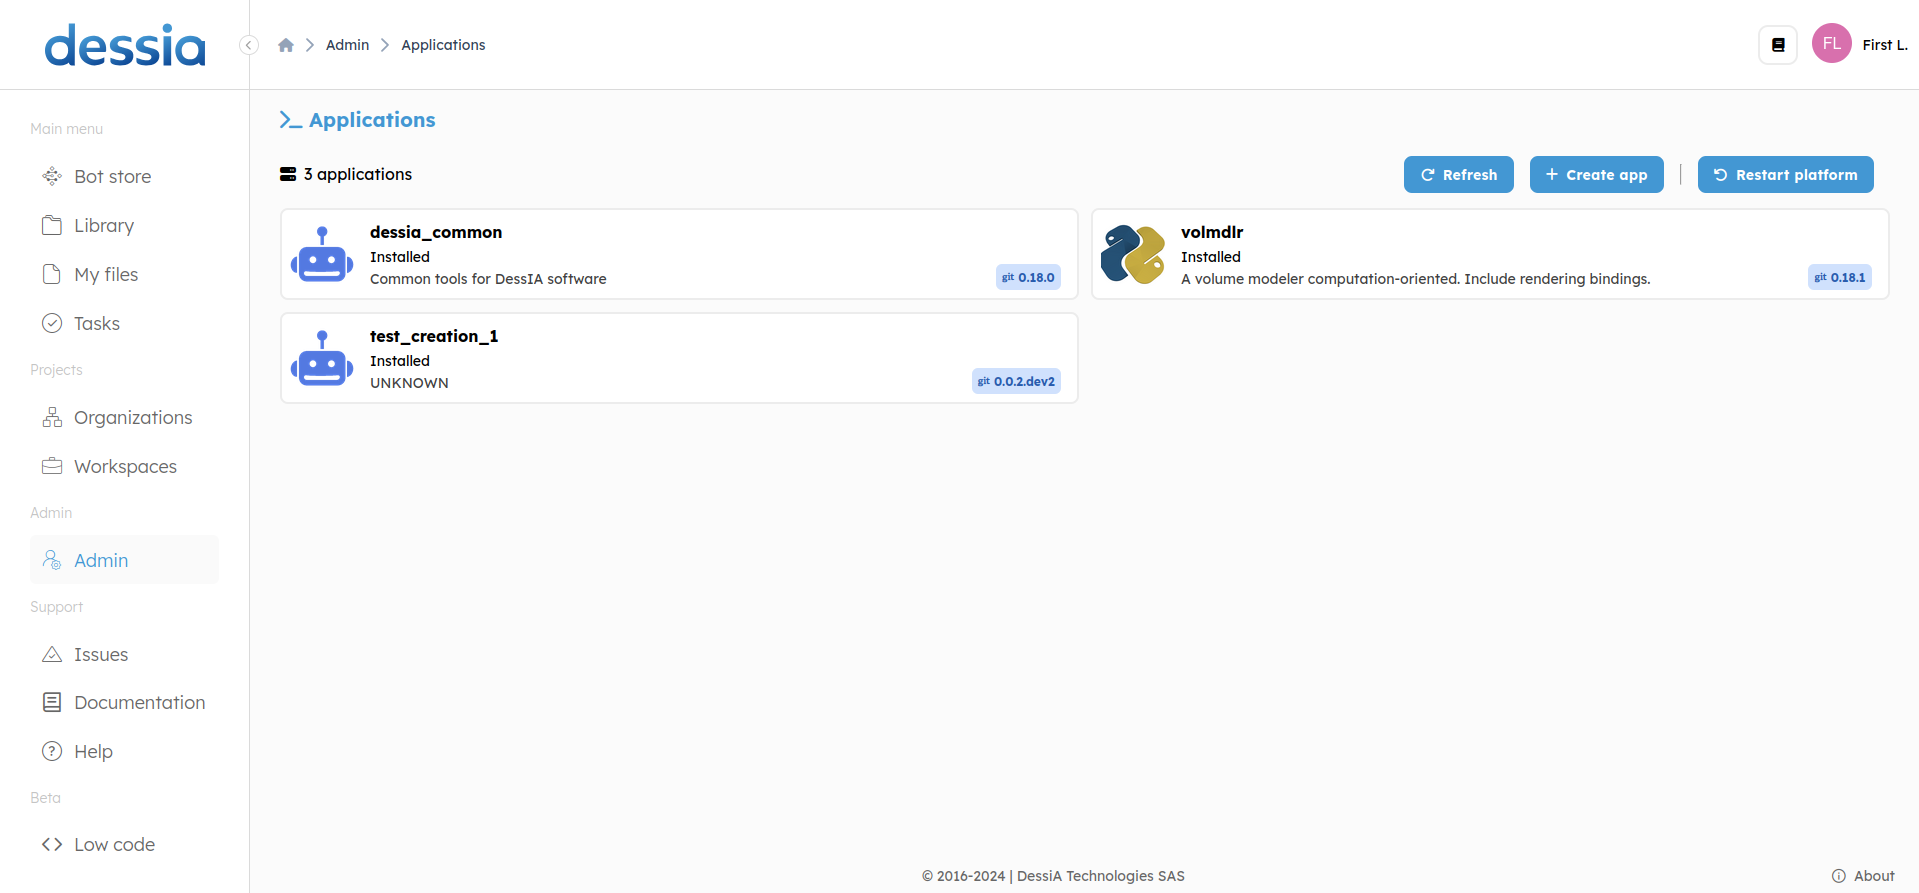
Click on Create App > Create git repository
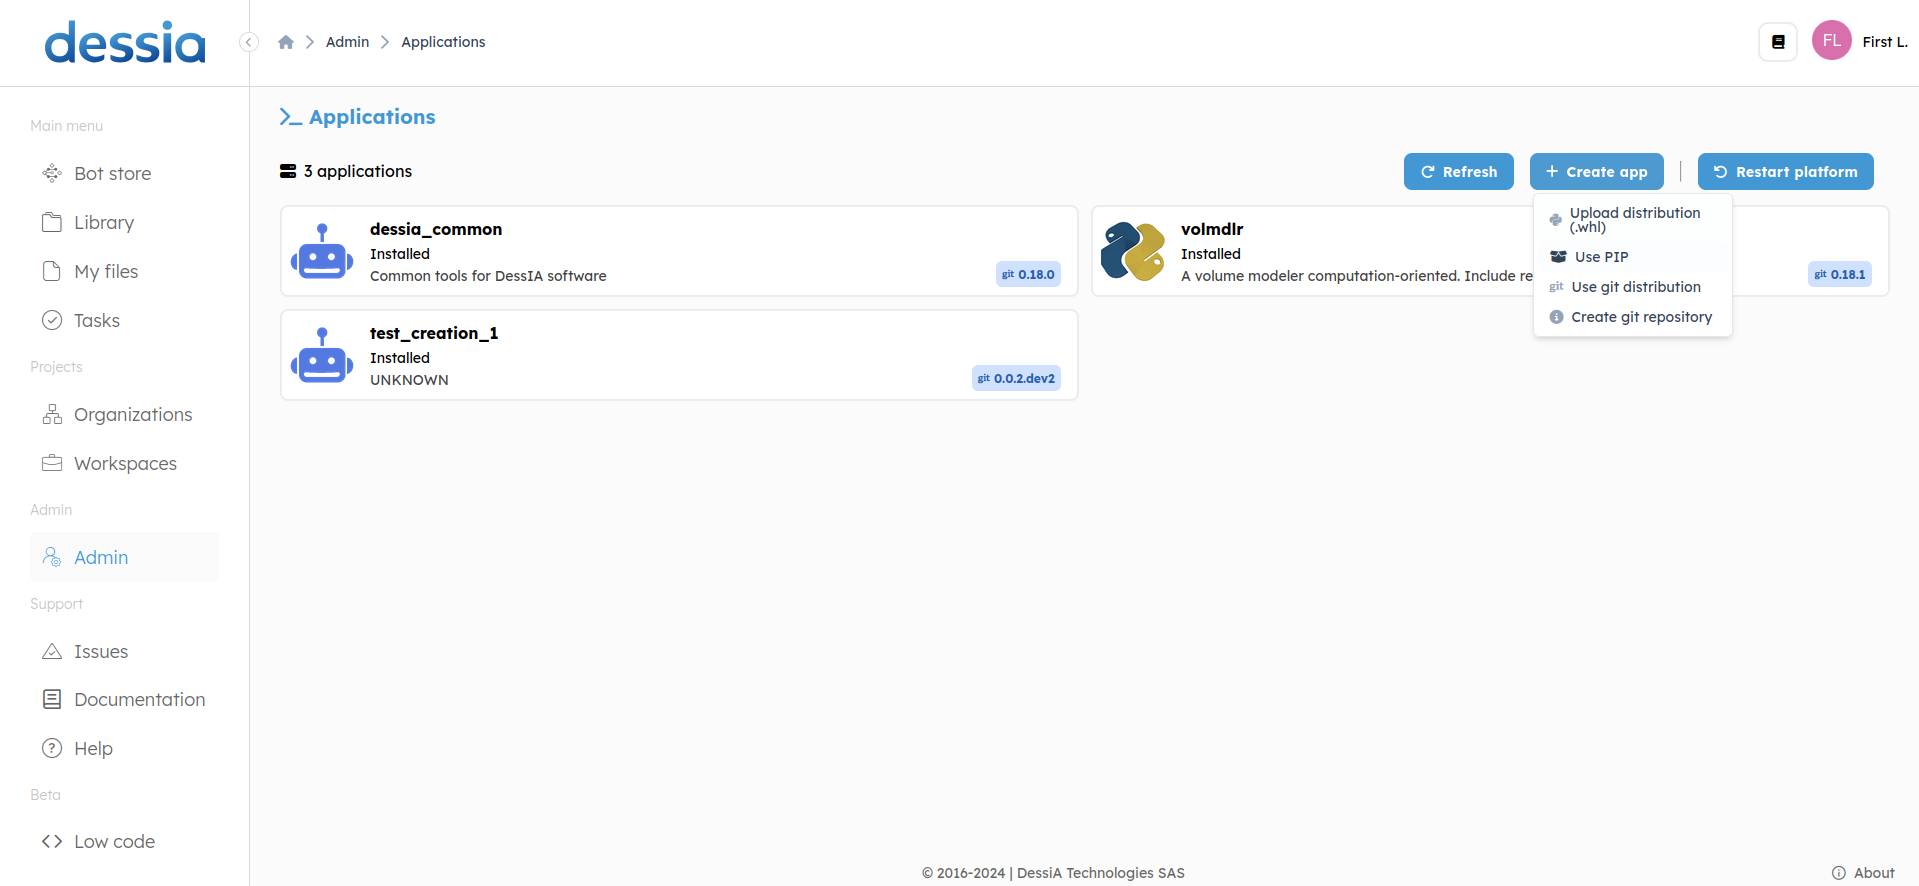
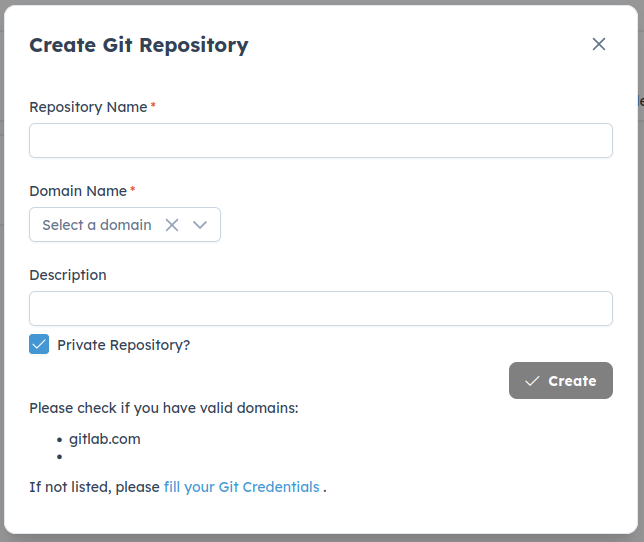
Fill out the form with the required details.
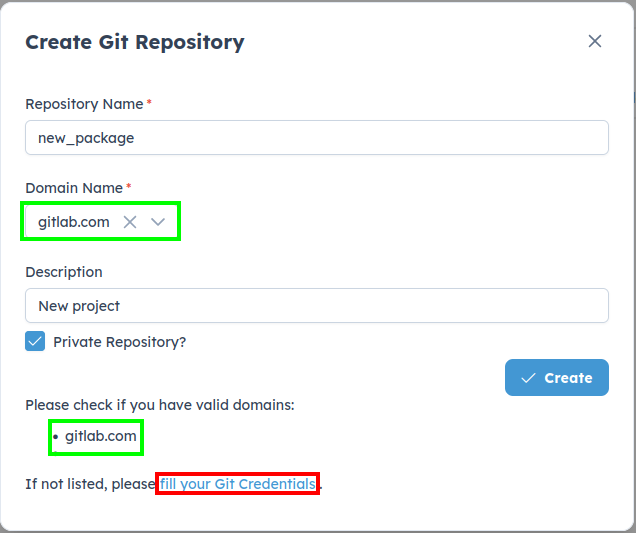
Choose the git client you want, if your Git client does not appear, there may be an issue with your Git credentials (link to git credential doc). Click here to be redirected to the page and correct the problem as indicated in the red rectangle.
Once filled out, the system will create and commit v0.0.1 of your project with all configurations in place.
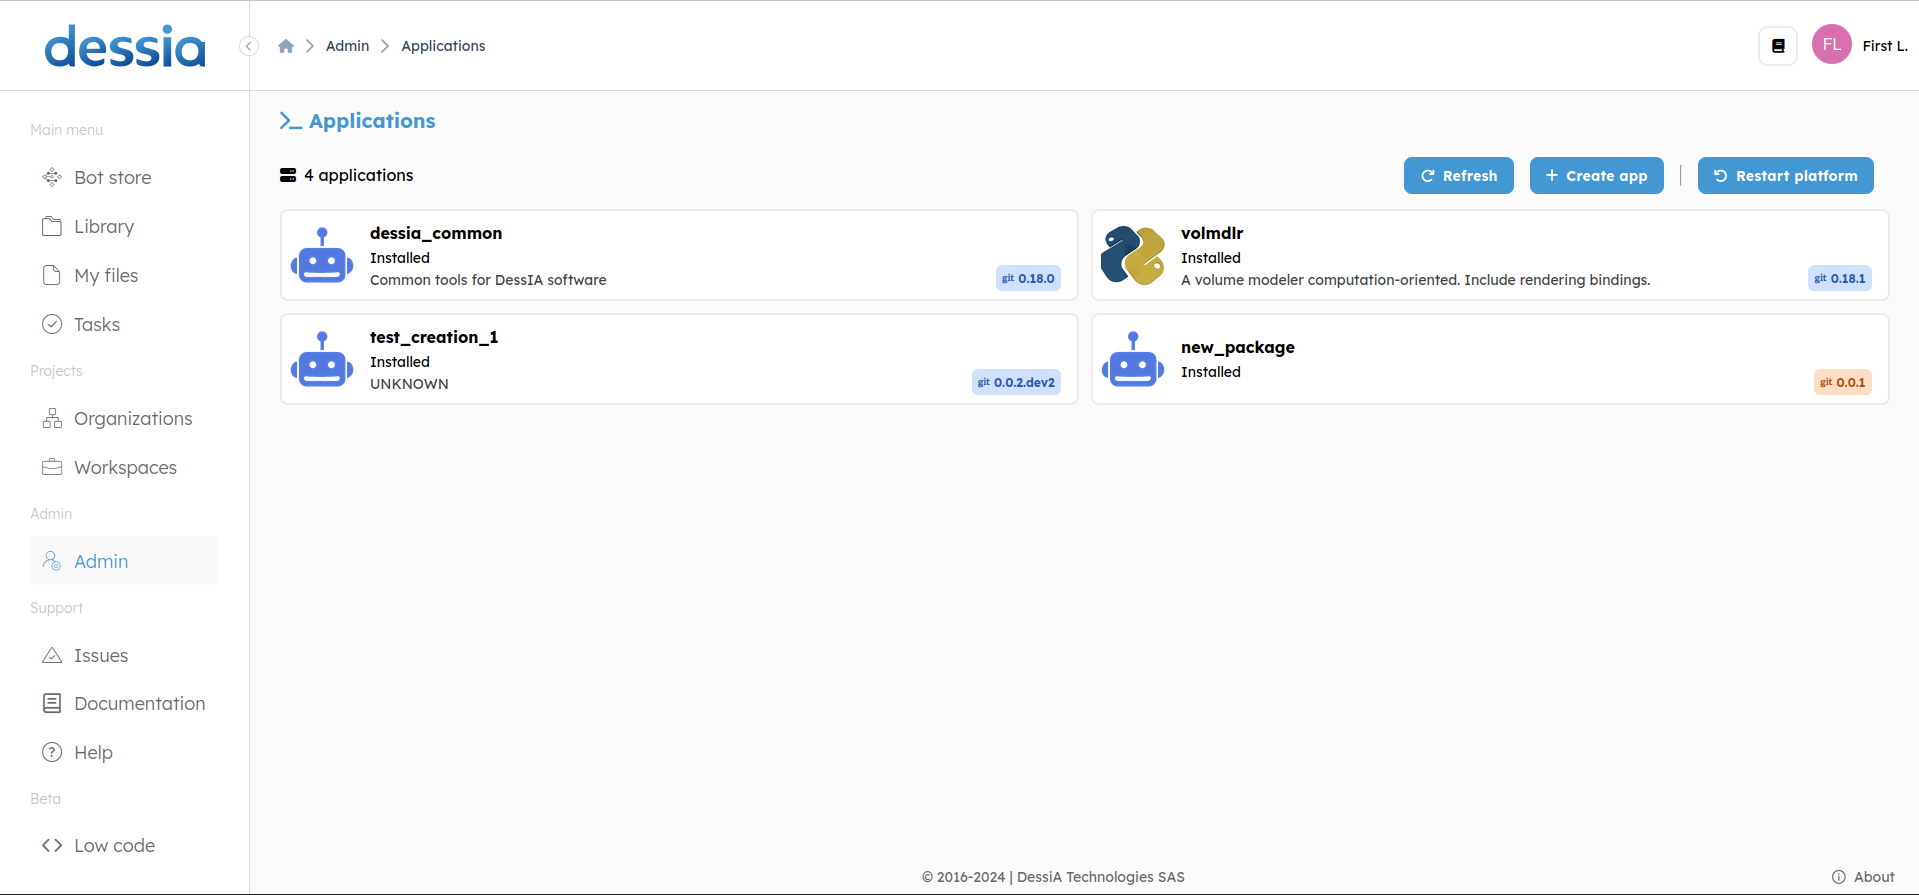
After creation, you can install it and restart the platform to begin modifying it.
Suppression
To delete a repository, navigate to your Git client account. 1. Locate the repository, it will be in your personal repositories and delete it from there.
Sub-package / Module
Once you're set, we can go to low-code on the left sidebar at the bottom.
Get inside the package you wan to modify.
Creation
To create sub-packages, click on the "Create" button.
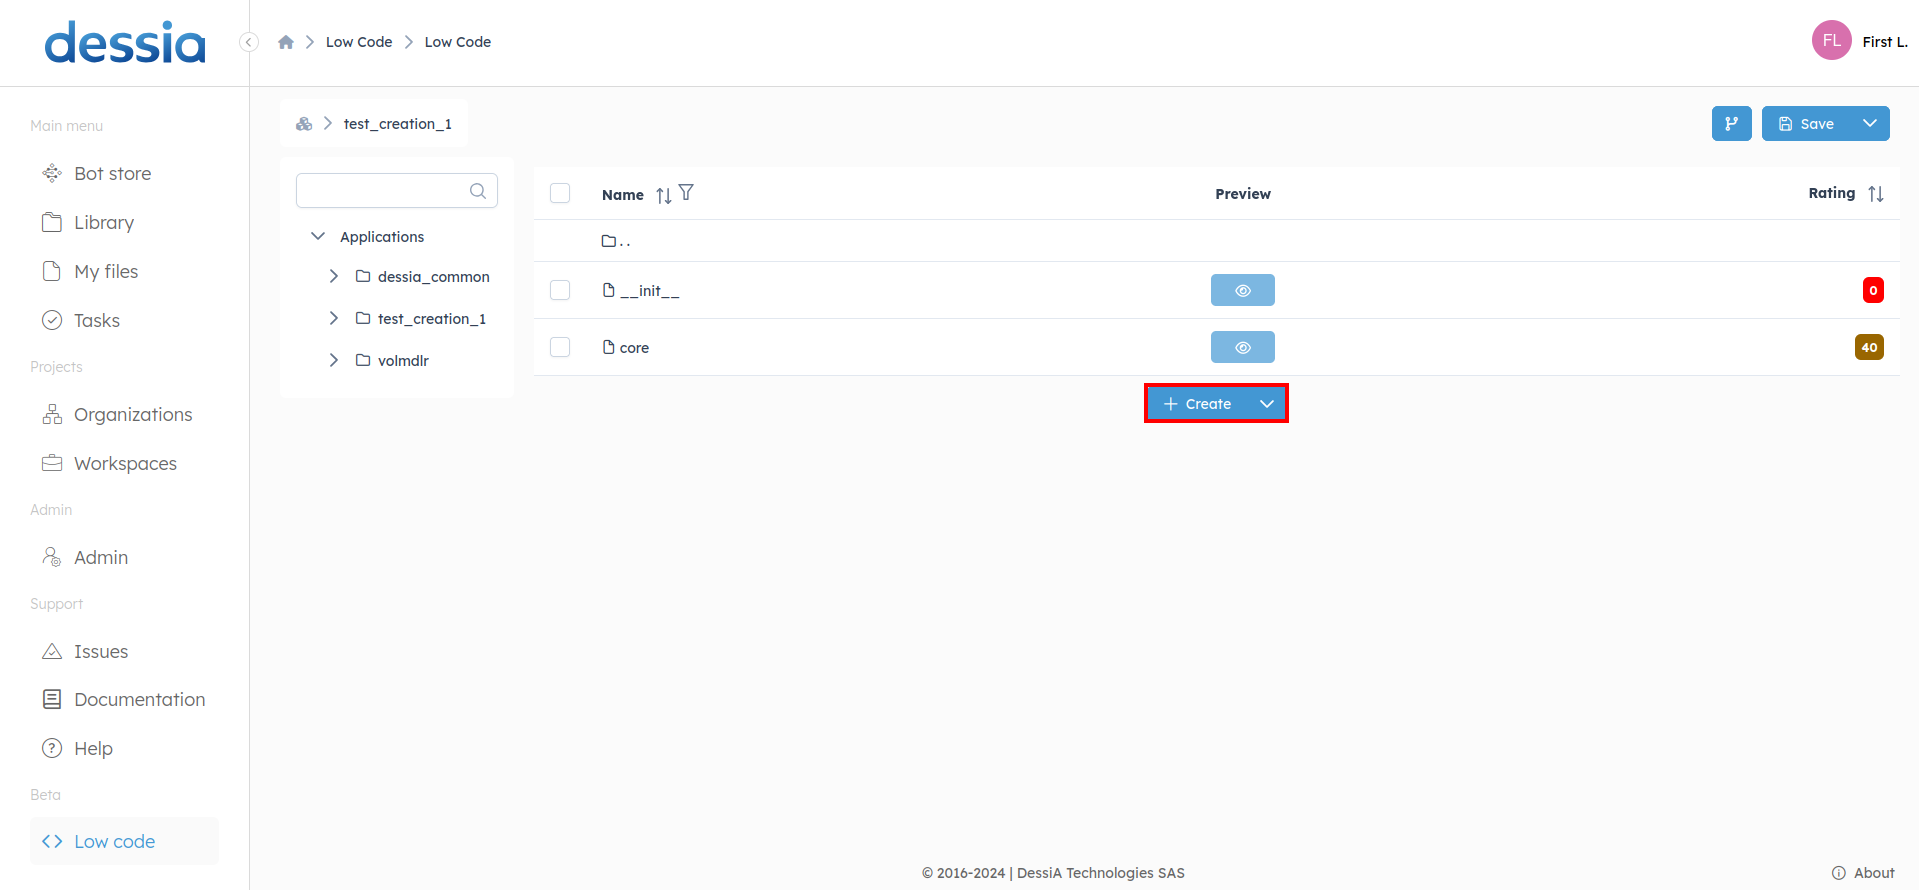
If you wish to create modules instead, click on the down arrow located at the right of the "Create" button and select "Module".
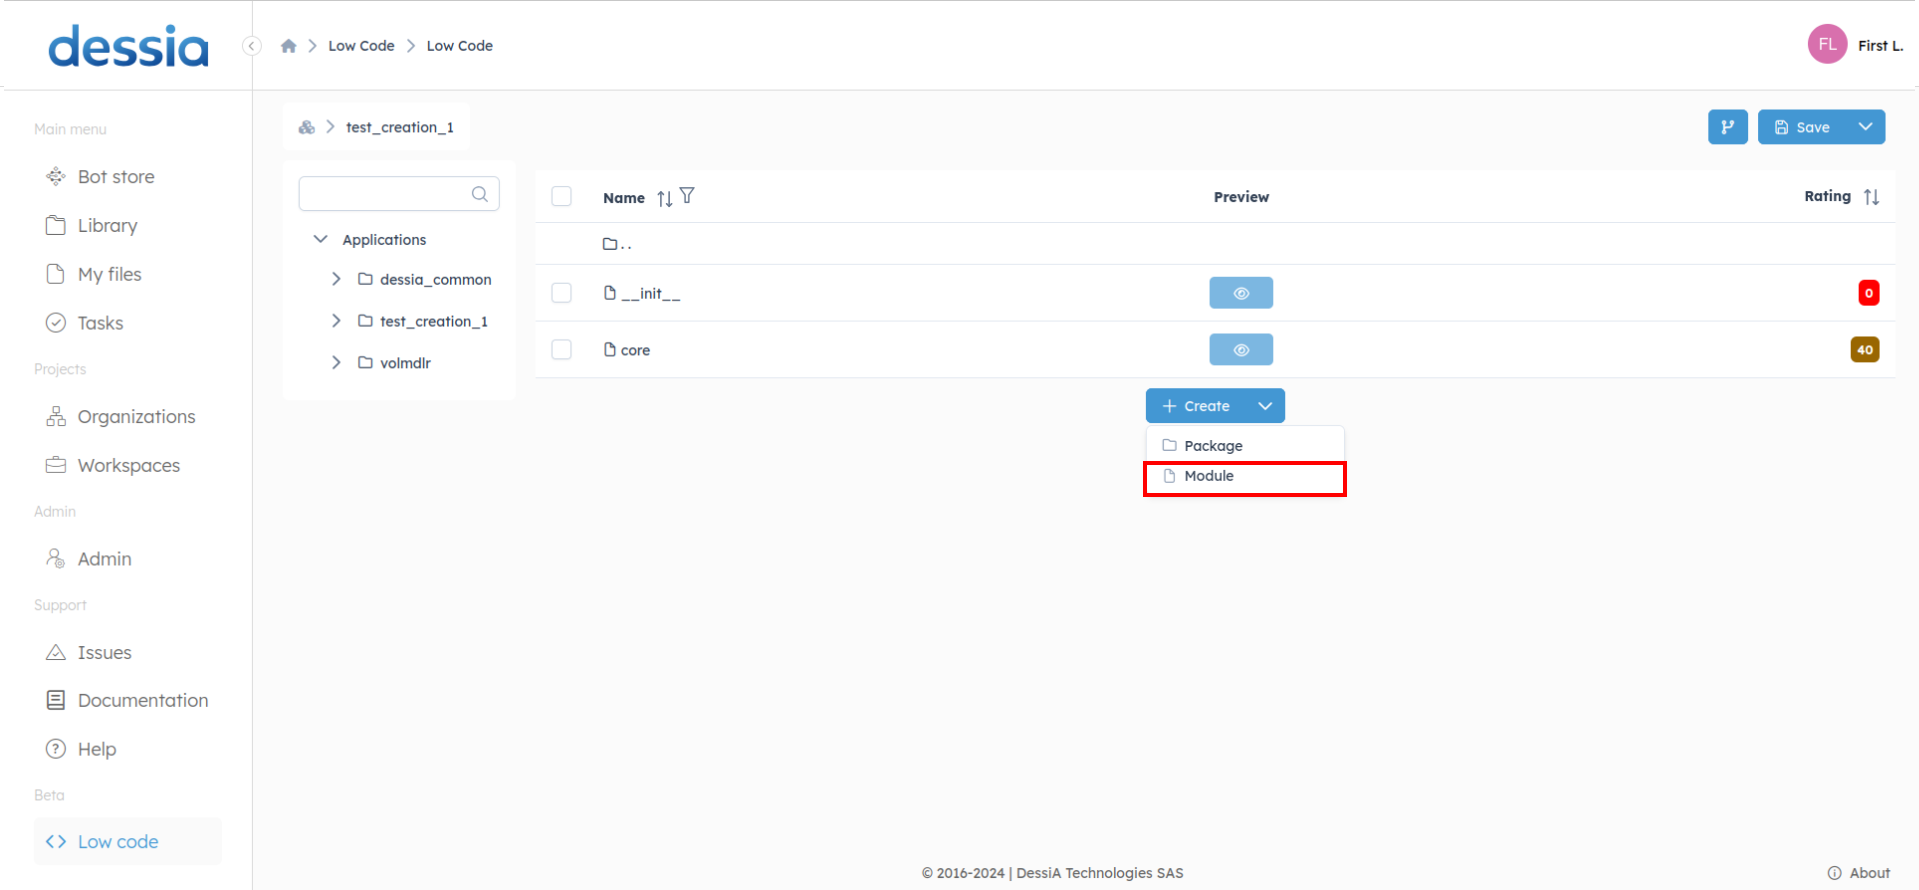
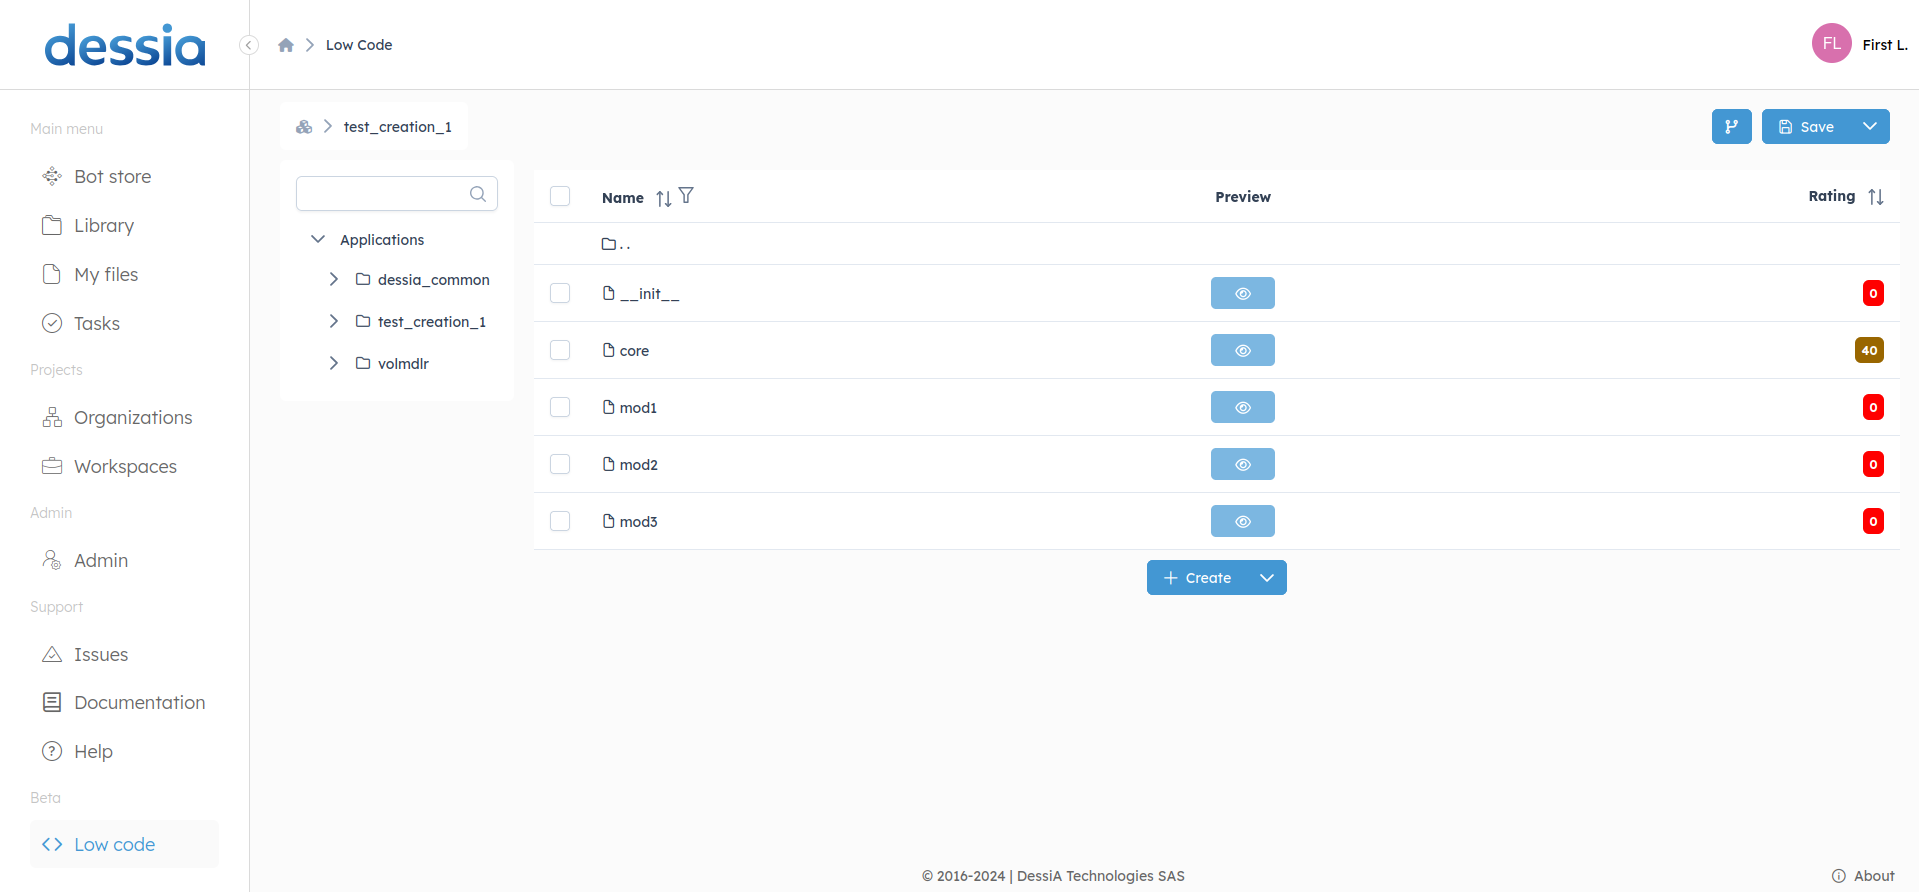
Both options function similarly. Type in the names of the new elements, separating each by entering.

Finally, click on "Add" to complete the creation process.
Suppression
To delete one ore more entities, you have to check boxes at the left of the row
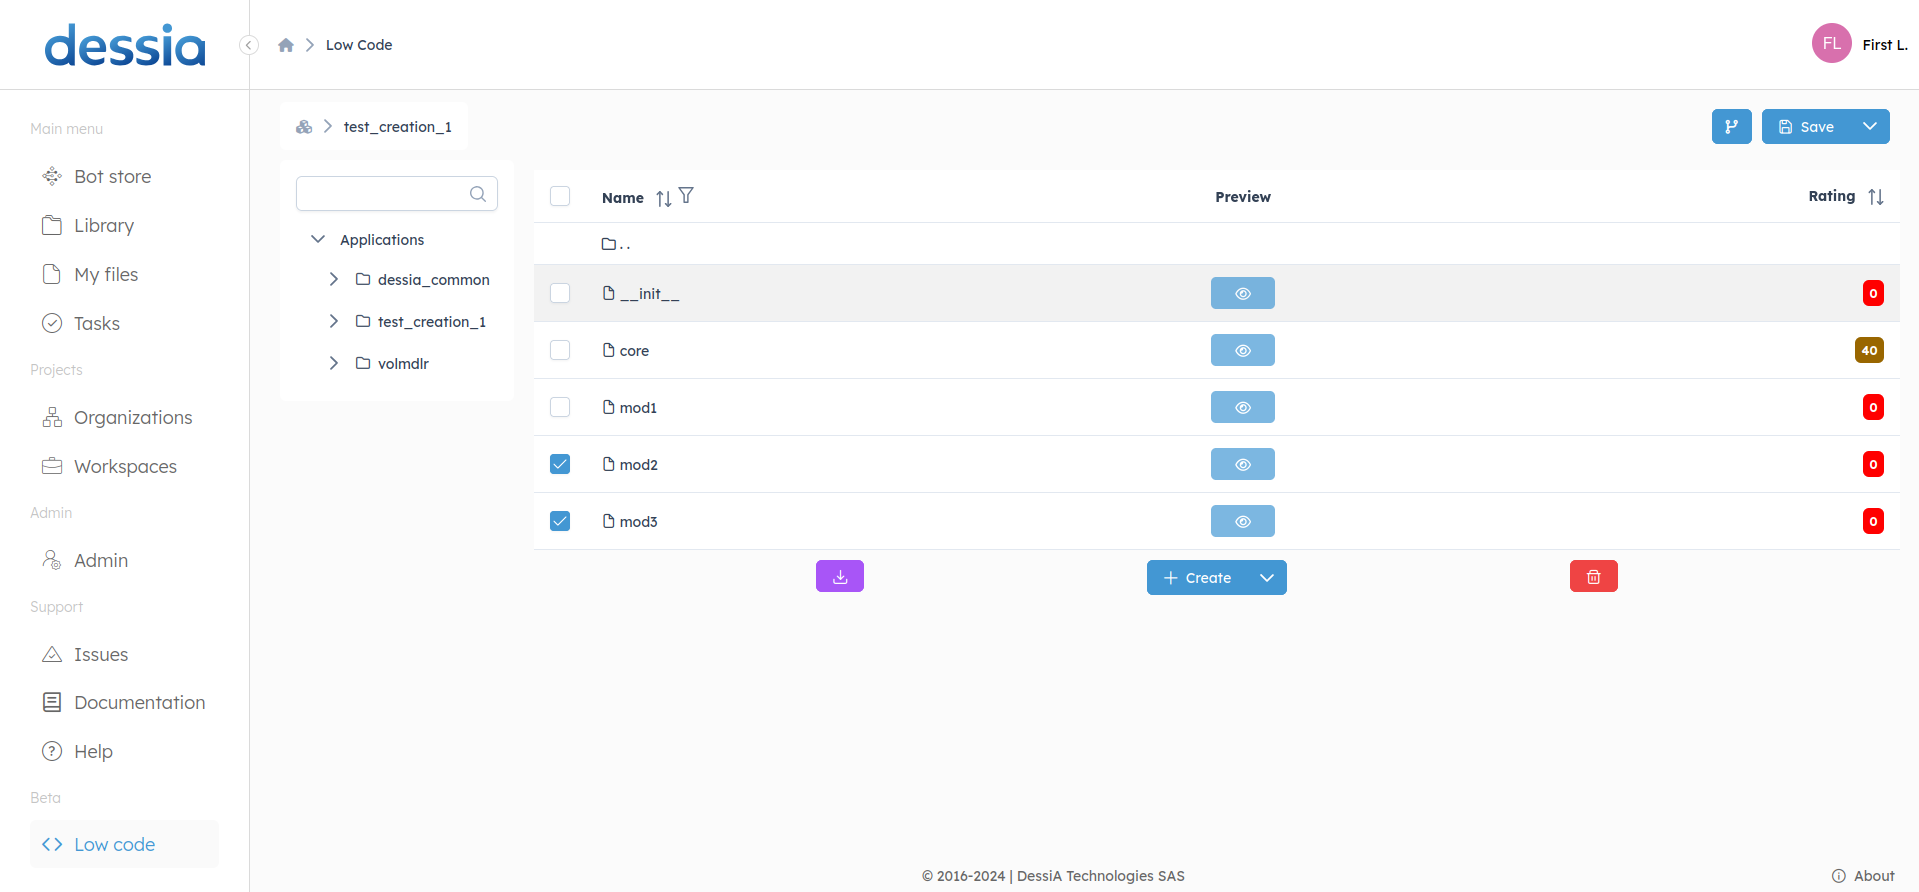
Then a delete button will appears as the download button will appears also
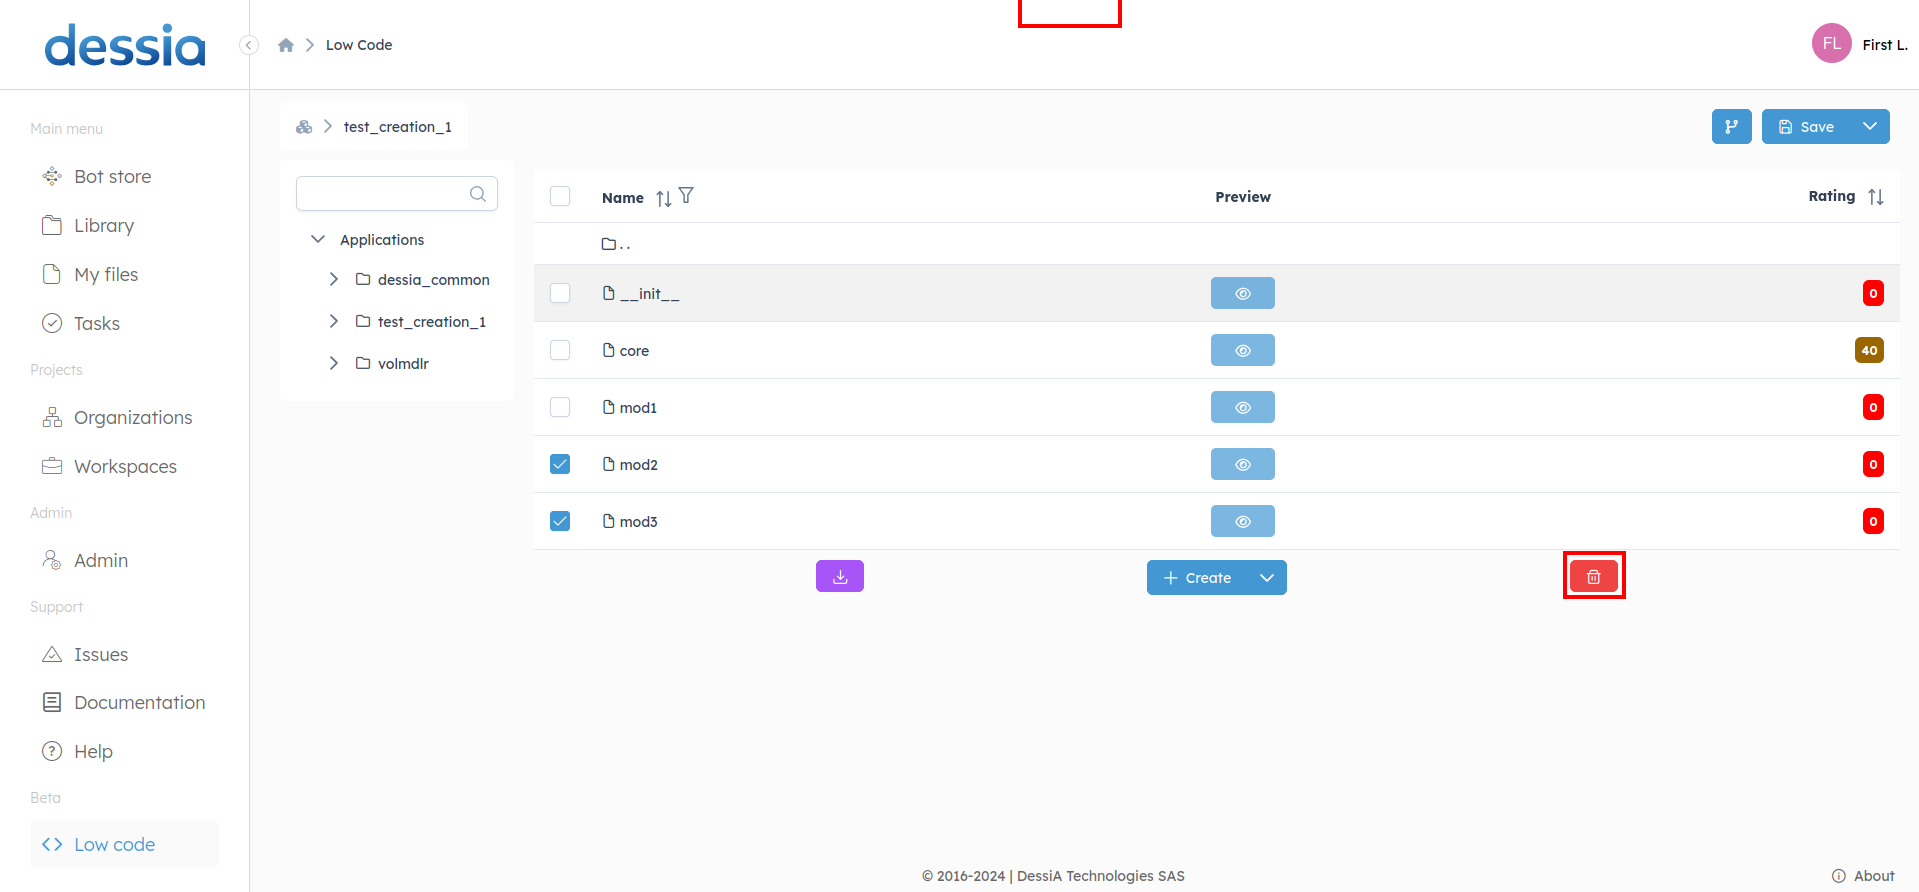
Click on delete and confirm

Class
To create a class you need to be inside a module. So let's div into mod1.
Creation
Navigate to the desired module by clicking on it from the modules list.
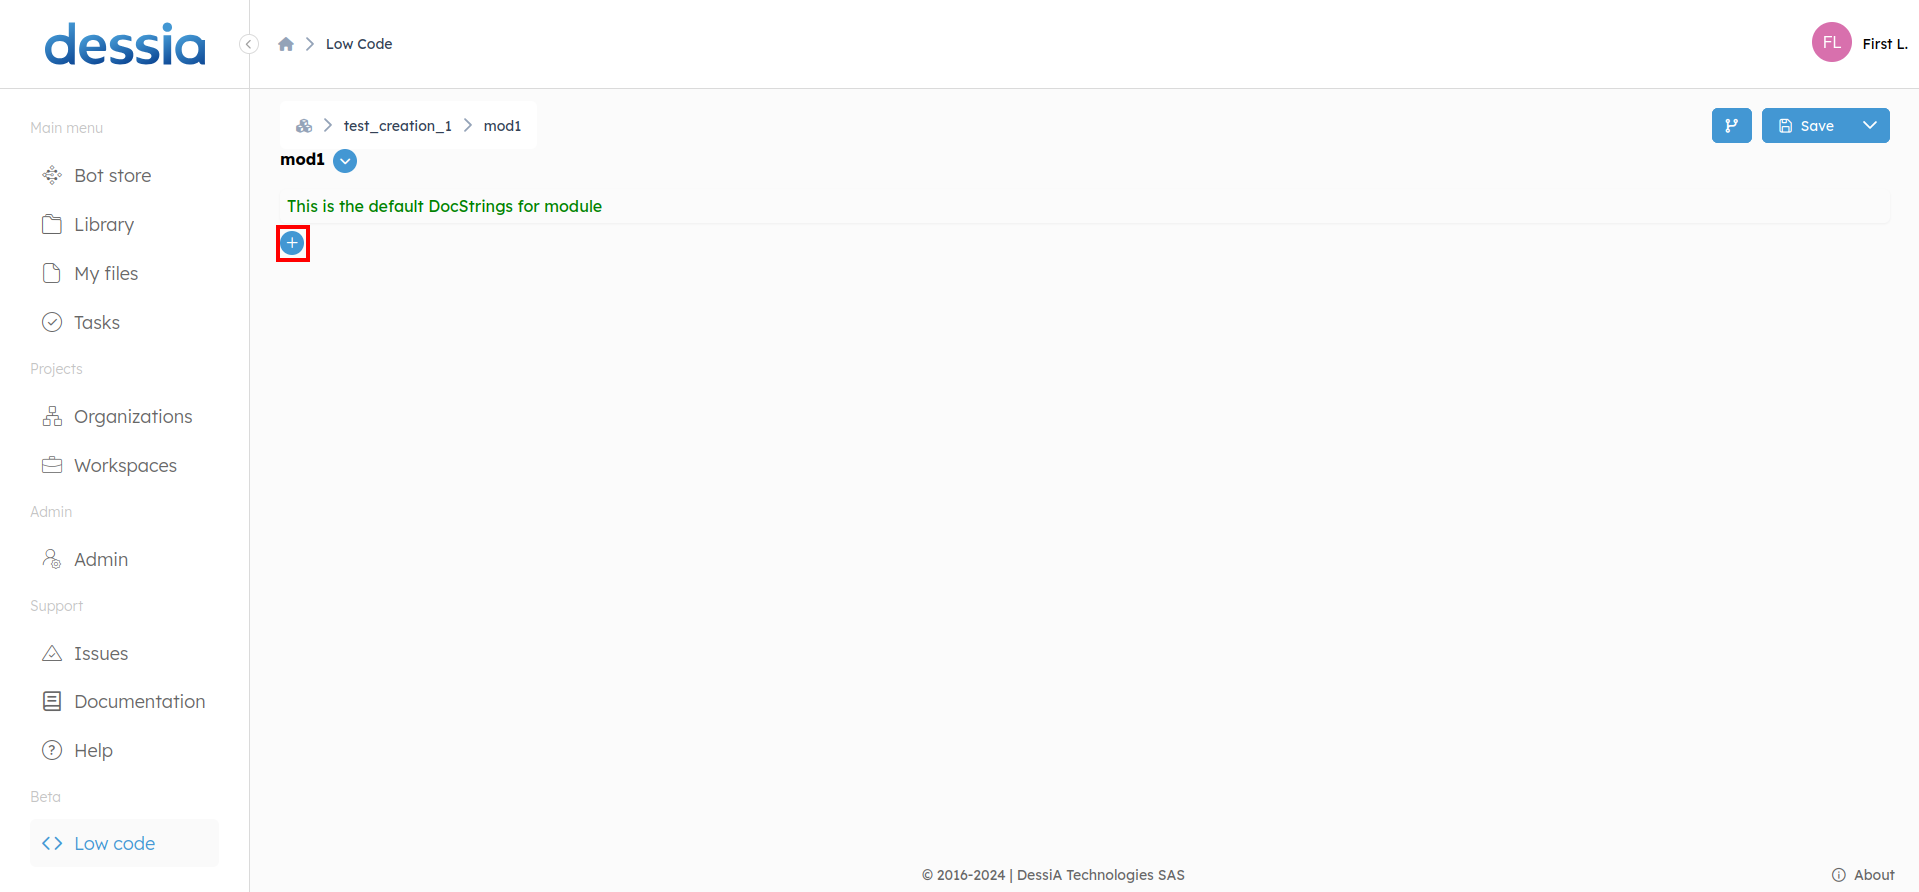
Inside the module view, click on the blue plus button. Click on and then click on Class. From the dropdown menu, select "Class".
A right sidebar will appear.
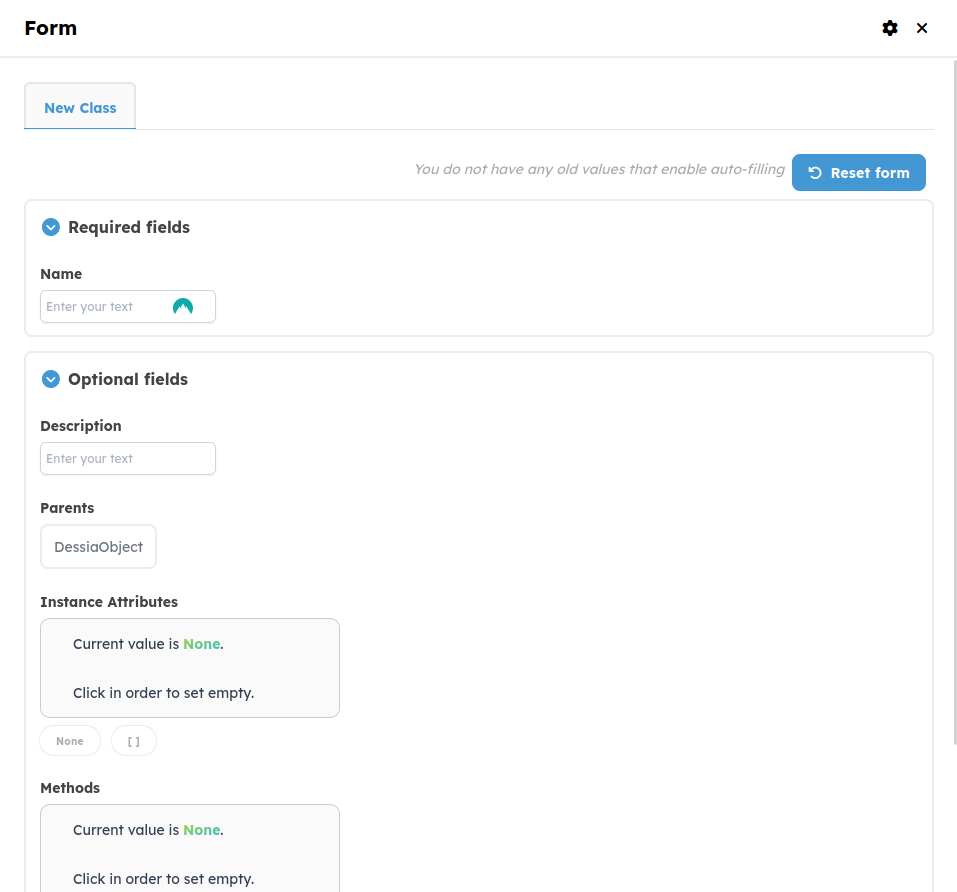
Here, you can name your class and set its parent class (default is DessiaObject). You can also add new instance attributes and preset methods directly.
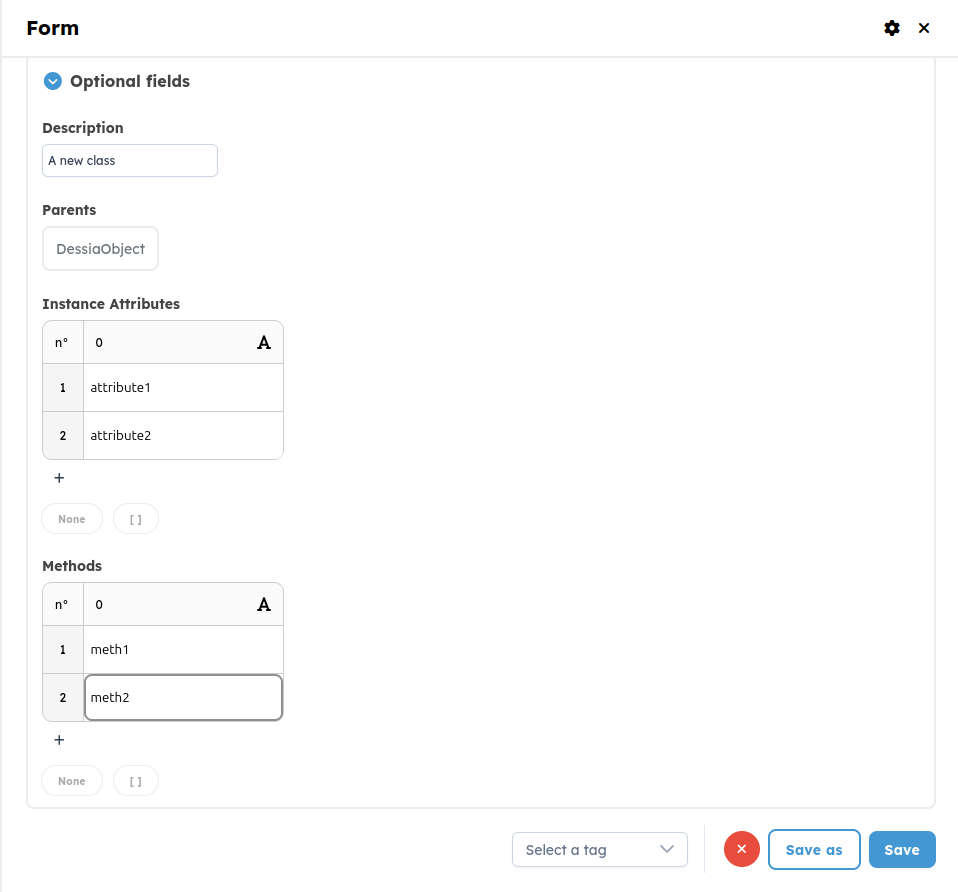
Click on "Save" to create your fresh new class.
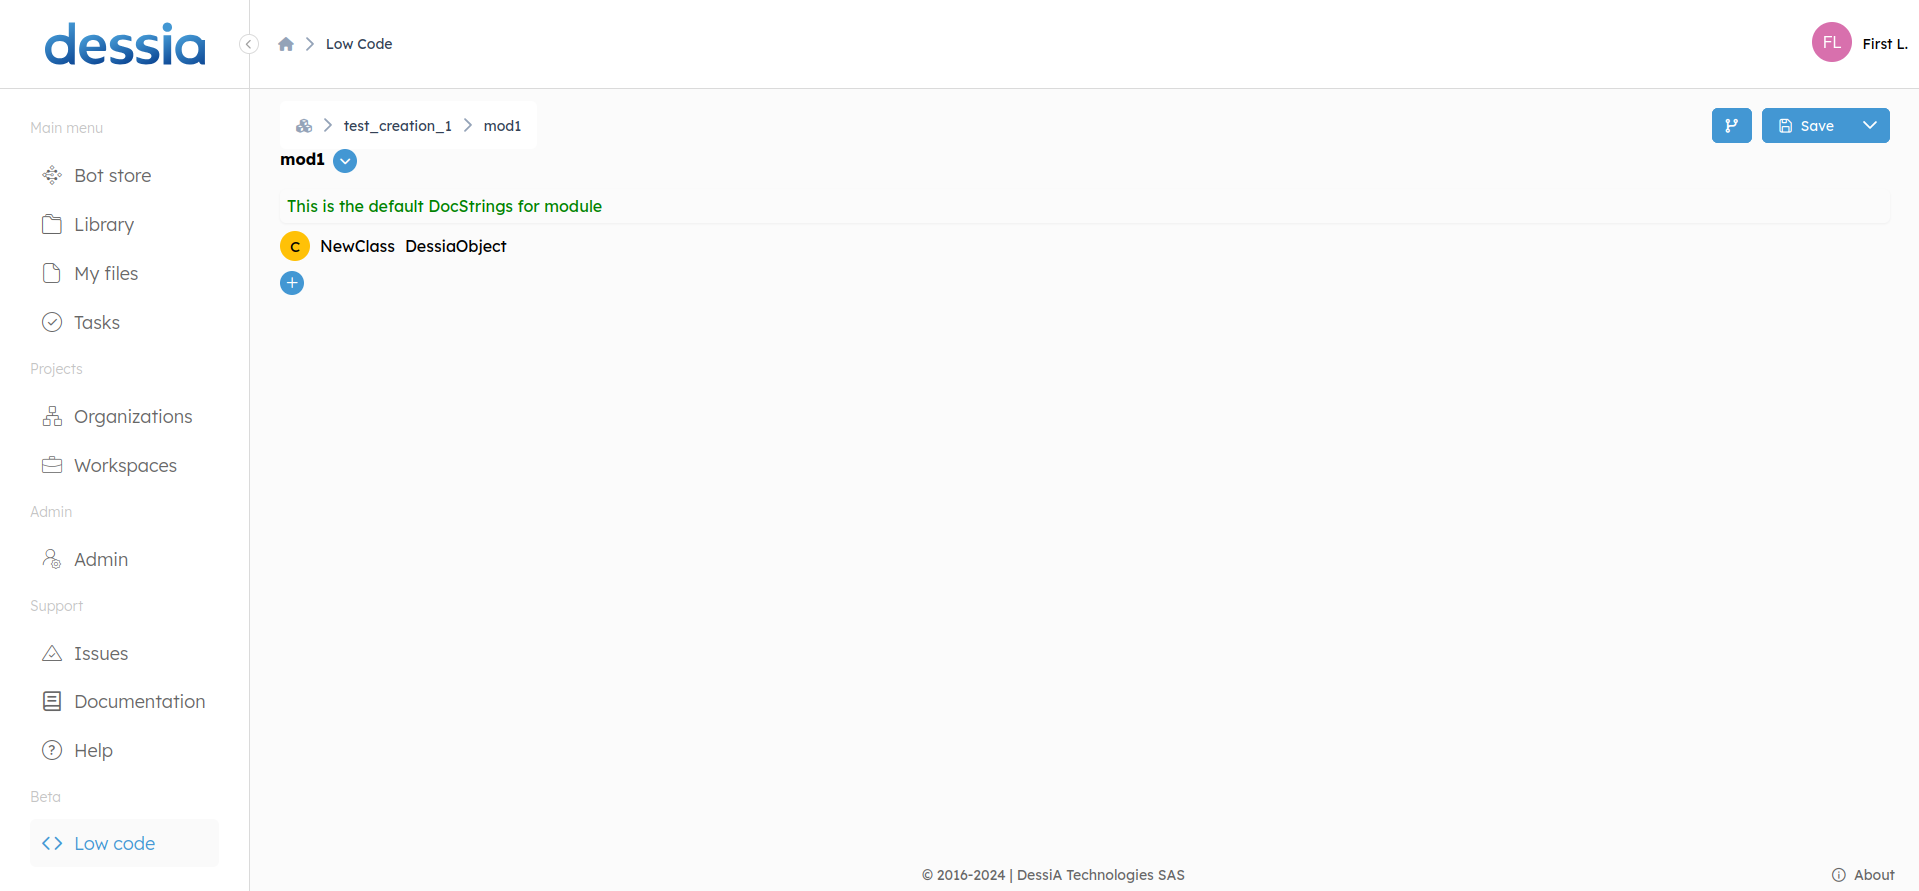
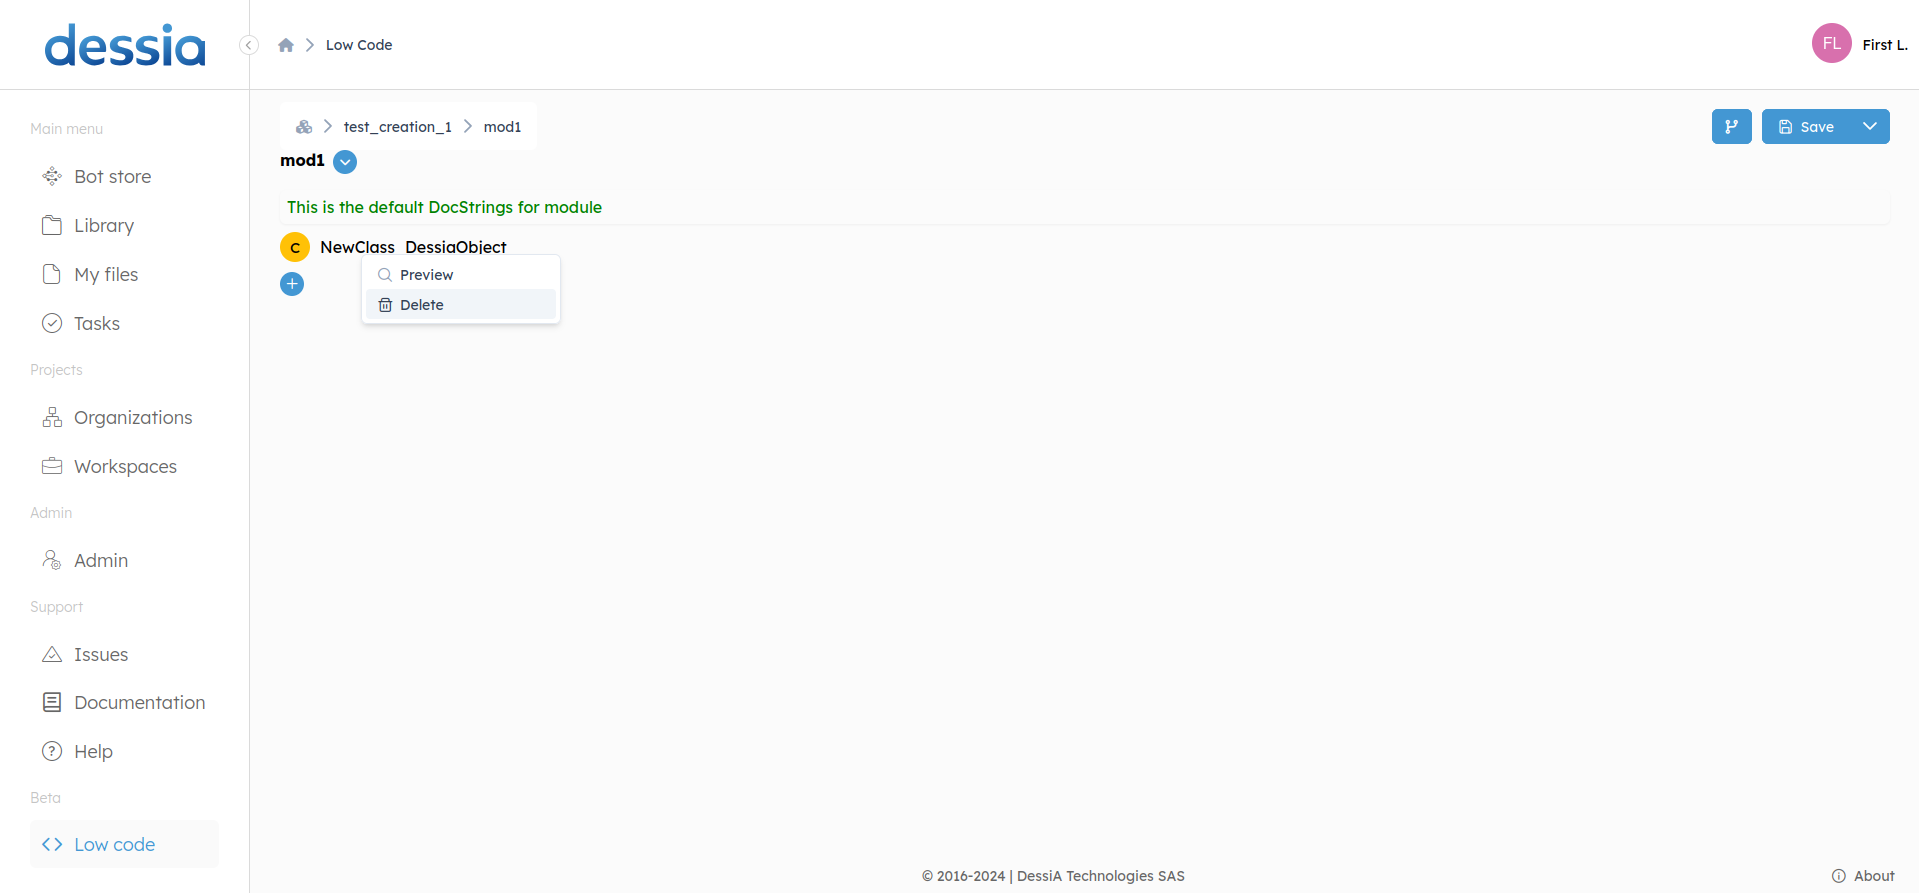
Suppression
To delete any element from the module just right click on it and delete it.
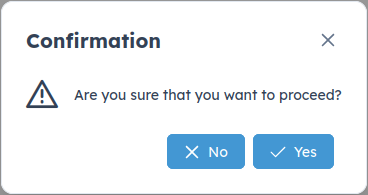
And confirm.
Modification
For modification go inside the Class view
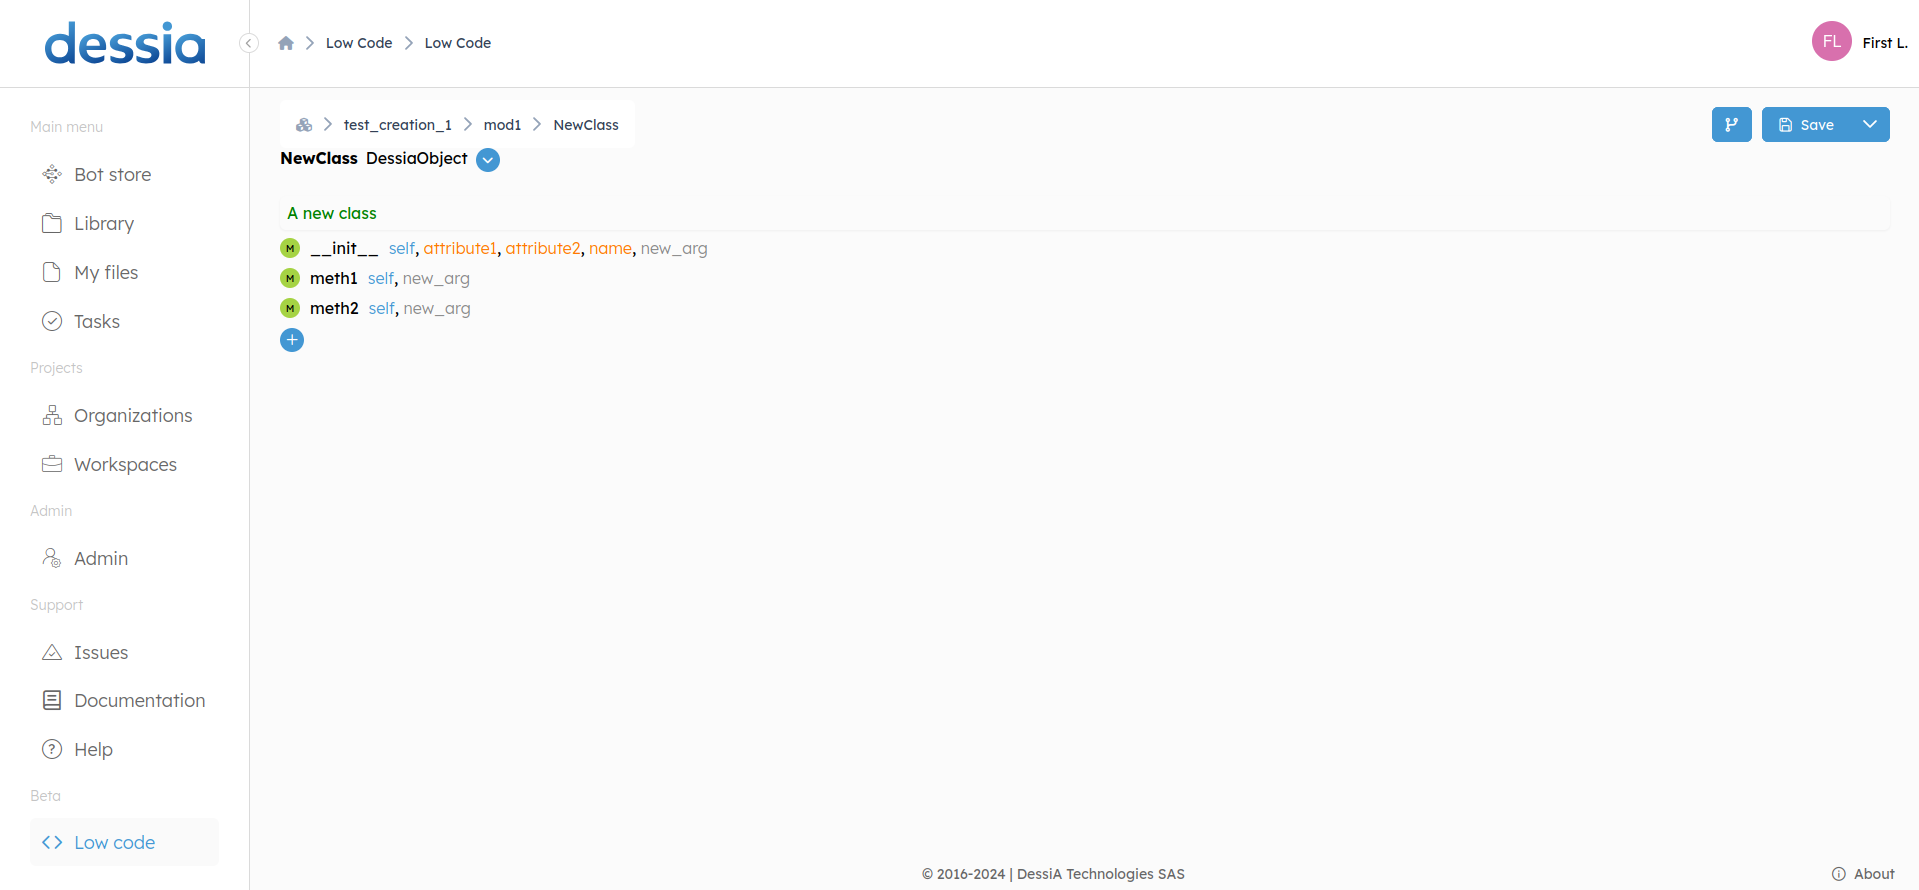
There is multiple change you can proceed:
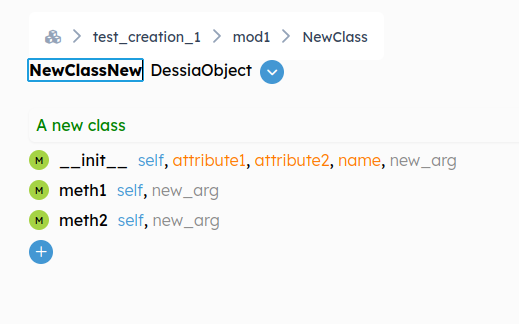
- The name of the class by double clicking on the name at the top
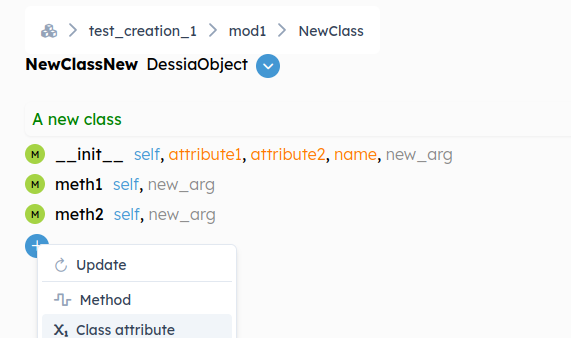
- Add / Modify / Deleting methods or class attributes by clicking on the blue plus button below methods
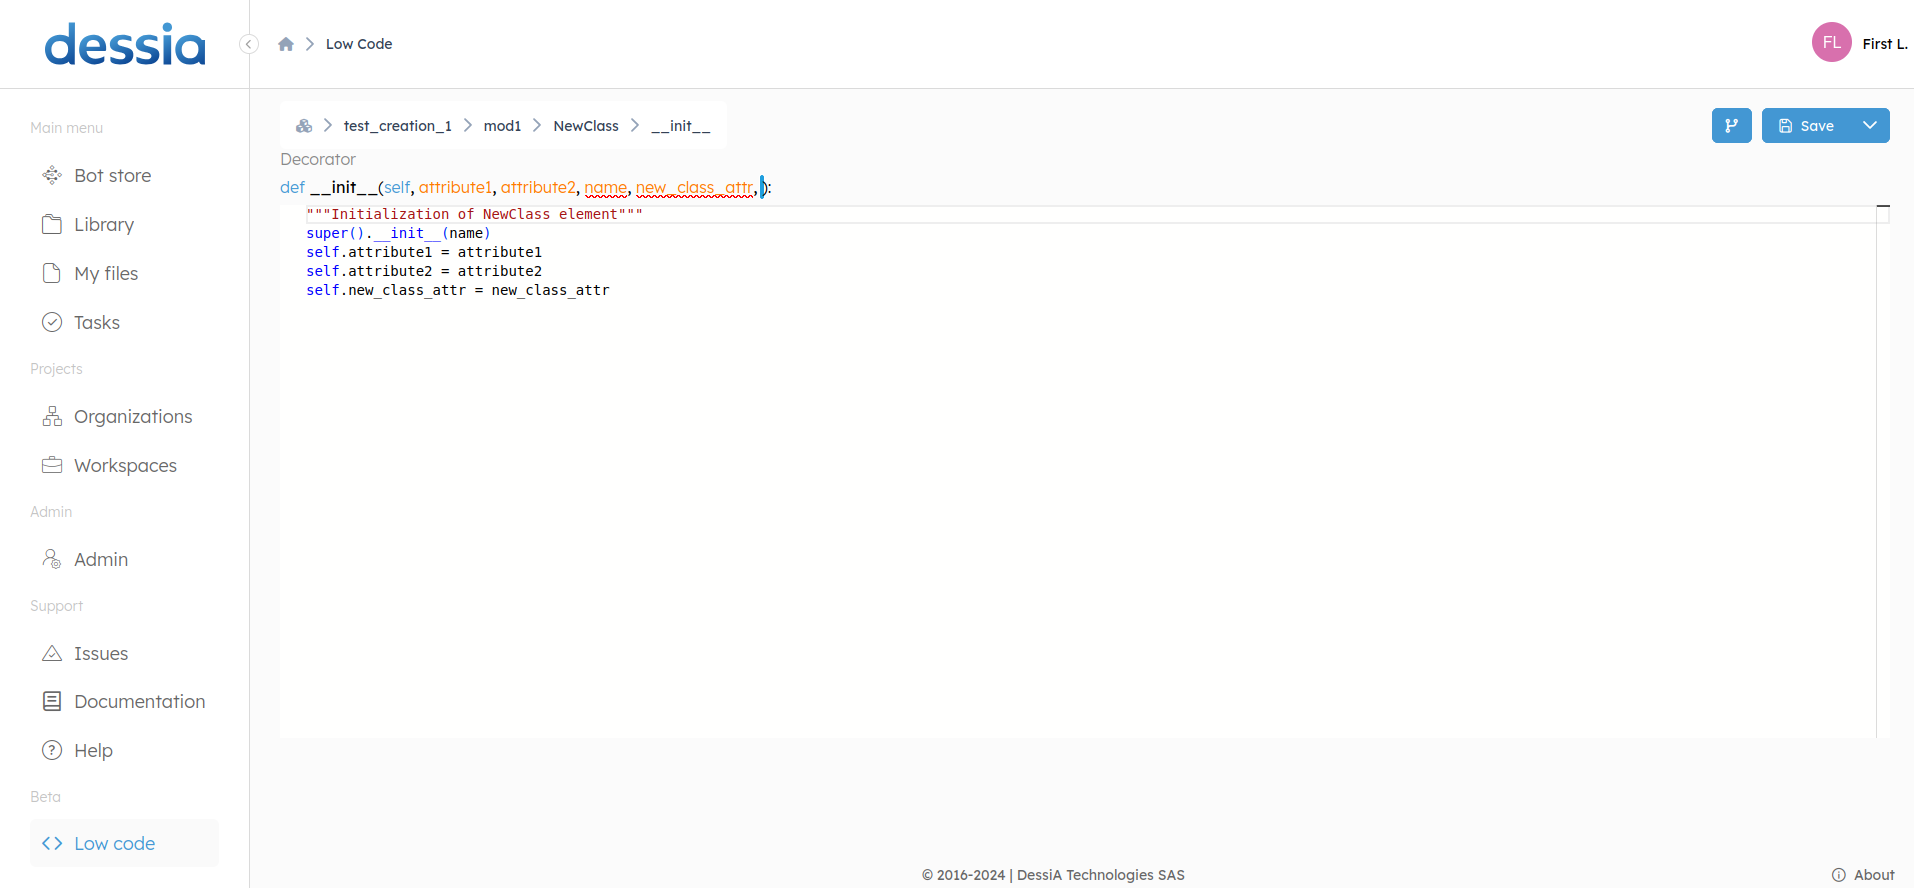
- Modify instance attribute inside the init method
Function / Method
Function and method both work the same way.
Creation
In a module or a class by clicking the plus button you can respectively create a function or a method.
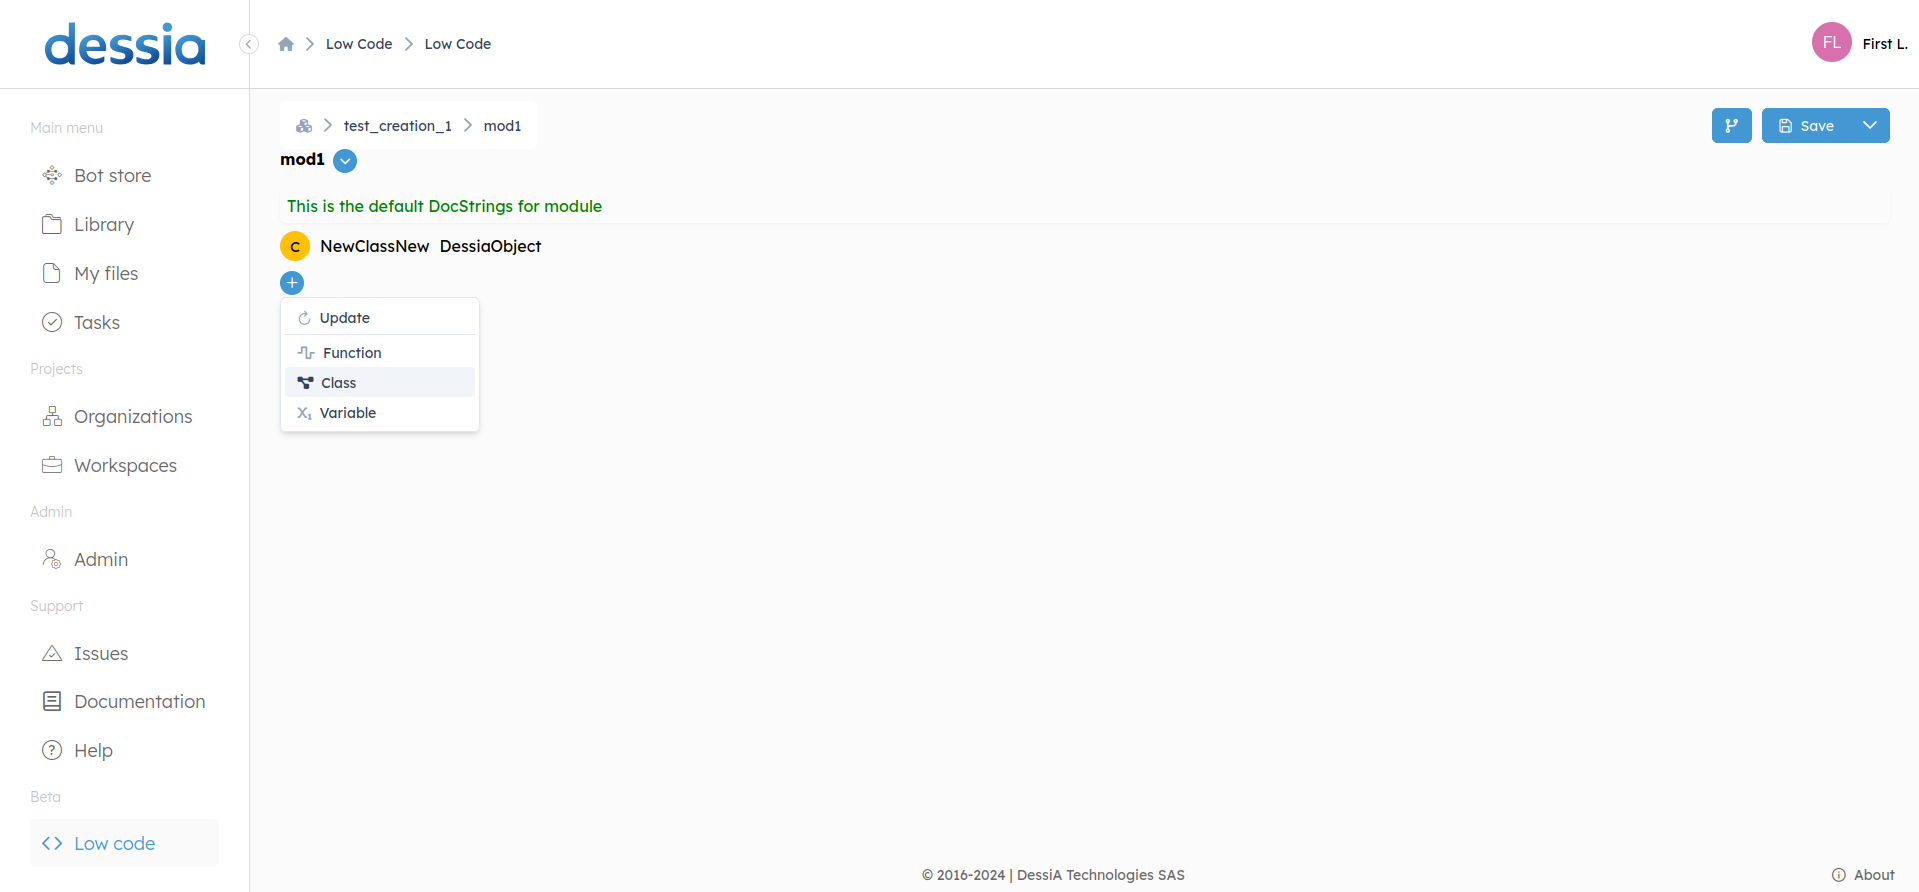
The will open a right sidebar that you have to fill.
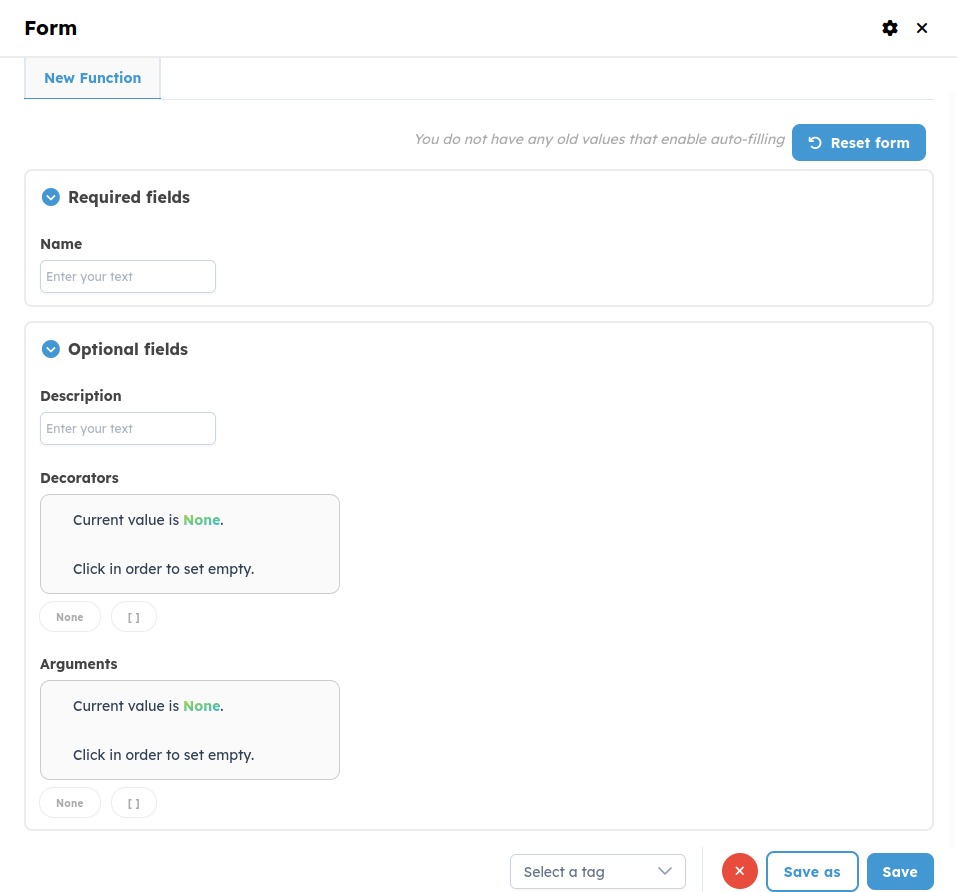
You have to set the name, then you can already set the documentation, arguments or decorators if needed.
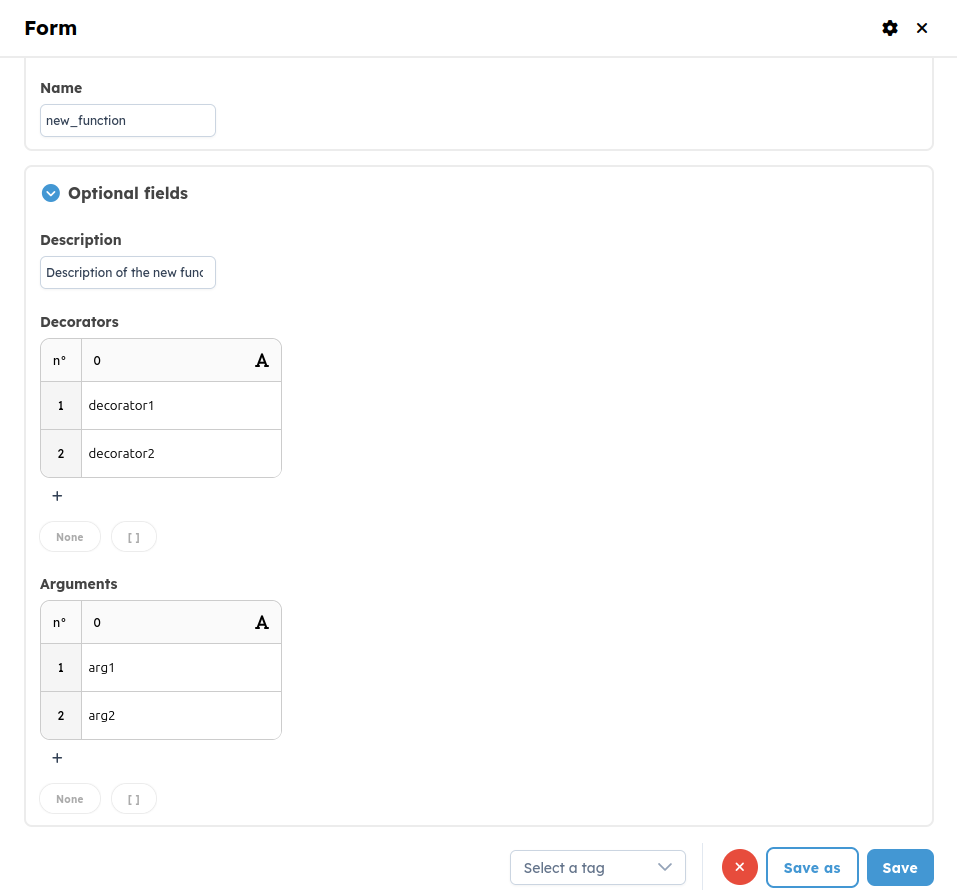
Finally click on "Save" to create it.
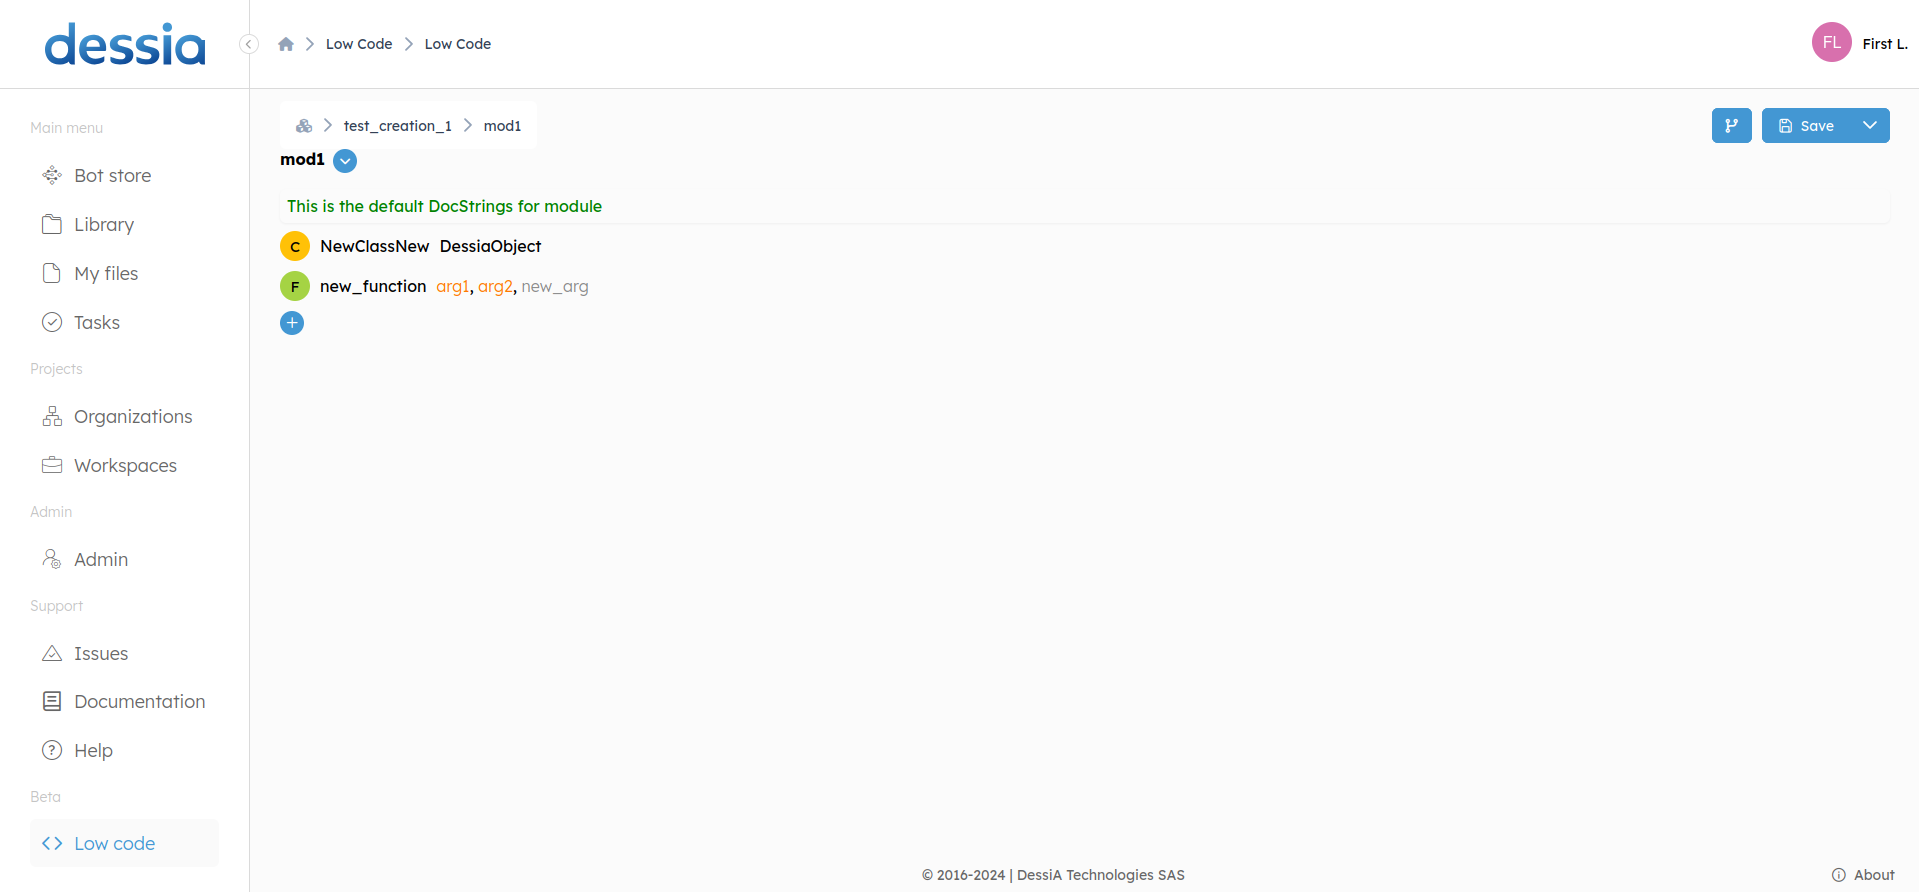
Suppression
in the module or class right click on the function or method you wan to delete and click on "Delete method" or "Delete function"
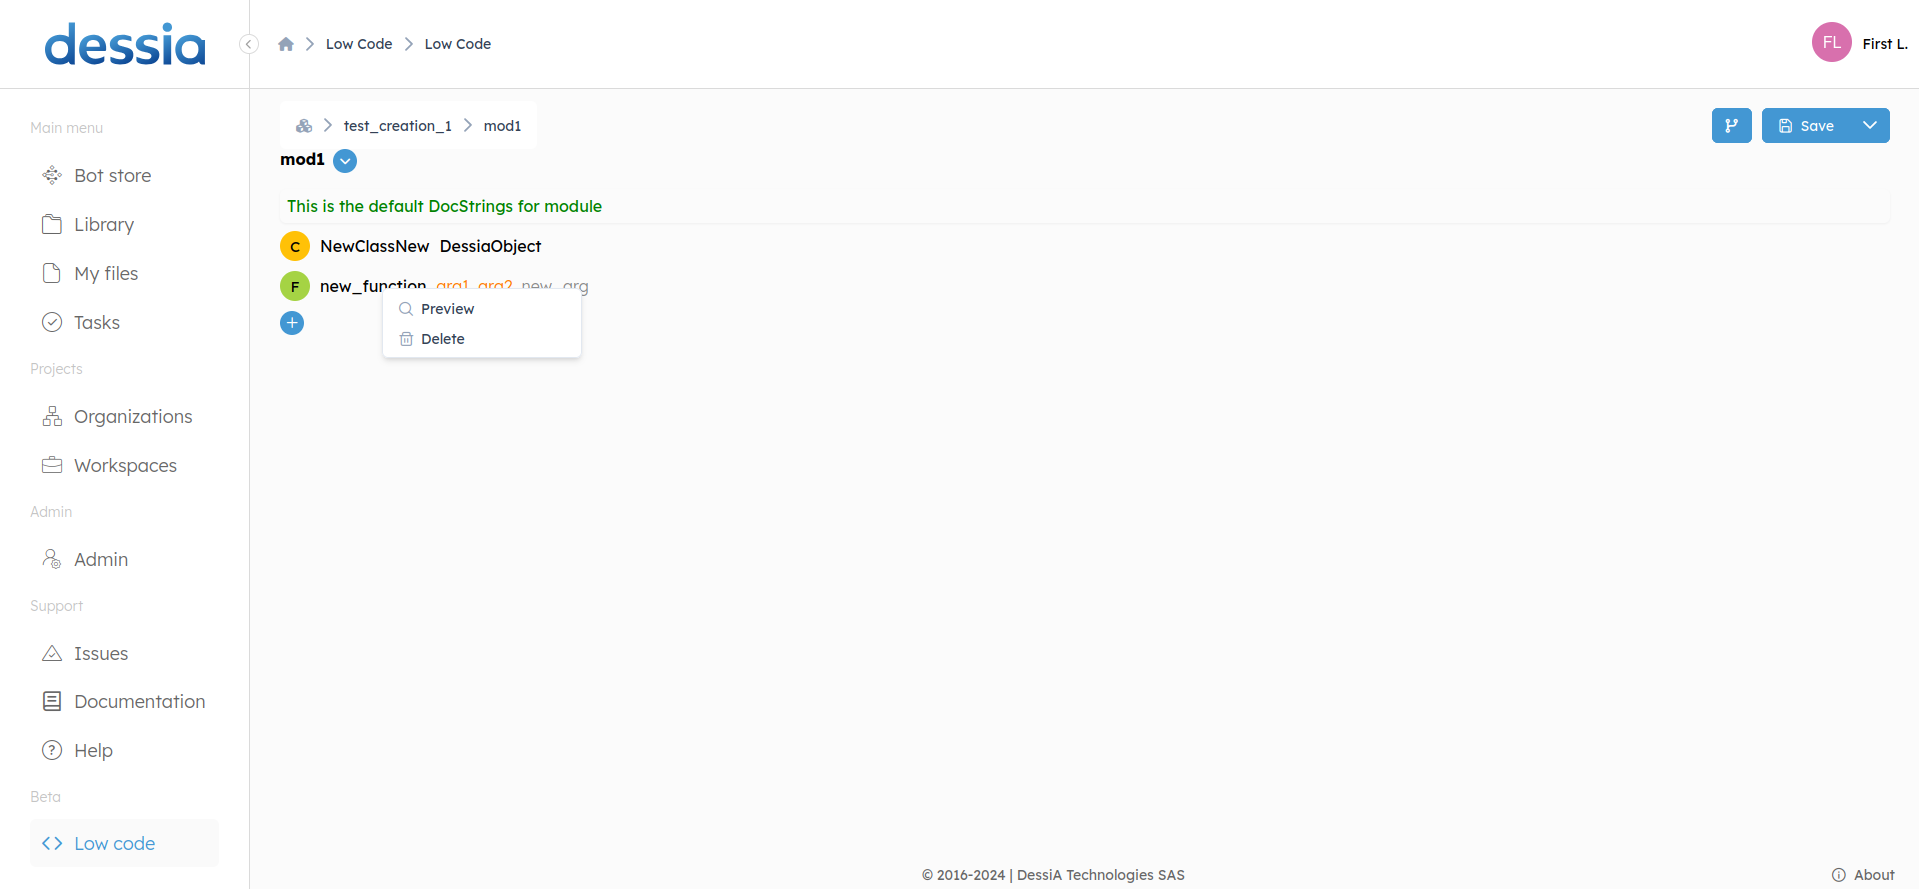
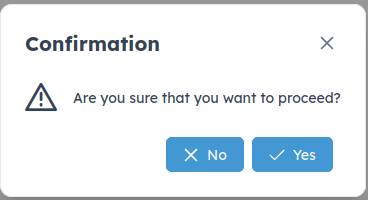
Confirm deletion and it's gone.
Modification
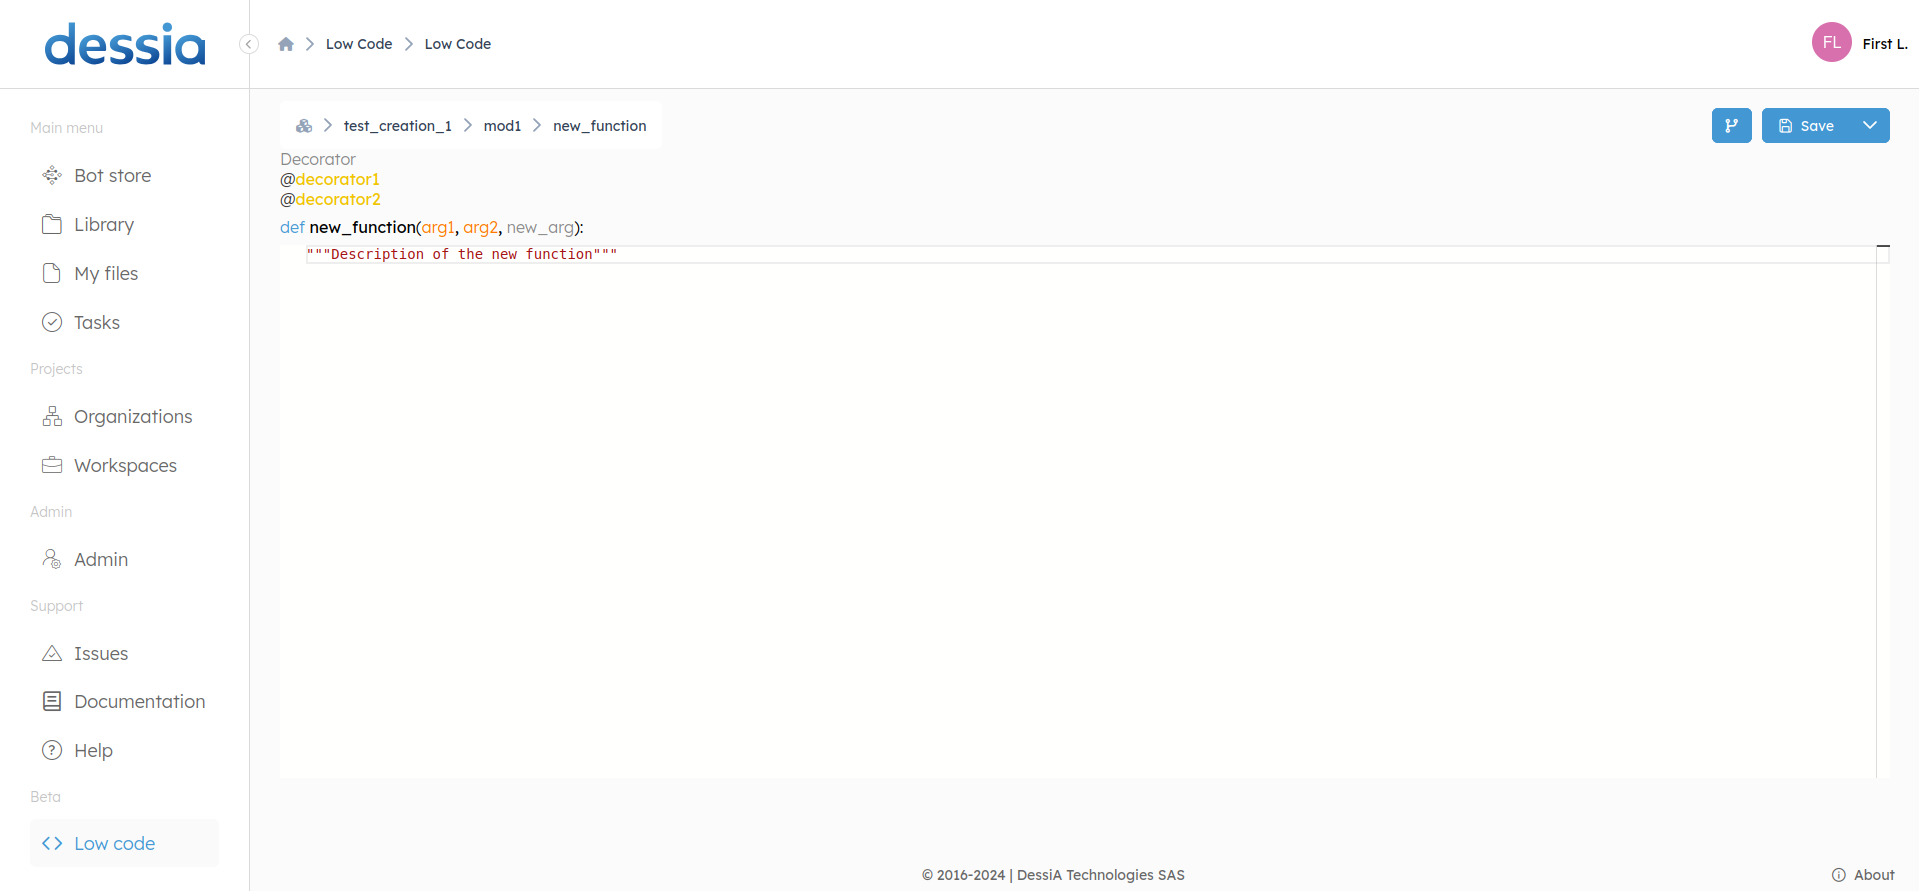
When you are in a function or method view you can change several things.
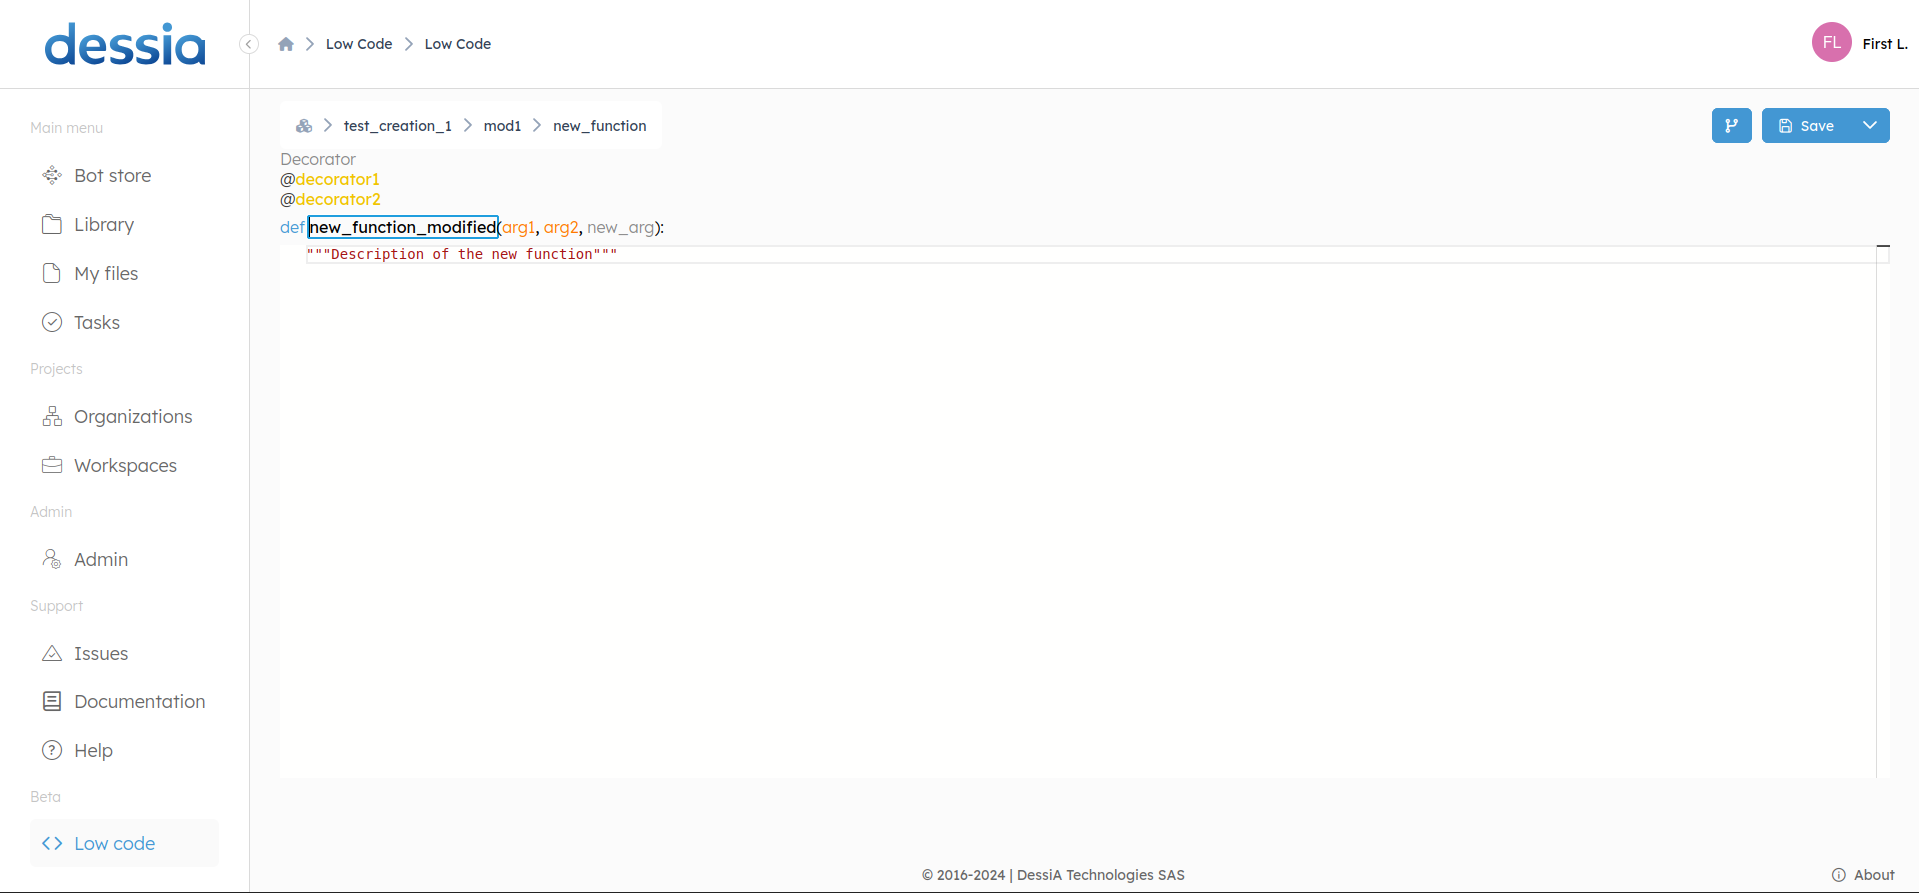
Firstly the name, by double clicking on it you will be able to modify it.
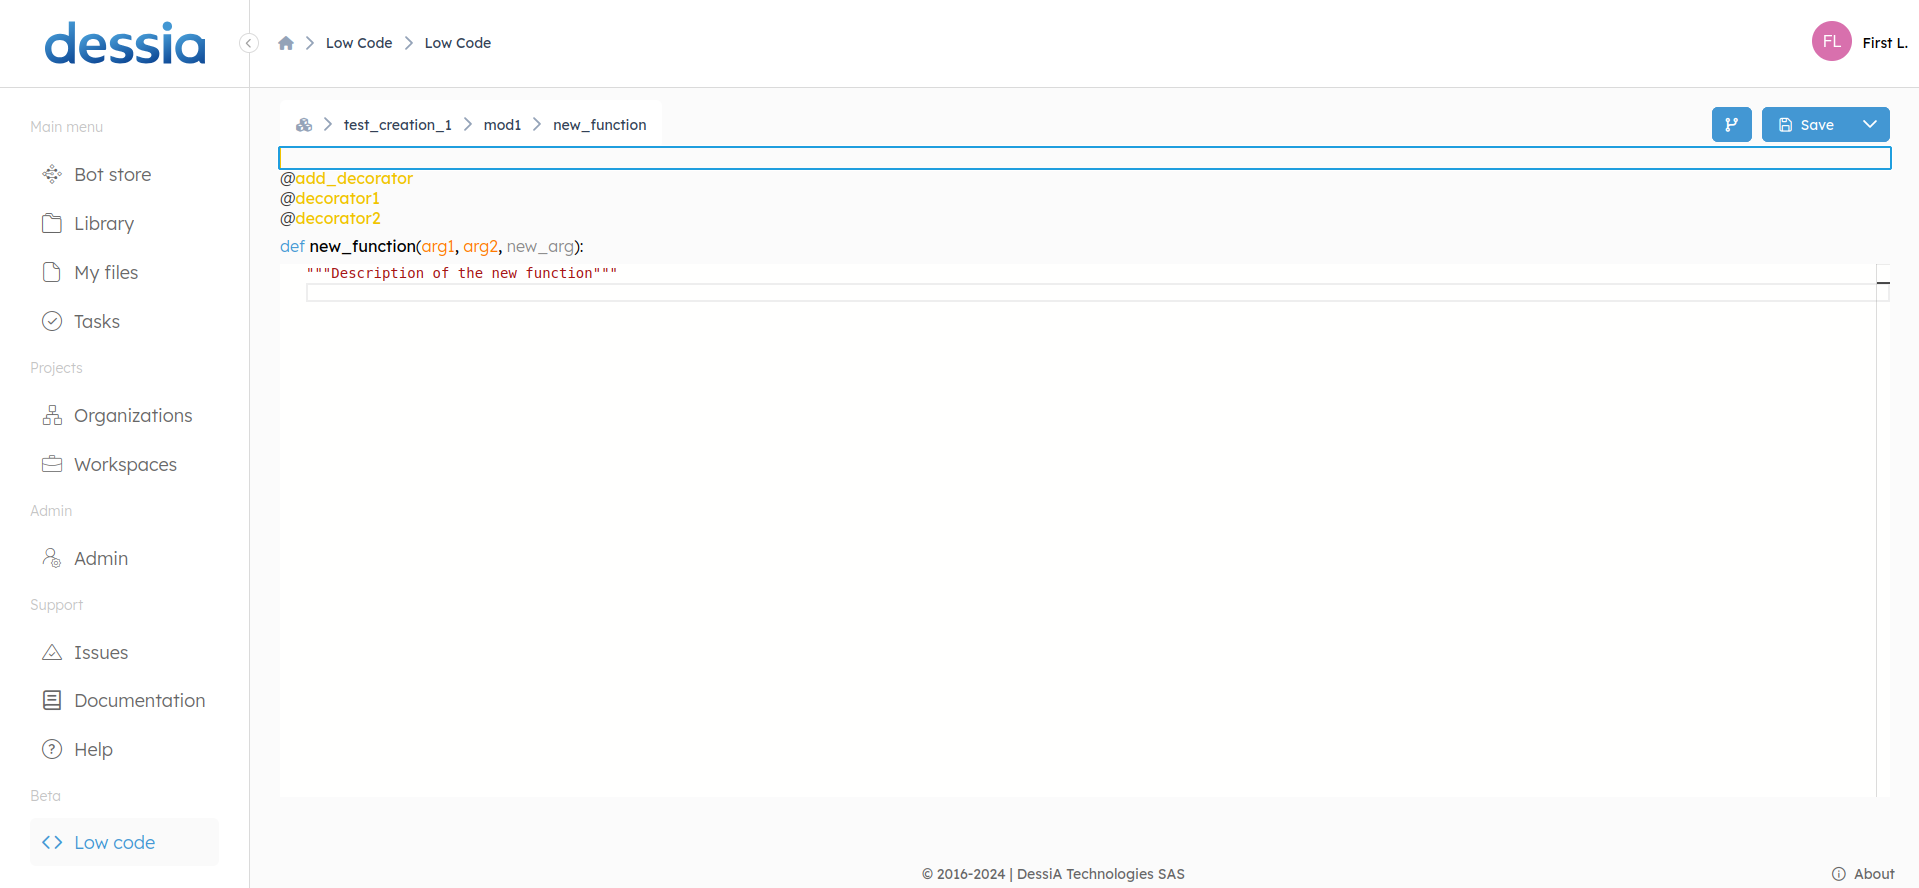
You can add or remove decorators at the top by clicking on "Decorator" in grey and erase the decorators name or putting a decorators name
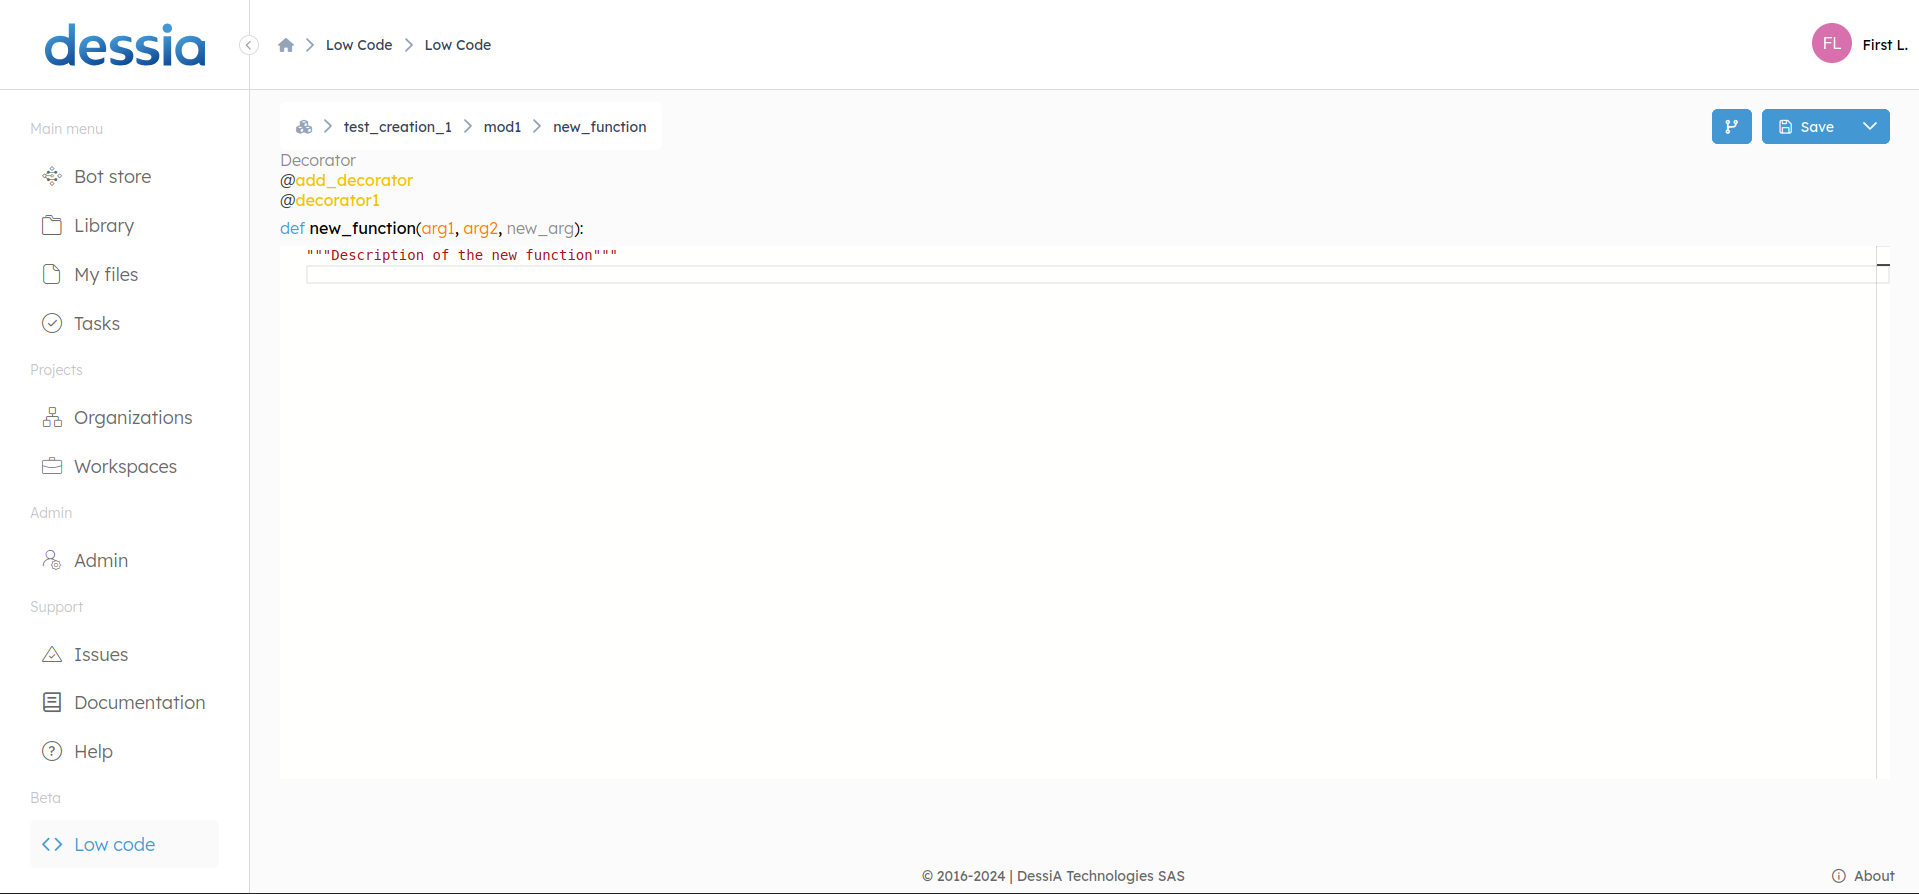
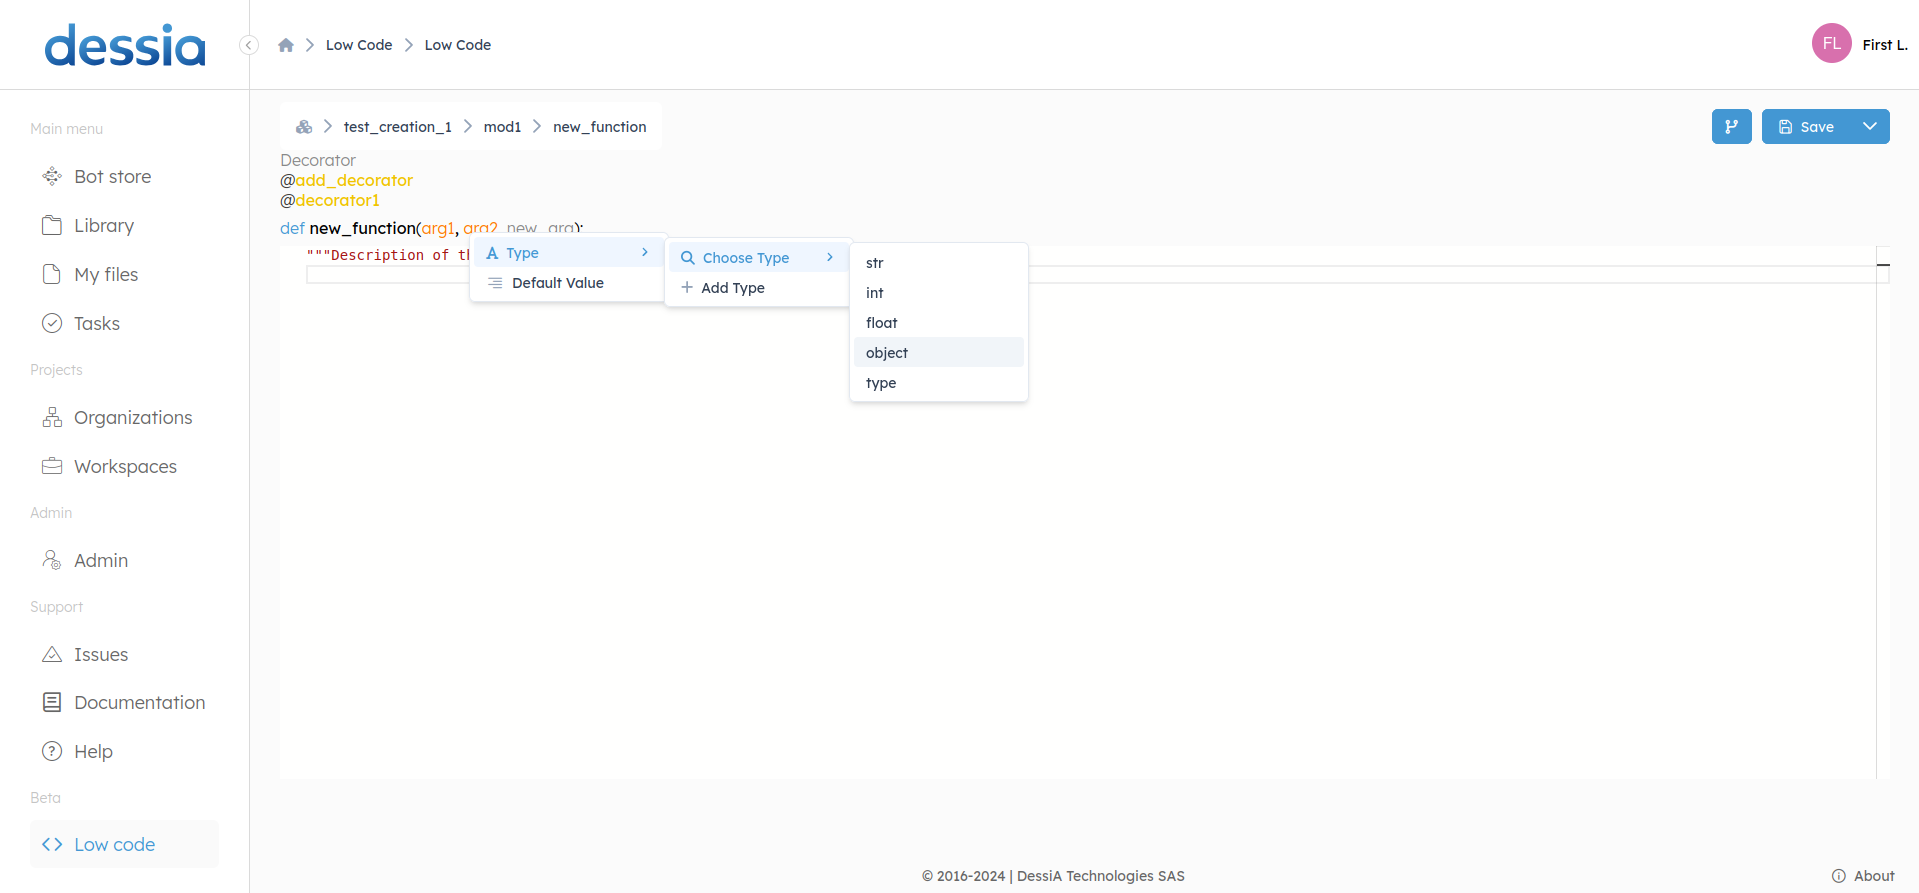
You can do the same with args. Moreover, if you wan to set a default value or a type you can right click on each args and set them.
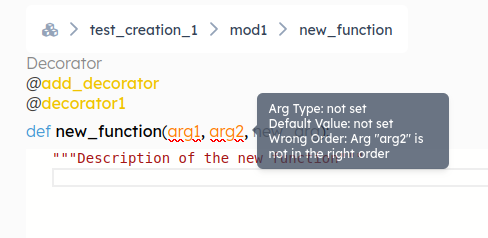
You can also drag and drop argument to put them in the right order.
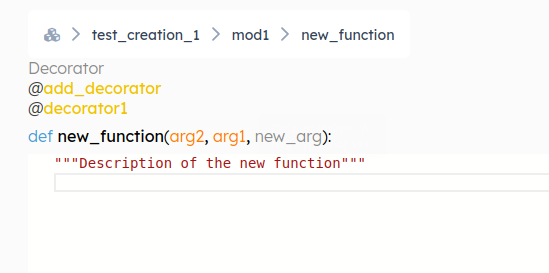
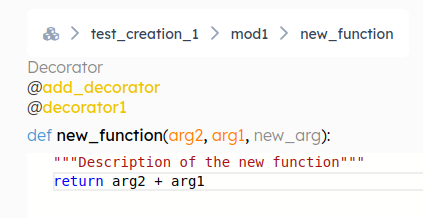
Finally you can write the body of the function / method.
Variables
A variable can be created in a module or in a class for instance attributes
Creation
Firstly in a module or class view click on the blue add button at the bottom and select variable.
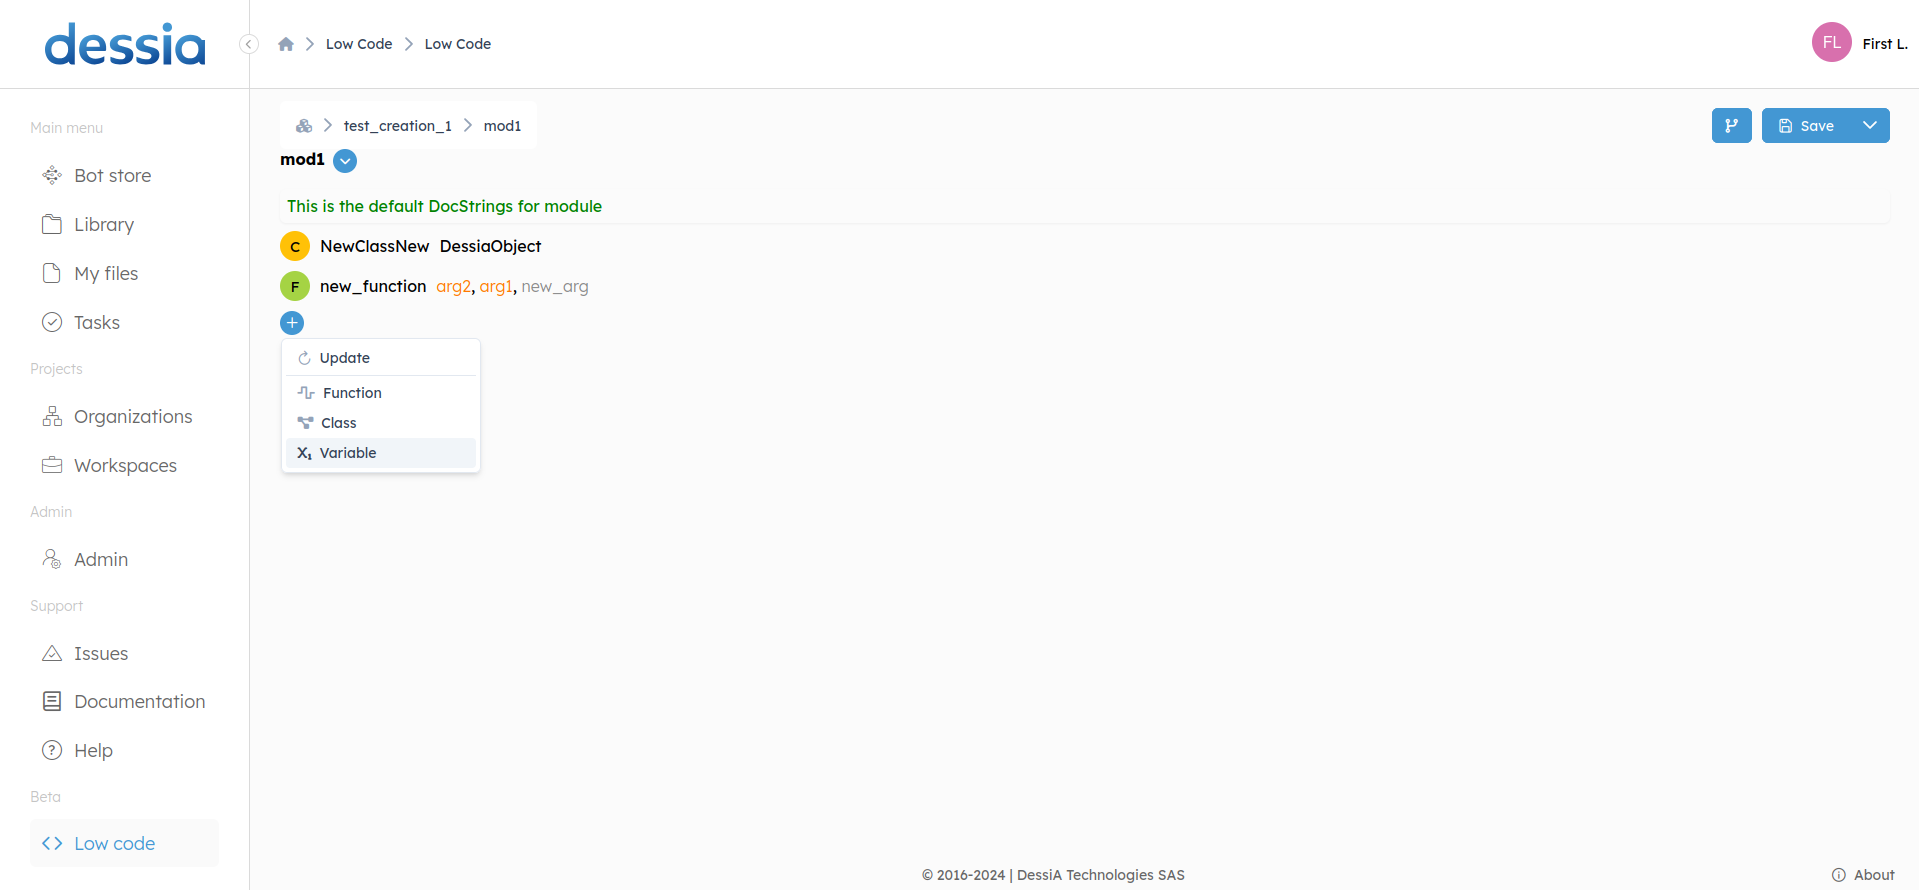
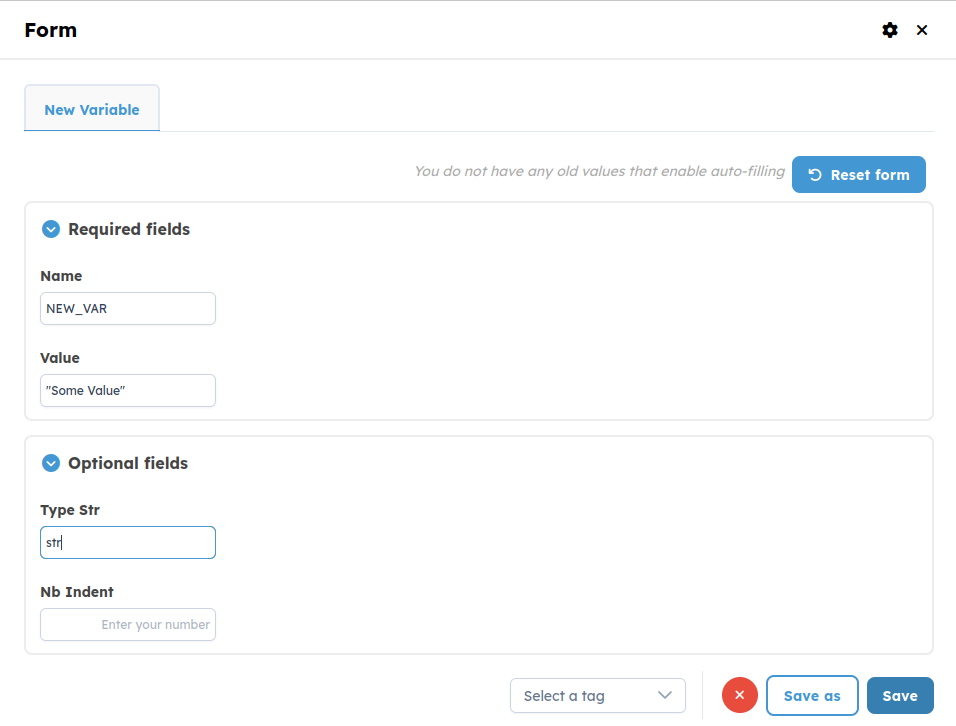
A right sidebar will appear. Fill up the form and click on create
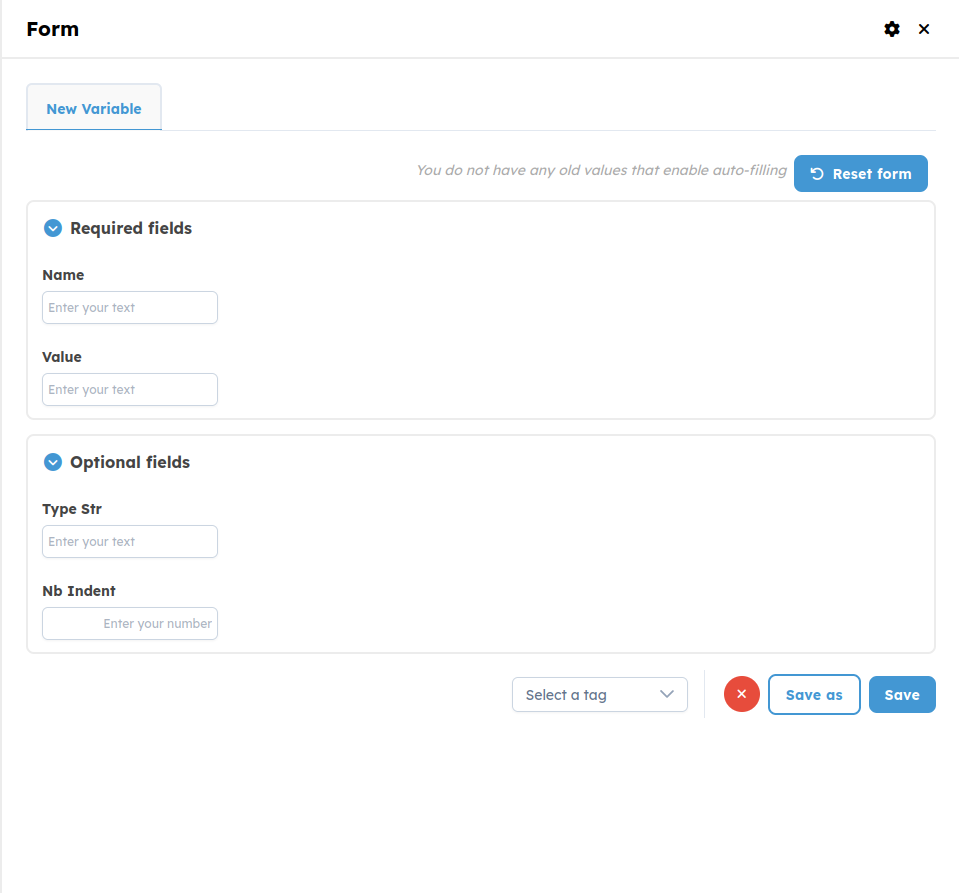
The case Nb Indent has to be left empty.
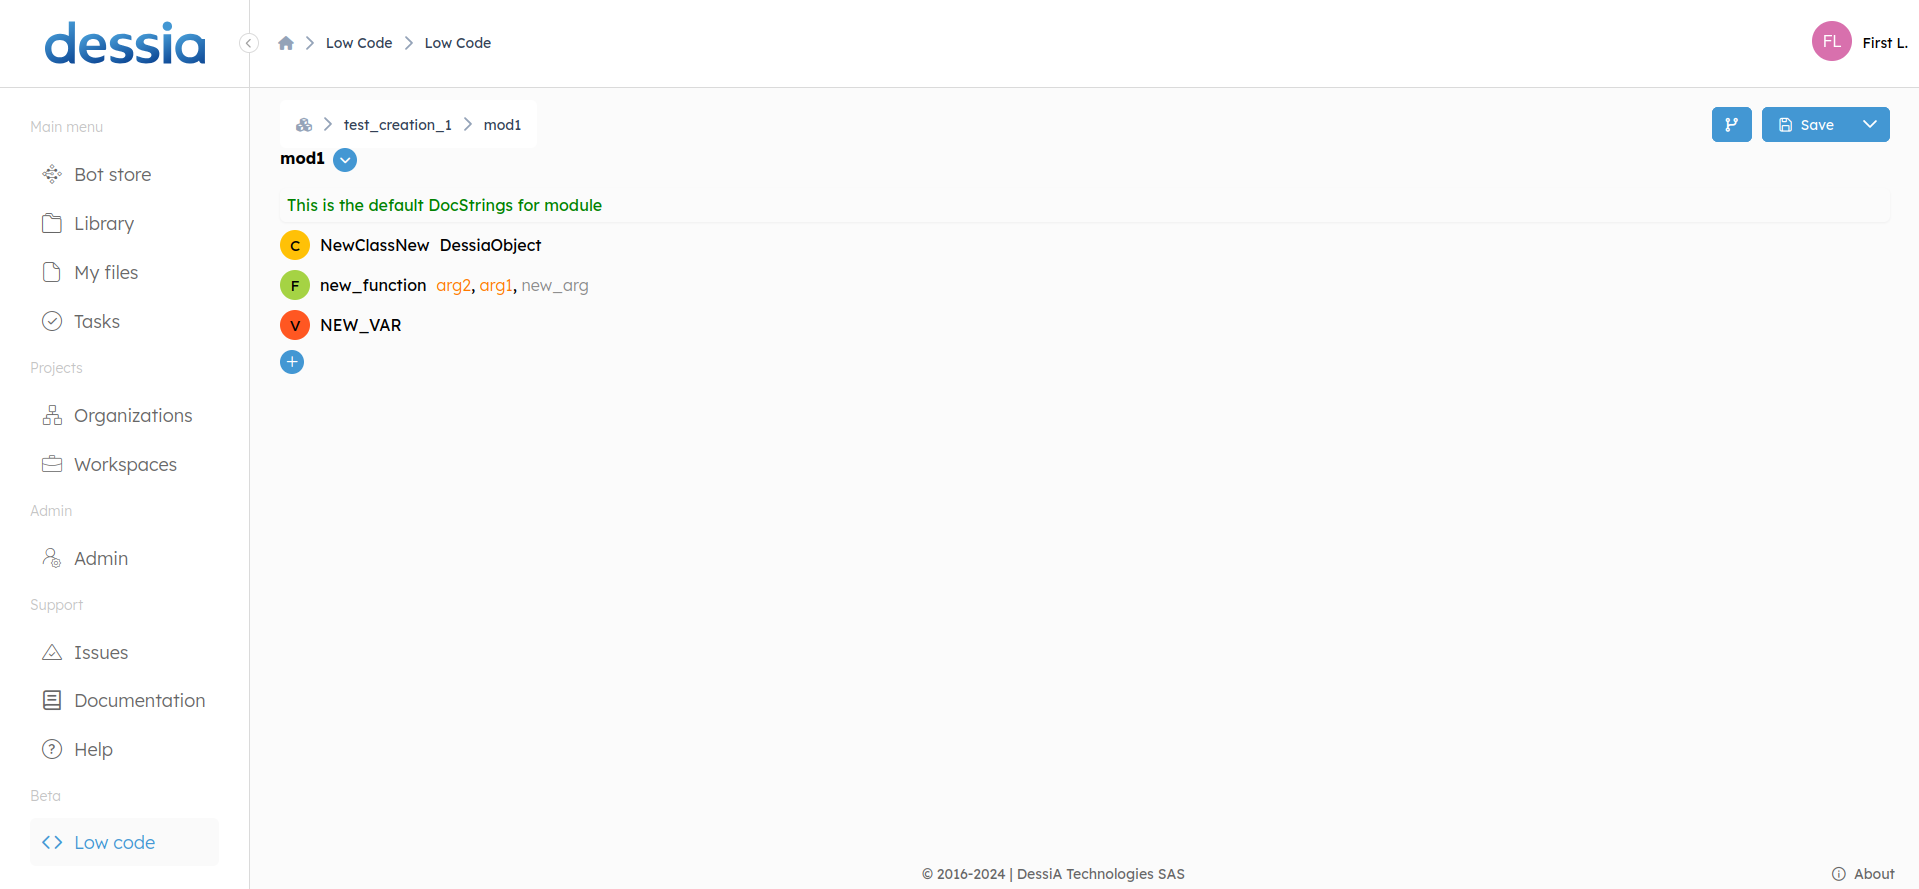
The variable will appear in your module like that.
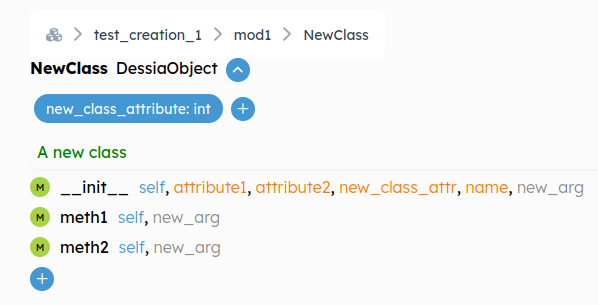
and in your class under class attribute section just below the name of the class.
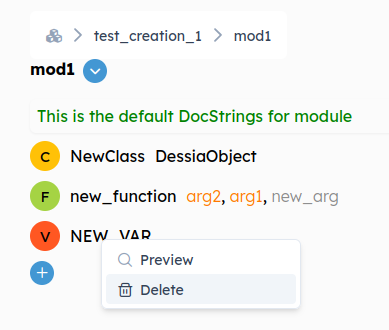
Suppression
This is the same for module variable as it is for class or function.
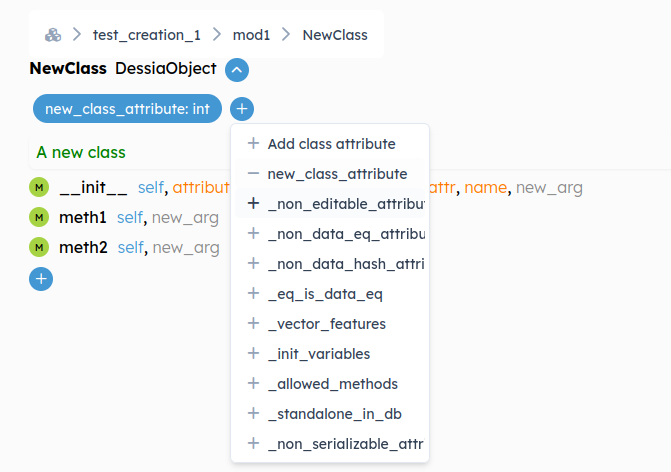
For class attribute you need to go to the instance attribute drop-down.
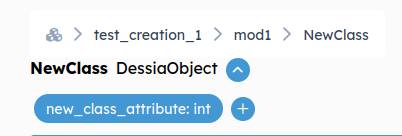
Click on blue plus button and select the line who contains you class attributes.
Modification
For a module variable you'll have to delete it and recreate it.
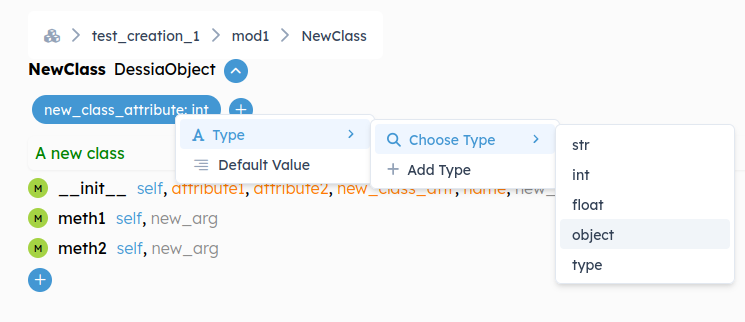
For a class attribute you can go to class attribute view and right click on any of your class attributes and modify the value or the typing.
3. How to Save
Introduction
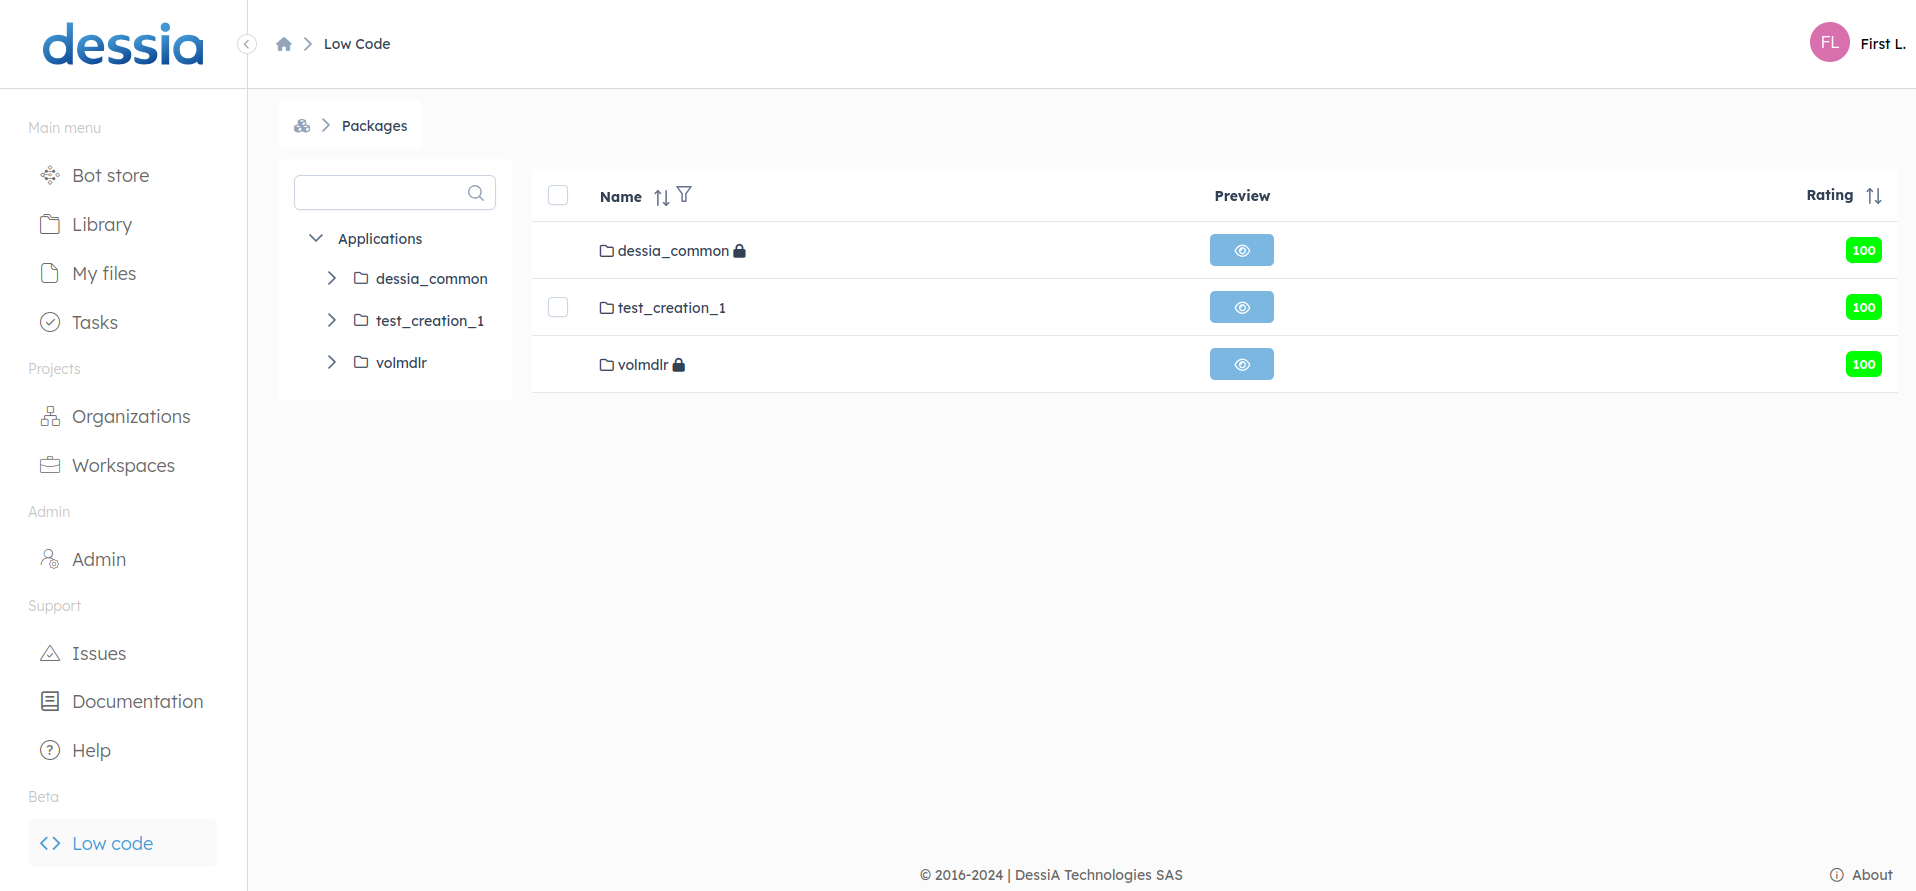
First and foremost, you can only save changes in an app if you have the necessary authorization. This means you must have Git credentials for the application and be working on packages or modules that are not locked.
For example, in the image below, I can only save changes in the package test_creations_1.
Save Button
When you are working inside an app, you will see these buttons appear:
![]()
If the application is not modifiable, the save button will appear greyed out.
![]()
If the application is not a Git-enabled application, both buttons will appear greyed out.
The Git button on the left opens the Git-Graph. From there, you can choose the version you want to modify.
There are two different save buttons:
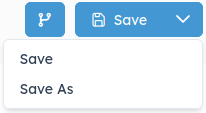
- Save: This will commit changes to the branch you are currently on. If you are in a detached head state (which means the commit you are on is not at the head of any branch), clicking this will open the "Save As" form.
- Save As: This option allows you to commit changes to a new branch.
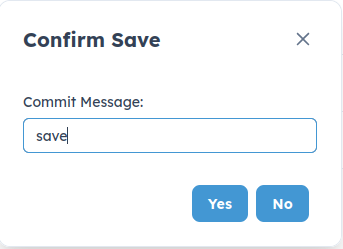
Enter a commit message and confirm.
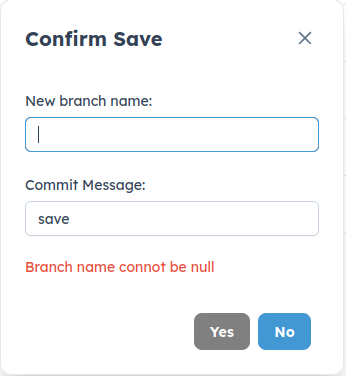
For the "Save As" form, you need to enter a valid branch name. A message will inform you if the new branch name is authorized. You are free to set your own naming convention; the only restriction is to avoid spaces and special characters.
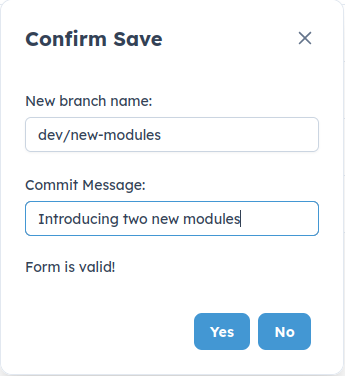
Once you have entered a valid branch name and a commit message, confirm the save and wait for the save confirmation message.
Saving Hierarchy
Changes are saved at the module level. This means that if you modify modules A and B, and then go to module A to save, only module A will be saved. If you have made several changes across different modules, it is recommended to go to the application's root view and save from there.
However, if you are working within module A and make multiple changes across several elements within that module, clicking the save button will save all changes made within the entire module.
Examples:
- If you create
ClassBinmoduleB:
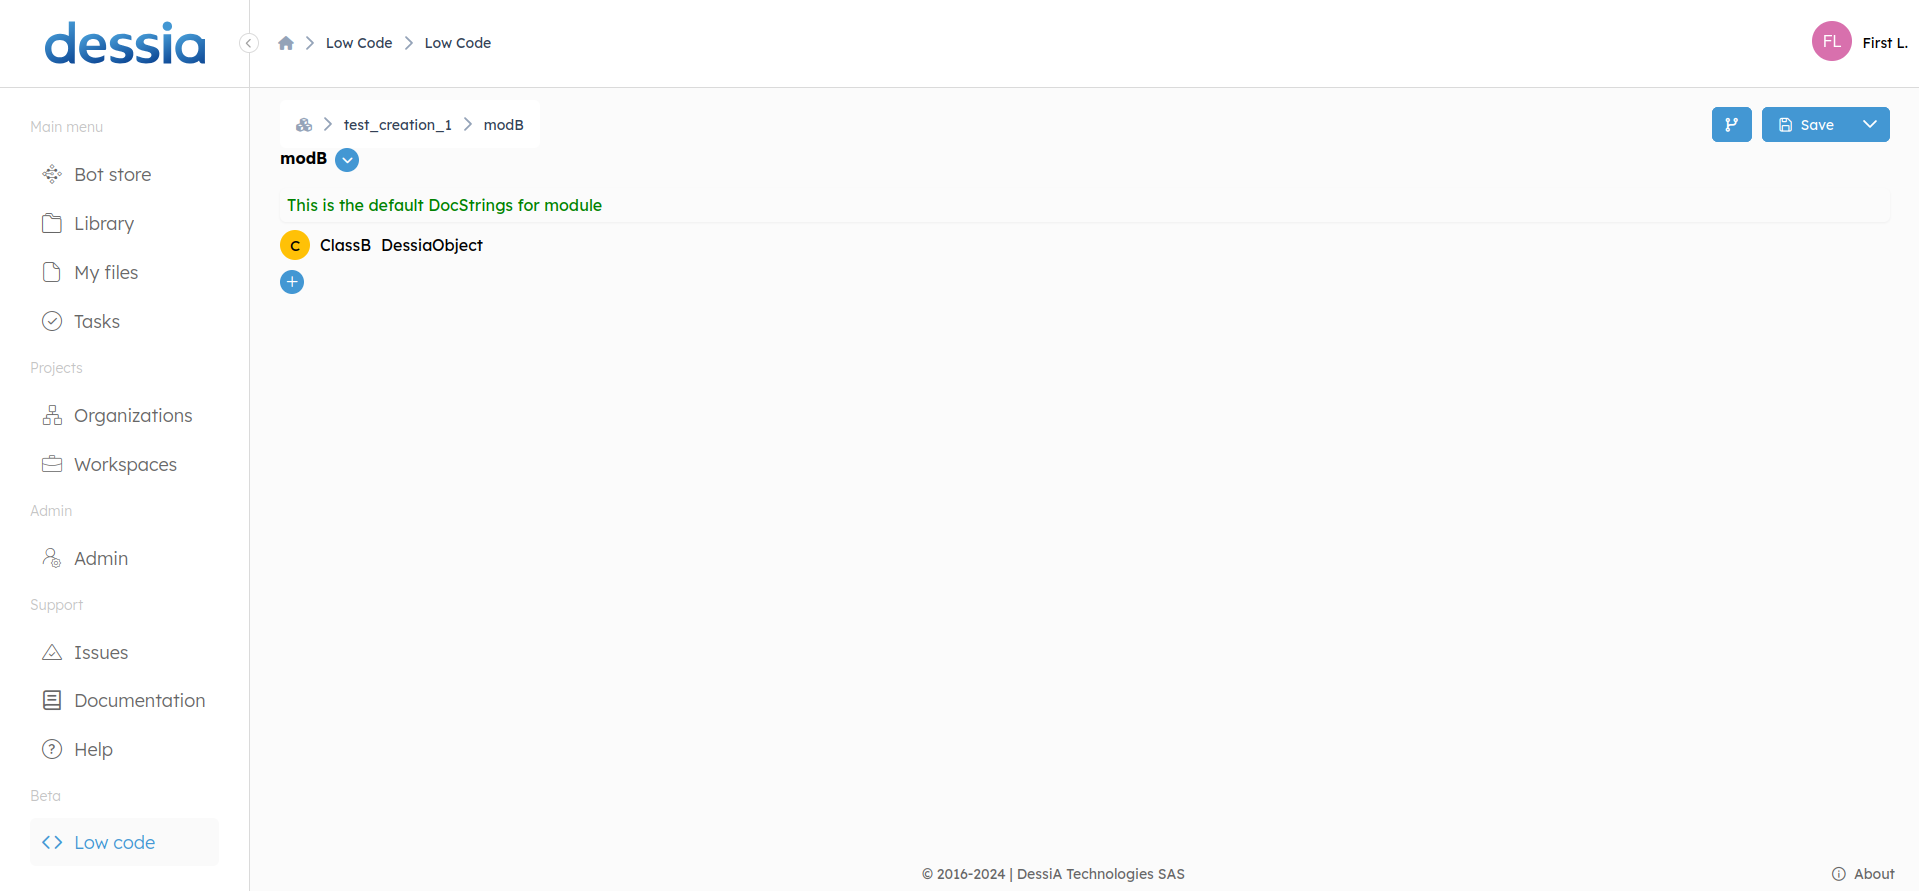
- And you also create
ClassAinmoduleA:
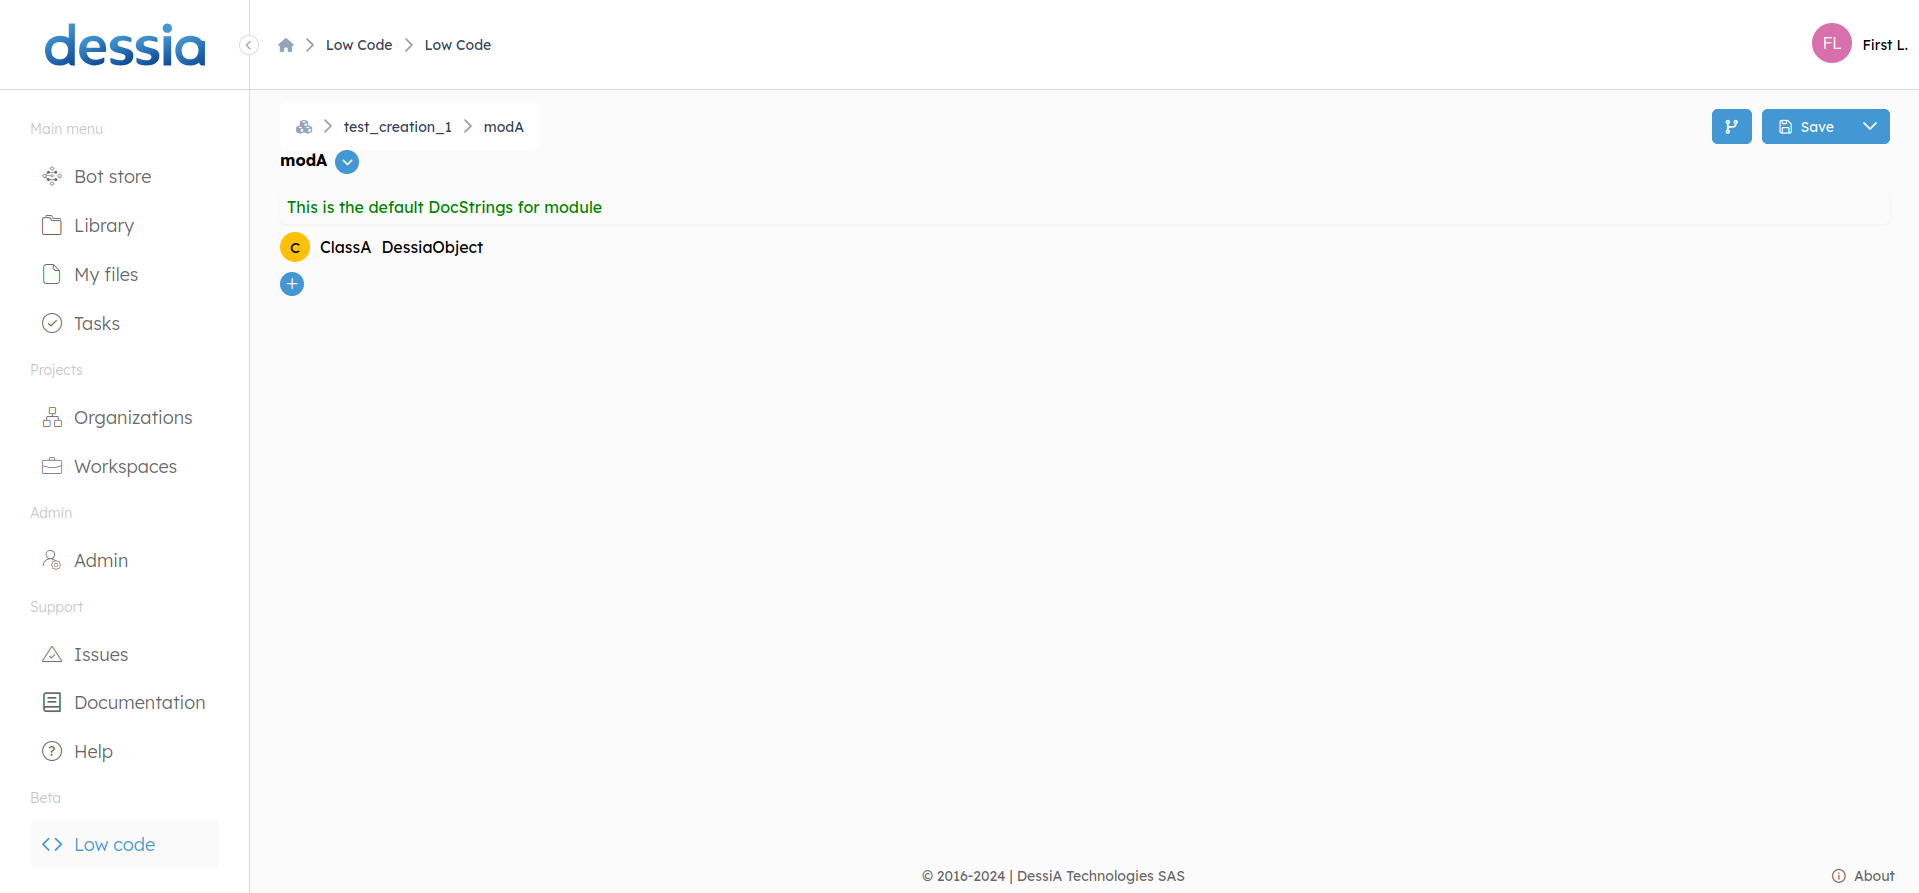
If you hit the save button while you're in moduleA, only moduleA will be saved.
- But if you go to the root of the
test_creation_1app and hit the save button:
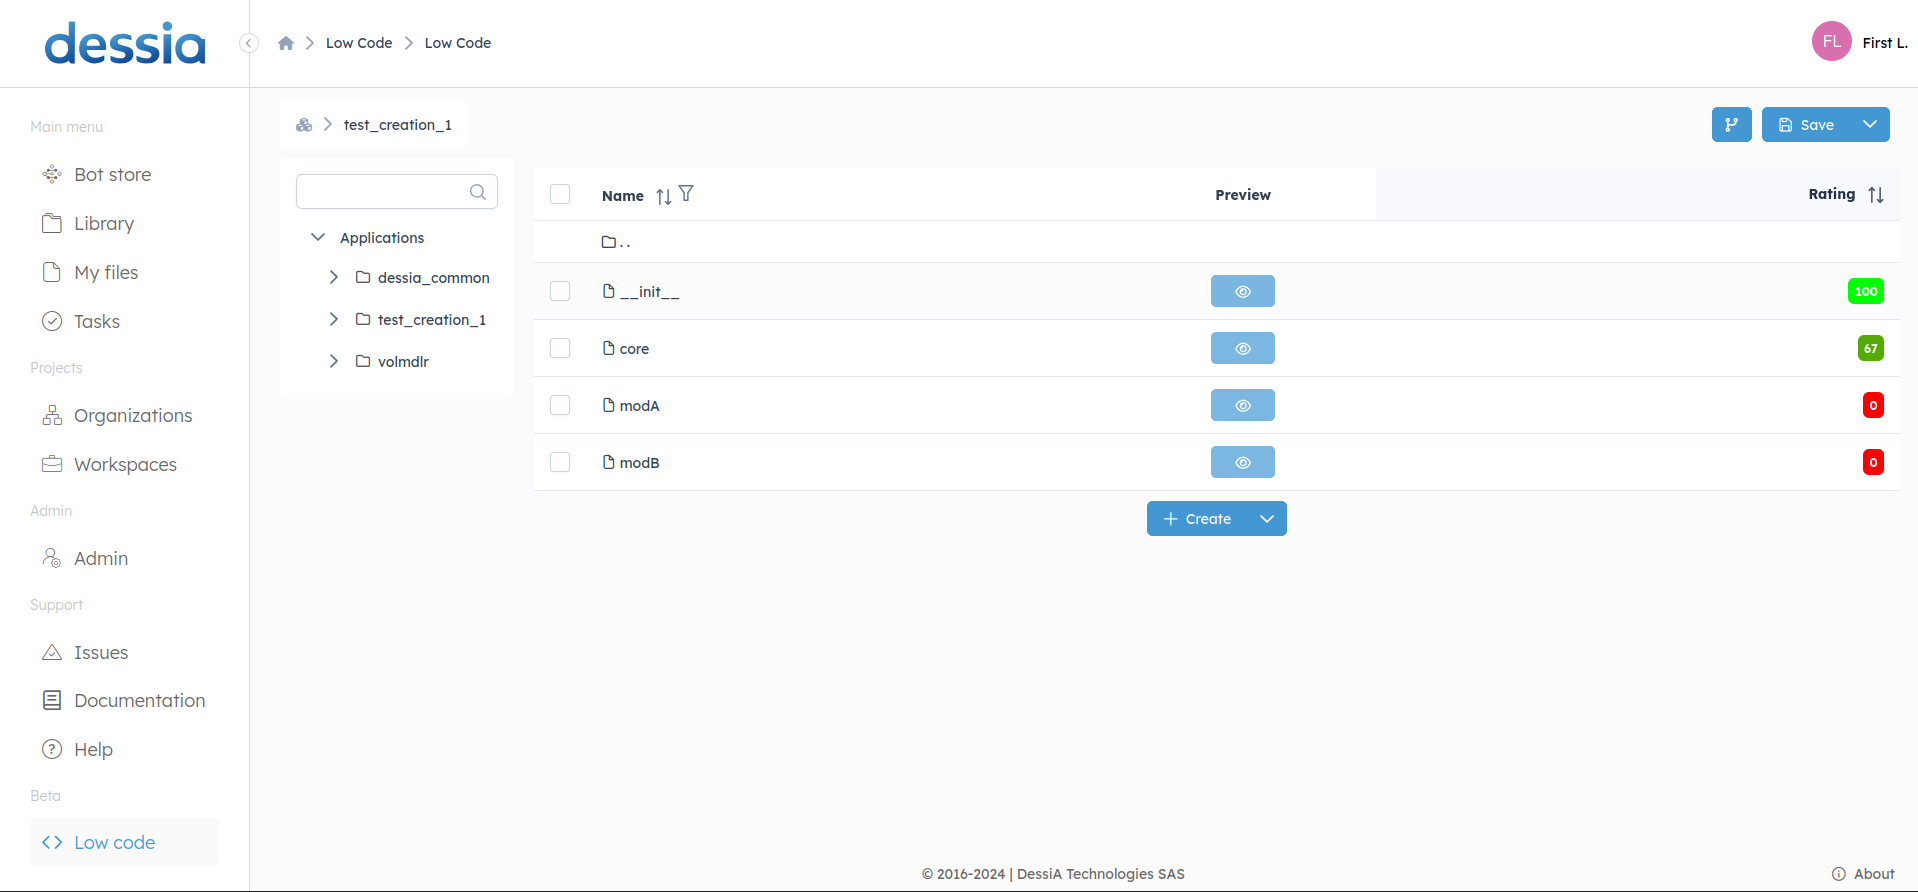
This will save all modules and subpackages within the application.